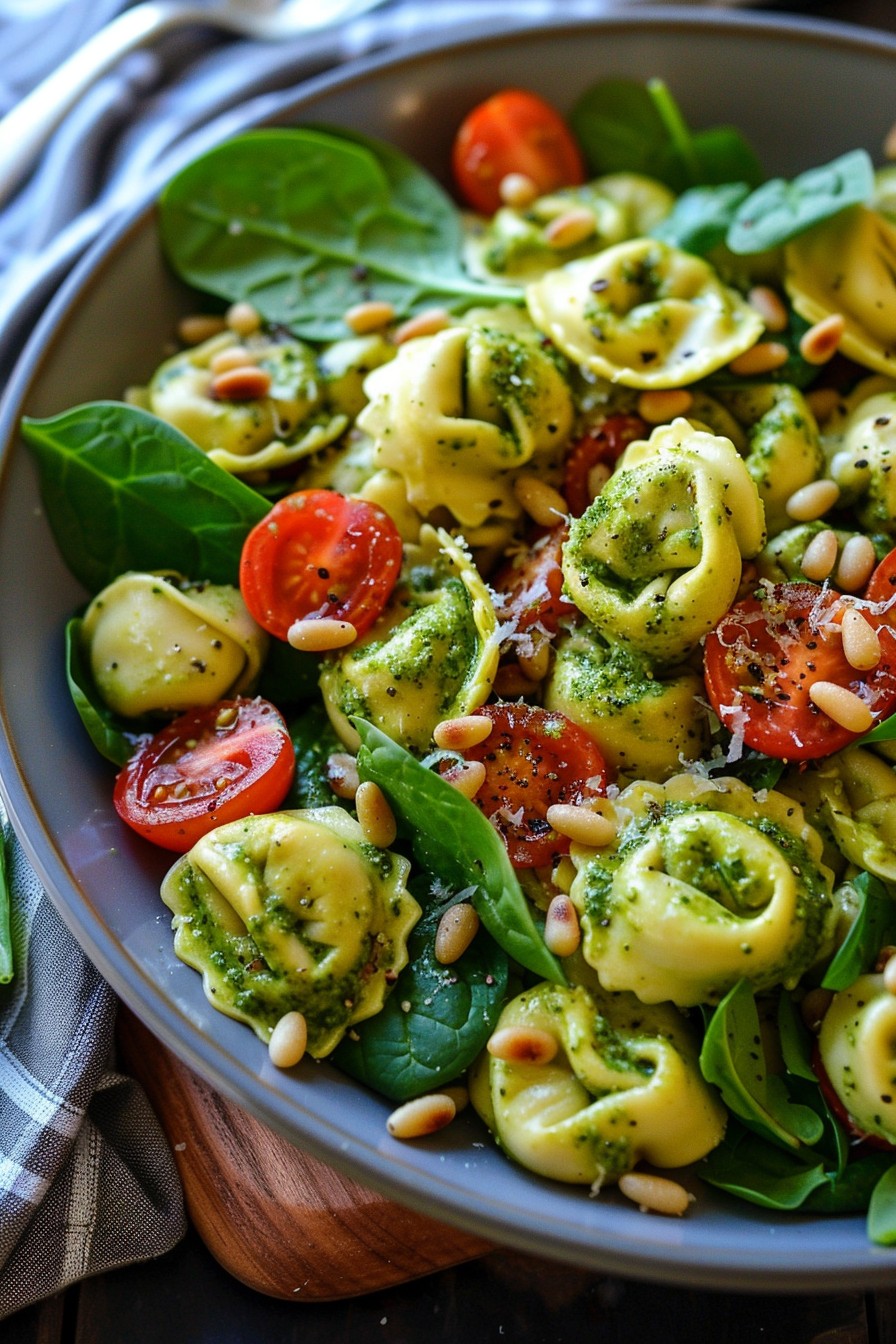
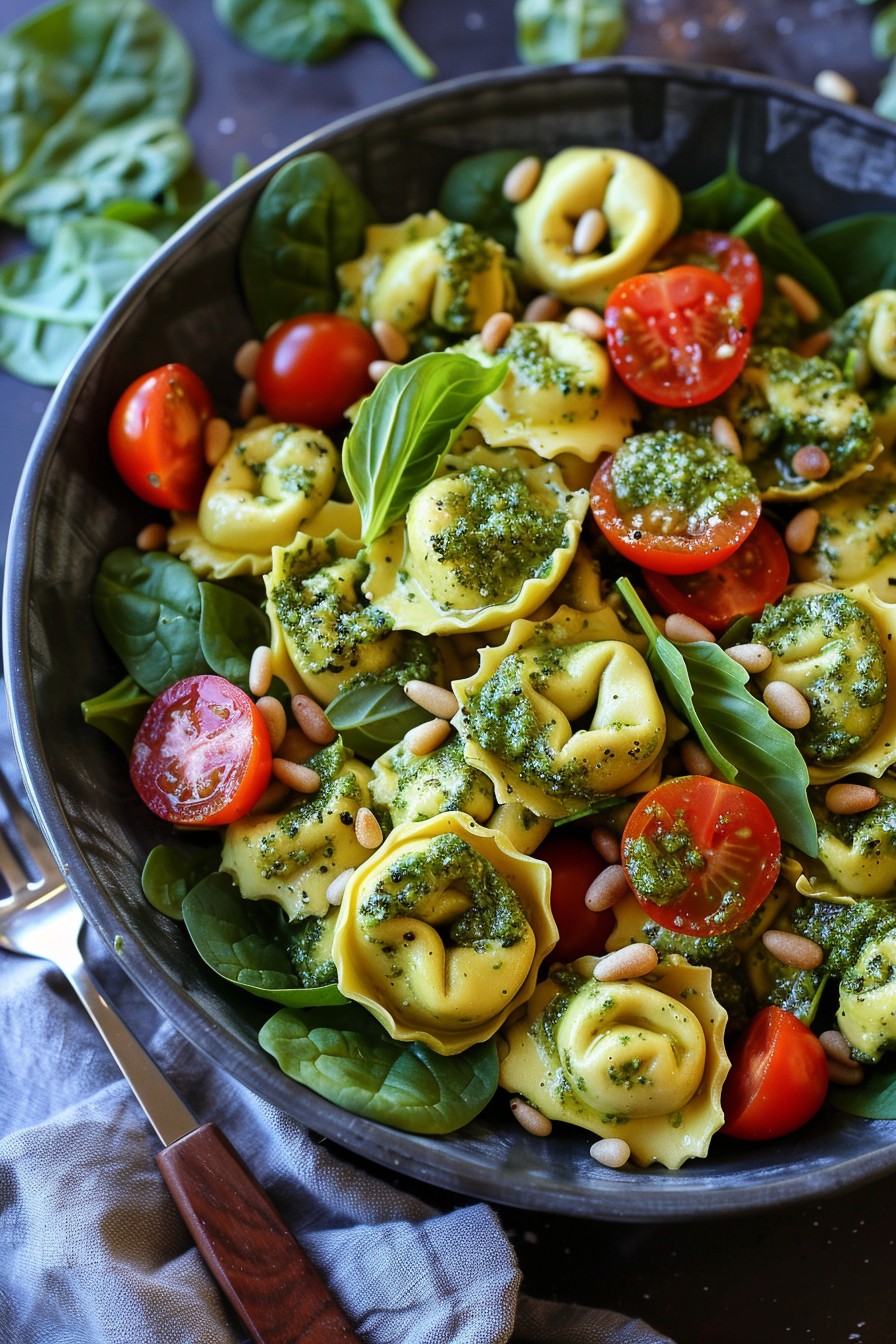
Craving something fresh yet comforting? This tortellini pesto salad combines the best of both worlds, offering a delightful mix of cheesy tortellini, vibrant pesto, and crisp veggies. Perfect for picnics, potlucks, or a quick weeknight dinner, this dish is as versatile as it is delicious.
Why This Recipe Works
- The combination of cheese-filled tortellini and homemade pesto creates a rich, flavorful base that’s hard to resist.
- Adding fresh vegetables like cherry tomatoes and spinach introduces a refreshing crunch and a boost of nutrients.
- It’s a versatile dish that can be served warm or cold, making it perfect for any occasion.
- The recipe is quick and easy, requiring minimal cooking and prep time.
- Customizable with various add-ins, allowing you to tailor it to your taste preferences.
Ingredients
- 1 lb cheese tortellini
- 1/2 cup homemade or store-bought pesto
- 1 cup cherry tomatoes, halved
- 2 cups fresh spinach leaves
- 1/4 cup pine nuts, toasted
- Salt and pepper to taste
Equipment Needed
- Large pot
- Colander
- Mixing bowl
- Measuring cups and spoons
- Knife and cutting board
Instructions
Step 1: Cook the Tortellini
Bring a large pot of salted water to a boil. Add the tortellini and cook according to the package instructions, usually about 7-9 minutes, until they float to the top. Drain well and let them cool slightly.
Step 2: Prepare the Vegetables
While the tortellini is cooking, wash and halve the cherry tomatoes. Rinse the spinach leaves and pat them dry. Toast the pine nuts in a dry skillet over medium heat until golden, about 3-5 minutes, stirring frequently to prevent burning.
Step 3: Mix the Salad
In a large mixing bowl, combine the slightly cooled tortellini with the pesto, tossing gently to coat evenly. Add the cherry tomatoes, spinach, and toasted pine nuts, mixing lightly to distribute the ingredients throughout the salad.
Step 4: Season to Taste
Season the salad with salt and pepper to taste. Remember, the pesto already contains salt, so you might not need much additional seasoning.
Step 5: Serve or Chill
You can serve the salad immediately while it’s still warm, or cover and refrigerate it for at least an hour to serve it chilled. Both ways are delicious!
Tips and Tricks
For an extra flavor boost, consider adding grated Parmesan cheese or a squeeze of lemon juice before serving. If you’re making the salad ahead of time, keep the pine nuts separate and add them just before serving to maintain their crunch. For a vegan version, use dairy-free tortellini and pesto. Always taste and adjust the seasoning after mixing, as flavors can meld and change over time.
Recipe Variations
- Protein Power: Add grilled chicken, shrimp, or chickpeas for an extra protein punch.
- Veggie Delight: Incorporate other vegetables like roasted red peppers, cucumbers, or avocado for added texture and flavor.
- Cheese Lover: Mix in chunks of mozzarella or feta cheese for a creamy, tangy twist.
- Spicy Kick: Add a dash of red pepper flakes or diced jalapeños for some heat.
- Dressing Swap: Substitute pesto with a creamy Caesar or balsamic vinaigrette for a different flavor profile.
Frequently Asked Questions
Can I use dried tortellini instead of fresh?
Absolutely! Dried tortellini works just as well in this recipe. Just be sure to cook it according to the package instructions, as cooking times may vary slightly from fresh tortellini.
How long does this salad keep in the fridge?
Stored in an airtight container, the salad will stay fresh for up to 3 days. However, the spinach may wilt slightly over time, so it’s best enjoyed within the first day or two.
Can I make the pesto from scratch?
Yes, homemade pesto can elevate the dish with its fresh, vibrant flavors. Blend together basil leaves, garlic, pine nuts, Parmesan cheese, and olive oil until smooth. Adjust the ingredients to taste.
Summary
This tortellini pesto salad is a quick, flavorful, and versatile dish that’s perfect for any occasion. With its combination of cheesy pasta, fresh vegetables, and aromatic pesto, it’s sure to become a favorite in your recipe collection.
Leave a Reply