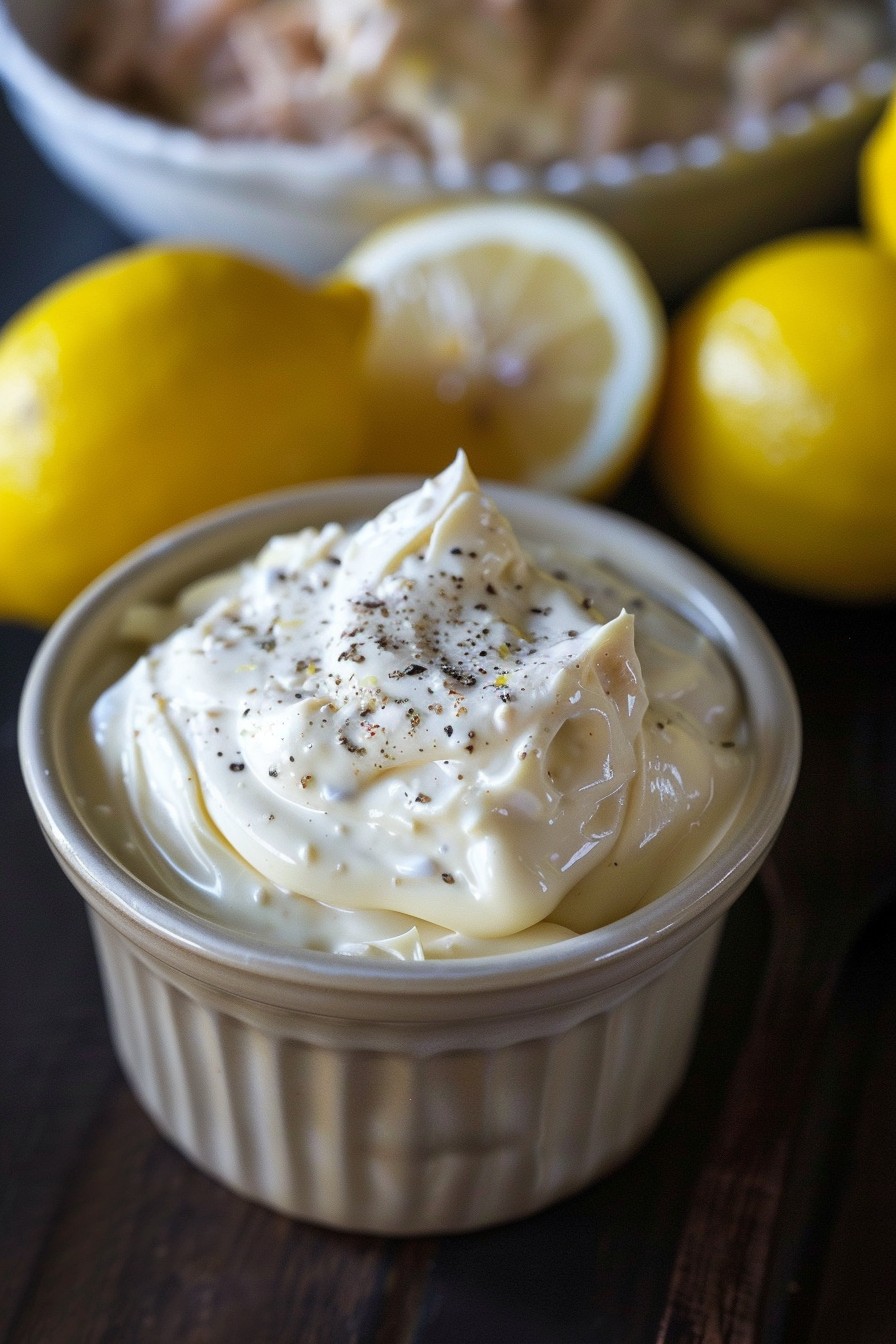
A amazing way to elevate your salad game is with this creamy tuna salad dressing. It’s packed with flavor, easy to whip up, and transforms any boring salad into a delicious meal. Perfect for those who love a bit of protein with their greens!
Why This Recipe Works
- The combination of tuna and creamy ingredients creates a rich, satisfying dressing that’s both flavorful and filling.
- It’s incredibly versatile, working well with a variety of salad bases from leafy greens to pasta salads.
- Quick and easy to make, this dressing comes together in just a few minutes with simple ingredients.
- Perfect for meal prep, as it keeps well in the fridge for several days.
- A great way to incorporate more omega-3 fatty acids into your diet, thanks to the tuna.
Ingredients
- 1 can (5 oz) tuna in water, drained
- 1/2 cup mayonnaise
- 1/4 cup sour cream
- 1 tbsp lemon juice
- 1 tsp Dijon mustard
- 1/4 tsp garlic powder
- Salt and pepper to taste
Equipment Needed
- Mixing bowl
- Whisk
- Measuring cups and spoons
Instructions

Step 1: Prepare Your Ingredients
Start by draining the tuna thoroughly to avoid a watery dressing. Measure out all your ingredients to ensure a smooth preparation process. This mise en place step is crucial for efficiency in the kitchen.
Step 2: Combine Wet Ingredients
In a mixing bowl, whisk together the mayonnaise, sour cream, lemon juice, and Dijon mustard until smooth. The acidity from the lemon juice will brighten the flavors, while the mustard adds a subtle depth.
Step 3: Add the Tuna and Seasonings
Flake the drained tuna into the bowl with the wet ingredients. Sprinkle in the garlic powder, then season with salt and pepper to taste. Mix gently to combine, ensuring the tuna is evenly distributed without becoming mushy.
Step 4: Adjust Consistency and Taste
If the dressing is too thick, you can thin it with a teaspoon of water or more lemon juice until it reaches your desired consistency. Taste and adjust the seasonings as needed.
Step 5: Chill Before Serving
For the best flavor, cover the bowl and refrigerate the dressing for at least 30 minutes before serving. This allows the flavors to meld together beautifully.
Tips and Tricks
For a lighter version, substitute Greek yogurt for the sour cream. It’ll give you the same creamy texture with fewer calories. If you’re using tuna packed in oil, consider reducing the amount of mayonnaise to balance the richness. For an extra flavor boost, add a pinch of smoked paprika or a handful of chopped fresh herbs like dill or parsley. Always taste as you go to ensure the seasoning is just right.
Recipe Variations
- Spicy Tuna Dressing: Add a dash of hot sauce or a finely chopped jalapeño for some heat.
- Herb-Infused Dressing: Mix in fresh herbs like basil, cilantro, or chives for a fresh twist.
- Avocado Tuna Dressing: Blend in half an avocado for a creamier, healthier fat option.
- Egg Tuna Dressing: Add chopped hard-boiled eggs for extra protein and texture.
- Vegan Option: Use chickpeas instead of tuna and vegan mayo for a plant-based version.
Frequently Asked Questions
Can I use canned salmon instead of tuna?
Absolutely! Canned salmon is a great alternative to tuna in this recipe. It offers a similar texture and is also rich in omega-3 fatty acids. Just make sure to remove any bones and skin before mixing it into the dressing.
How long can I store this dressing in the fridge?
This tuna salad dressing can be stored in an airtight container in the refrigerator for up to 3 days. After that, the quality may start to decline, so it’s best enjoyed fresh.
Can I freeze this dressing?
Freezing is not recommended for this dressing as the mayonnaise and sour cream may separate upon thawing, resulting in a less desirable texture.
Summary
This creamy tuna salad dressing is a quick, easy, and delicious way to add some protein and flavor to your salads. With simple ingredients and endless variations, it’s sure to become a staple in your kitchen.
Leave a Reply