Prepare to fall in love with this classic Copper Penny Salad, a vibrant and flavorful side dish that’s as fun to make as it is to eat. Perfect for picnics, potlucks, or just adding a splash of color to your dinner table, this recipe is a guaranteed crowd-pleaser.
Why This Recipe Works
- The combination of sweet carrots and tangy dressing creates a perfect balance of flavors.
- It’s a make-ahead dish that tastes even better after the flavors meld overnight.
- Simple ingredients come together for a visually stunning dish that’s surprisingly easy to prepare.
Ingredients
- 2 pounds carrots, peeled and sliced into rounds
- 1 green bell pepper, diced
- 1 small onion, thinly sliced
- 1 can (10.75 oz) condensed tomato soup
- 1/2 cup vegetable oil
- 1/2 cup white vinegar
- 1 cup granulated sugar
- 1 teaspoon prepared mustard
- 1 teaspoon Worcestershire sauce
- Salt and pepper to taste
Equipment Needed
- Large pot
- Mixing bowls
- Whisk
- Measuring cups and spoons
- Sharp knife
- Cutting board
Instructions
Step 1: Prepare the Carrots
Bring a large pot of water to a boil and add the sliced carrots. Cook for about 5 minutes, just until they’re tender-crisp. Drain and rinse under cold water to stop the cooking process. This ensures your carrots retain their vibrant color and perfect texture.
Step 2: Mix the Dressing
In a large mixing bowl, whisk together the condensed tomato soup, vegetable oil, white vinegar, sugar, mustard, and Worcestershire sauce until well combined. The dressing should be smooth and slightly thick, with a sweet and tangy flavor profile.
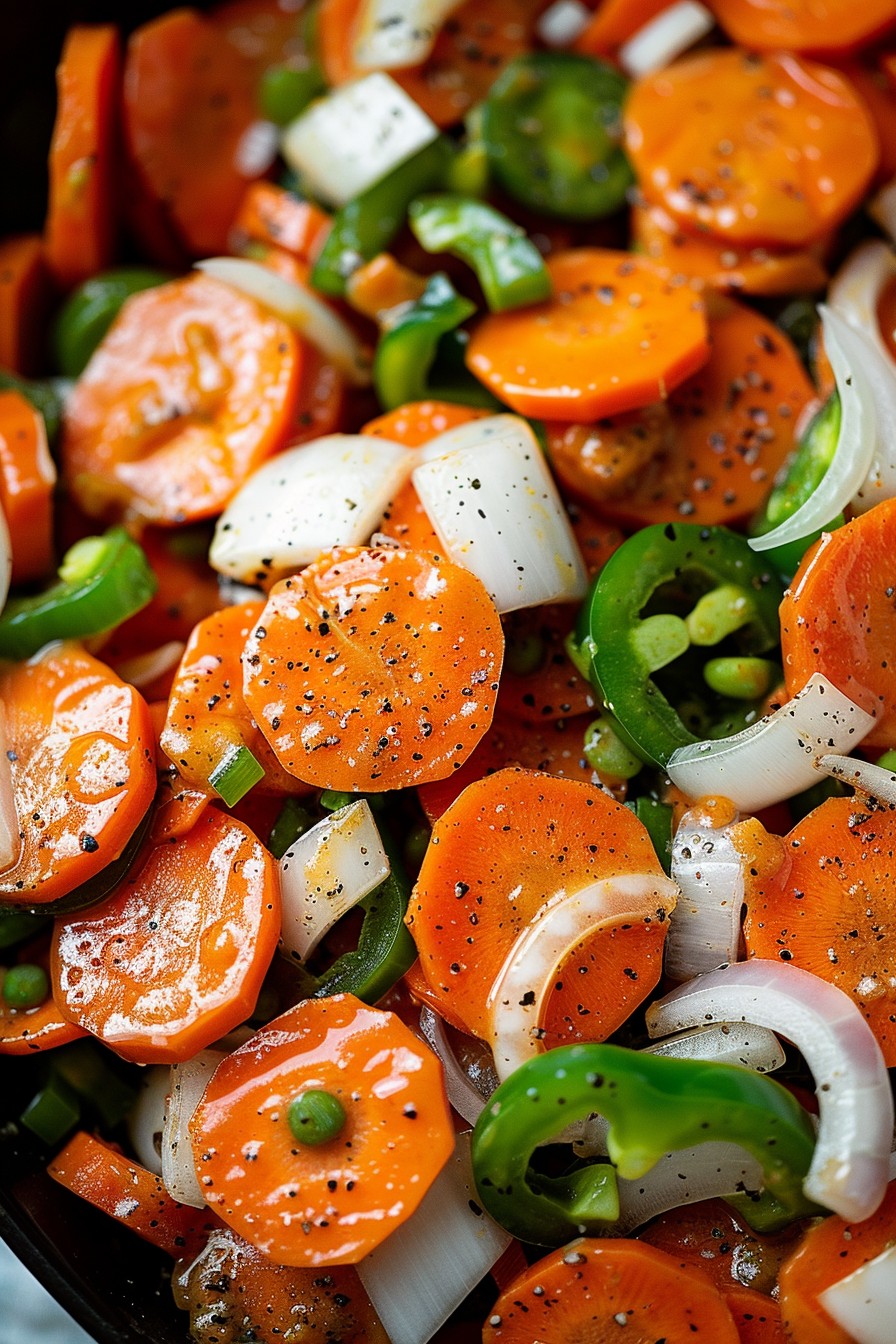
Step 3: Combine Ingredients
Add the blanched carrots, diced green bell pepper, and sliced onion to the bowl with the dressing. Gently toss to ensure all the vegetables are evenly coated. This is where the magic starts to happen, as the flavors begin to meld.
Step 4: Chill to Perfection
Cover the bowl with plastic wrap and refrigerate for at least 4 hours, though overnight is best. This chilling time allows the flavors to deepen and the vegetables to soak up the delicious dressing.
Step 5: Serve and Enjoy
Give the salad a good stir before serving to redistribute the dressing. Serve chilled for a refreshing side dish that’s sure to impress. The longer it sits, the better it gets, so don’t hesitate to make it a day ahead.
Tips and Tricks
For an extra crunch, consider adding a handful of chopped celery or walnuts just before serving. If you’re short on time, you can use pre-shredded carrots, but the texture won’t be quite the same. For a healthier version, reduce the sugar by half and add a splash of orange juice for natural sweetness. Always taste and adjust the seasoning before serving, as the flavors can mellow out after chilling.
Recipe Variations
- Add a can of drained pineapple chunks for a tropical twist.
- Swap the white vinegar for apple cider vinegar for a deeper flavor.
- Include a teaspoon of curry powder in the dressing for a spicy kick.
- Use honey instead of sugar for a natural sweetener option.
- Add a handful of raisins or dried cranberries for a chewy texture and extra sweetness.
Frequently Asked Questions
Can I make this salad ahead of time?
Absolutely! In fact, this salad is best made at least a few hours ahead, if not the day before. The flavors need time to meld and the vegetables to soak up the dressing. Just give it a good stir before serving to refresh the flavors.
How long does Copper Penny Salad last in the fridge?
Stored in an airtight container, this salad will keep well in the refrigerator for up to 5 days. The vegetables may soften slightly over time, but the flavors will continue to develop, making it even more delicious.
Can I freeze Copper Penny Salad?
Freezing is not recommended for this salad, as the texture of the vegetables will become mushy upon thawing. It’s best enjoyed fresh or stored in the fridge for a few days.
Summary
This Copper Penny Salad is a sweet, tangy, and colorful side dish that’s perfect for any occasion. Easy to make and even easier to love, it’s a recipe that will quickly become a staple in your collection.