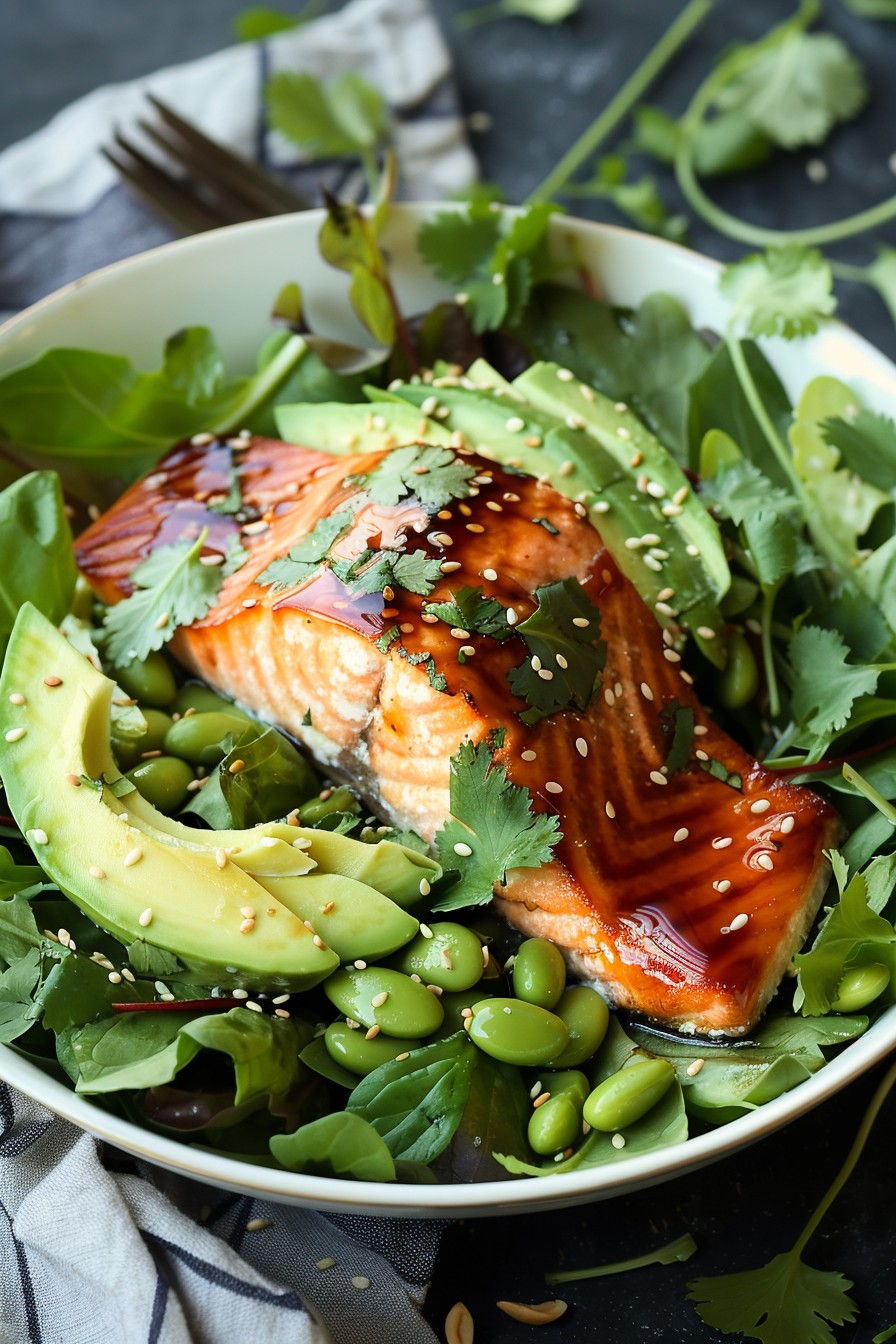
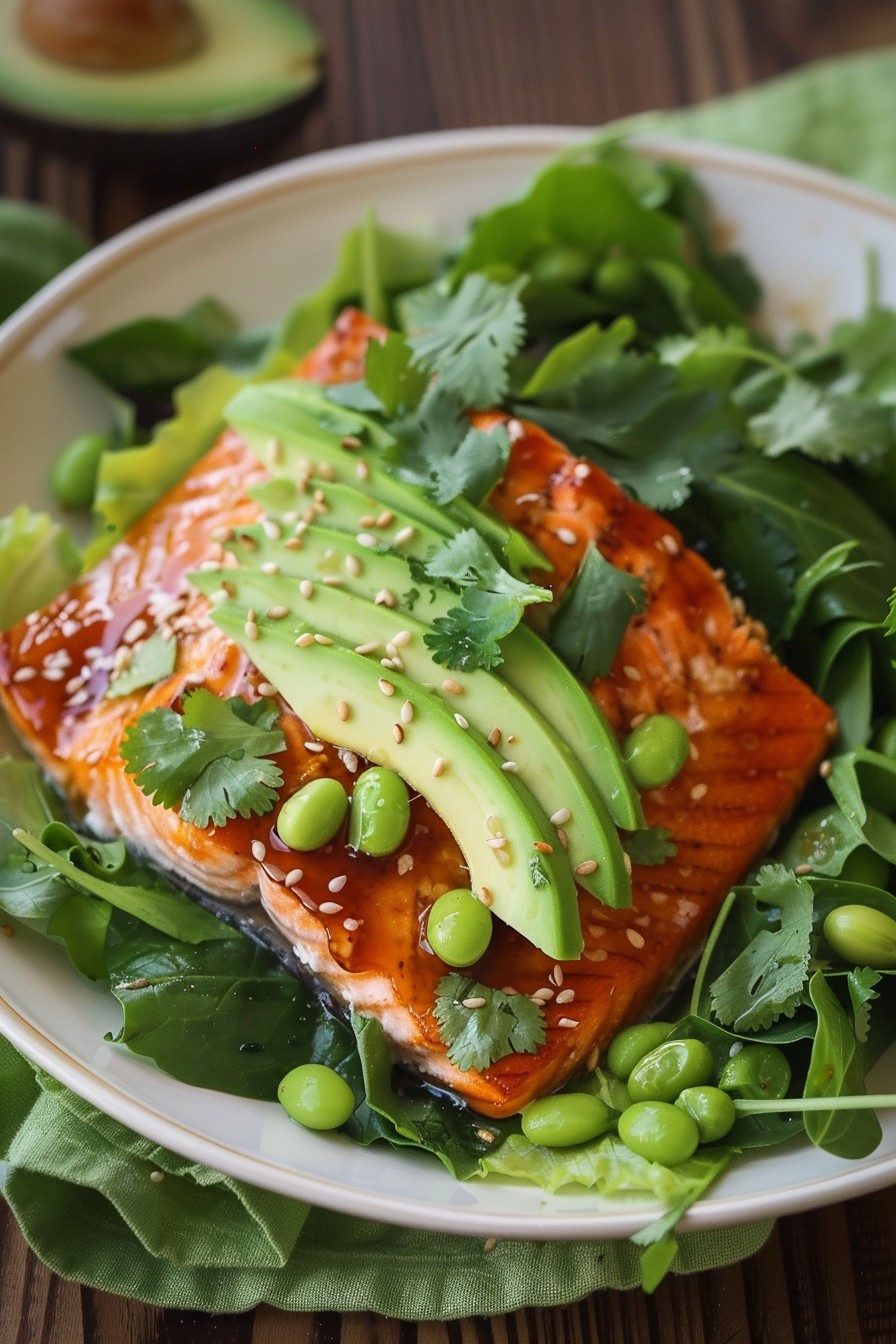
Welcome to a culinary adventure that’s about to make your taste buds dance with joy. This Asian Salmon Salad is not just a meal; it’s a vibrant, flavorful journey that combines the richness of salmon with the freshness of greens, all tied together with an irresistible Asian-inspired dressing.
Why This Recipe Works
- The perfect balance of flavors: sweet, tangy, and umami all in one bite.
- Quick and easy to prepare, making it ideal for weeknight dinners or fancy lunches.
- Packed with nutrients, offering a healthy dose of omega-3s, vitamins, and minerals.
- Versatile recipe that allows for numerous variations to suit any palate.
- The salmon is cooked to perfection, ensuring a moist and flaky texture every time.
Ingredients
- 1 lb salmon fillet, skin-on
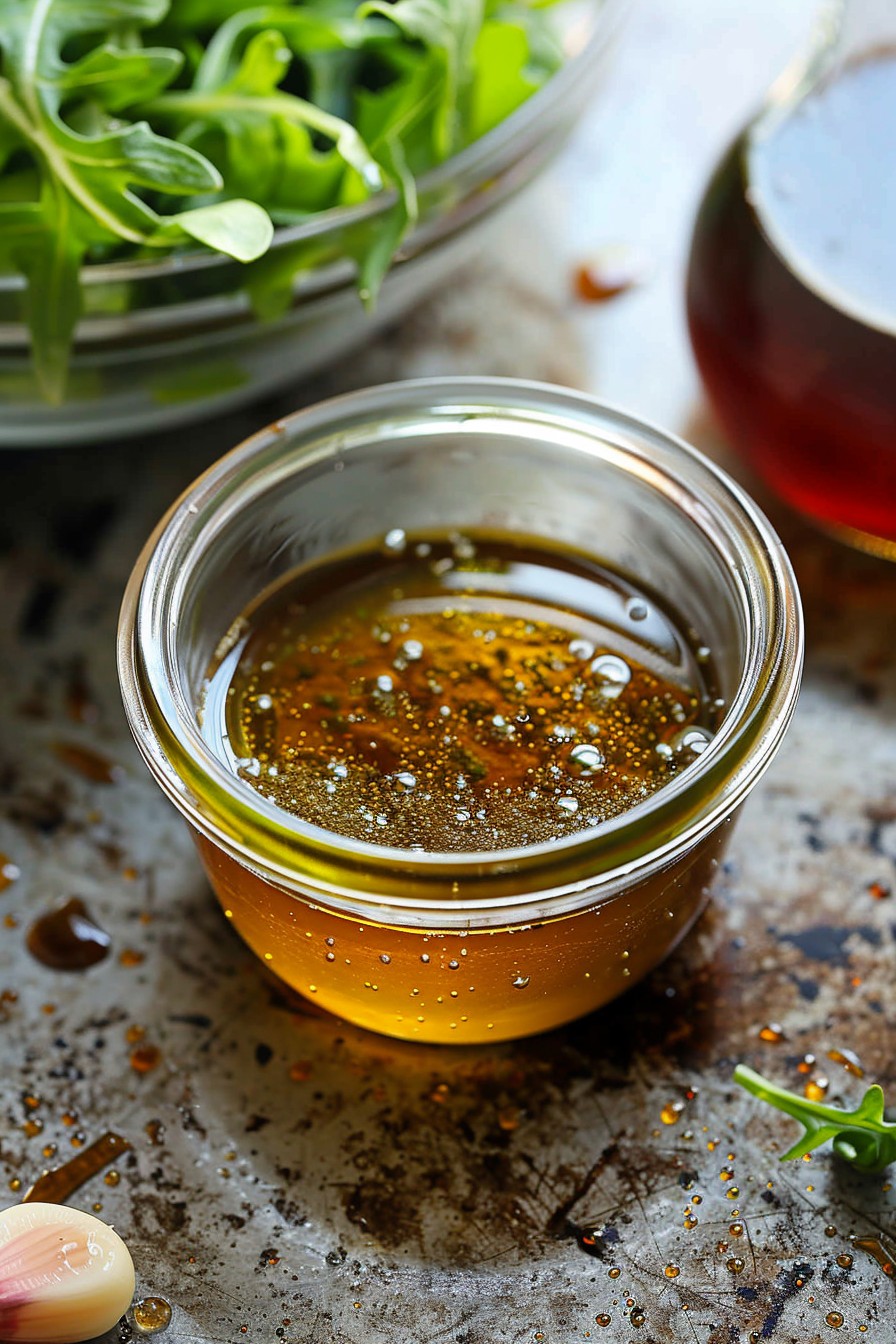
- 2 tbsp soy sauce
- 1 tbsp honey
- 1 tbsp sesame oil
- 1 tsp ginger, grated
- 1 clove garlic, minced
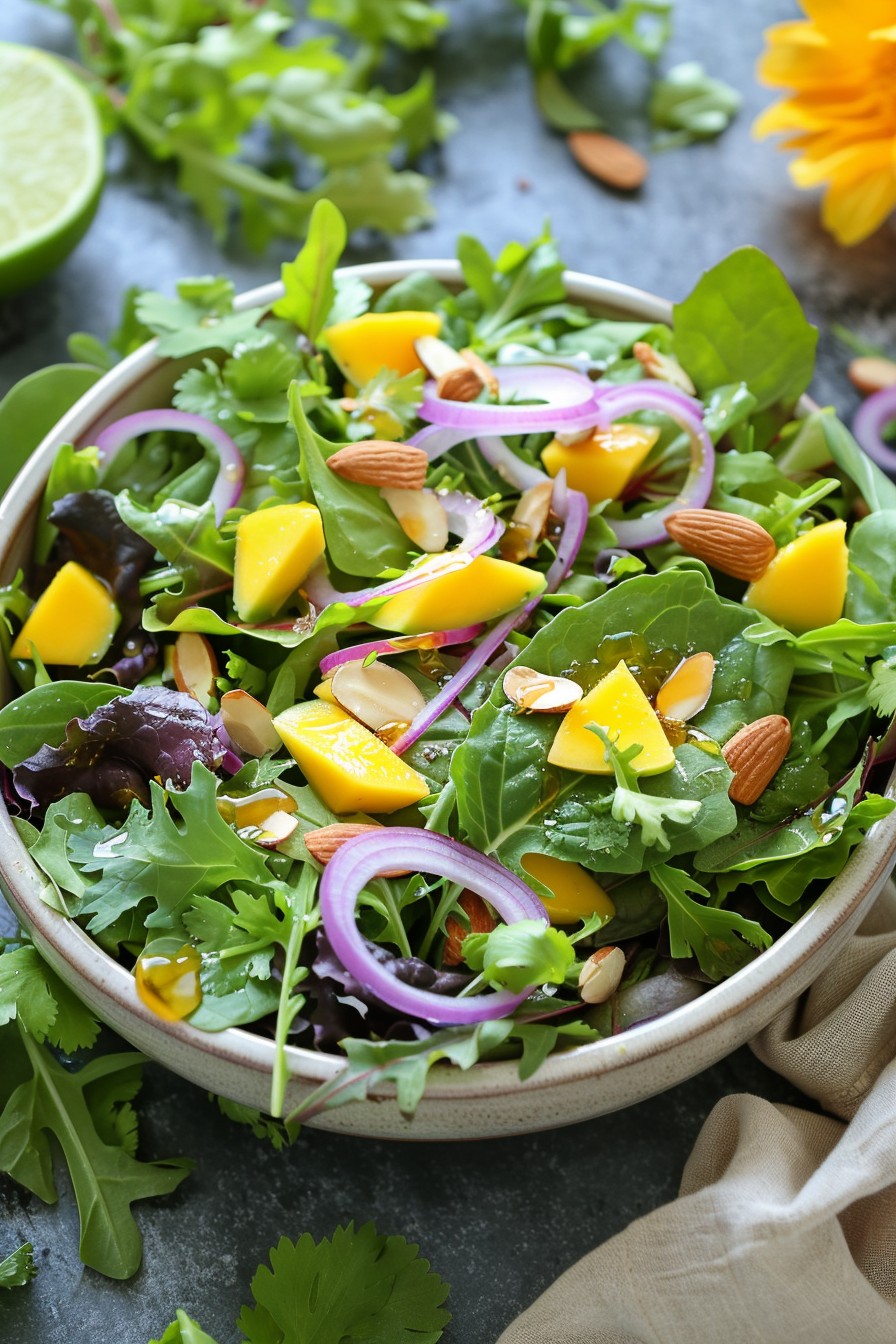
- 4 cups mixed greens
- 1 avocado, sliced
- 1/2 cup edamame, shelled
- 1/4 cup cilantro, chopped
- 2 tbsp sesame seeds
Equipment Needed
- Baking sheet
- Mixing bowls
- Whisk
- Chef’s knife
- Cutting board
Instructions
Preheat and Prep
Start by preheating your oven to 375°F. While the oven heats up, mix the soy sauce, honey, sesame oil, ginger, and garlic in a small bowl to create the marinade. Place the salmon fillet on a baking sheet and brush half of the marinade over the salmon, ensuring it’s evenly coated.
Bake the Salmon
Bake the salmon in the preheated oven for about 12-15 minutes, or until the salmon flakes easily with a fork. The internal temperature should reach 145°F for perfect doneness. While the salmon bakes, toss the mixed greens, avocado, edamame, and cilantro in a large bowl.
Assemble the Salad
Once the salmon is done, let it rest for a couple of minutes before flaking it into large pieces. Add the salmon to the salad bowl, drizzle with the remaining marinade, and sprinkle sesame seeds on top for an extra crunch.
Tips and Tricks
For an even more flavorful salmon, marinate it for at least 30 minutes before baking. If you’re short on time, a quick 10-minute marinade will still impart plenty of flavor. Toasting the sesame seeds before sprinkling them on the salad enhances their nutty flavor. For a spicier kick, add a dash of sriracha to the marinade. Always let the salmon rest after baking to ensure it stays moist and tender.
Recipe Variations
- Swap the salmon for grilled chicken or tofu for a different protein option.
- Add mango or pineapple for a sweet and tangy twist.
- Include quinoa or brown rice to make the salad more filling.
- Use a different dressing, like peanut or miso, for a new flavor profile.
- Top with crispy wonton strips for added texture.
Frequently Asked Questions
Can I use frozen salmon?
Absolutely! Just make sure to thaw it completely in the refrigerator before marinating and baking. This ensures even cooking and the best texture.
How long can I store leftovers?
Leftovers can be stored in an airtight container in the refrigerator for up to 2 days. However, the salad is best enjoyed fresh to maintain the crispness of the greens.
Can I make this recipe gluten-free?
Yes, simply use tamari or a gluten-free soy sauce alternative in place of regular soy sauce to make this dish gluten-free.
Summary
This Asian Salmon Salad is a delightful mix of flavors and textures, offering a healthy, delicious, and easy-to-make meal option. Perfect for any day of the week, it’s sure to become a favorite in your recipe collection.