Today is ‘2025-06-27 00:55:31.172425’, and if you’re looking for a dish that’s as refreshing as a summer breeze, you’ve hit the jackpot. This artichoke pasta salad is not just a meal; it’s a vibrant celebration of flavors that will have your taste buds dancing.
Why This Recipe Works
- The combination of tangy artichokes and al dente pasta creates a perfect texture contrast.
- It’s packed with fresh herbs and a zesty dressing that elevates the flavors to new heights.
- This salad is incredibly versatile, making it a great addition to any meal or perfect on its own.
- It’s quick to prepare, saving you time without sacrificing taste.
- The recipe is easily customizable to suit your taste preferences or dietary needs.
Ingredients
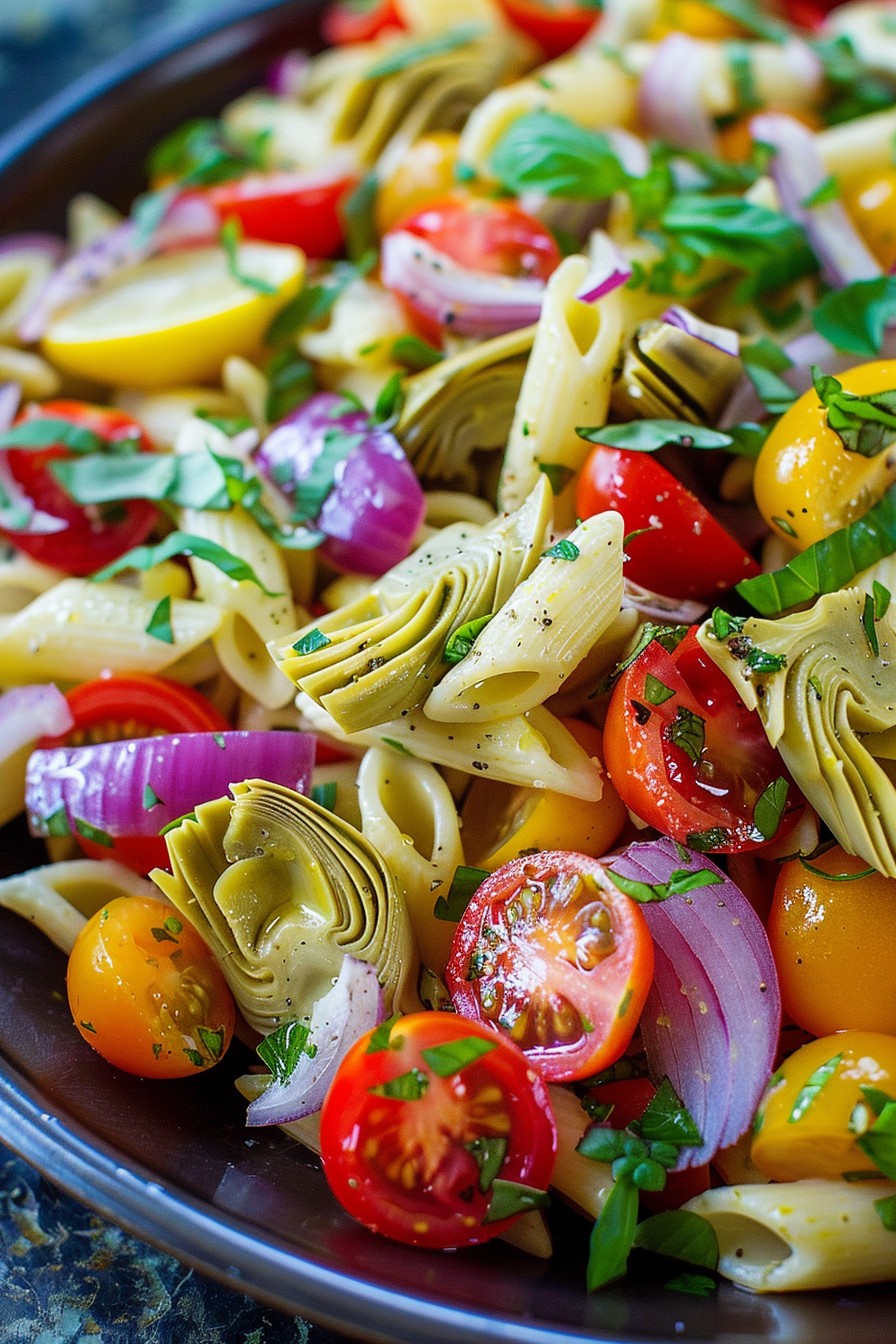
- 8 oz pasta (your choice), cooked al dente
- 1 cup marinated artichoke hearts, chopped
- 1/2 cup cherry tomatoes, halved
- 1/4 cup red onion, thinly sliced
- 2 tbsp fresh basil, chopped
- 2 tbsp fresh parsley, chopped
- 1/4 cup olive oil
- 2 tbsp lemon juice
- 1 tsp garlic powder
- Salt and pepper to taste
Equipment Needed
- Large mixing bowl
- Whisk
- Measuring cups and spoons
- Pot for boiling pasta
- Colander
Instructions

Step 1: Cook the Pasta
Bring a large pot of salted water to a boil. Add 8 oz of your favorite pasta and cook according to package instructions until al dente, usually about 8-10 minutes. Drain the pasta in a colander and rinse under cold water to stop the cooking process. Tip: Adding a splash of olive oil to the pasta water can prevent sticking.
Step 2: Prepare the Vegetables
While the pasta cooks, chop 1 cup of marinated artichoke hearts, halve 1/2 cup of cherry tomatoes, and thinly slice 1/4 cup of red onion. Freshness is key here, so make sure your veggies are crisp and vibrant.
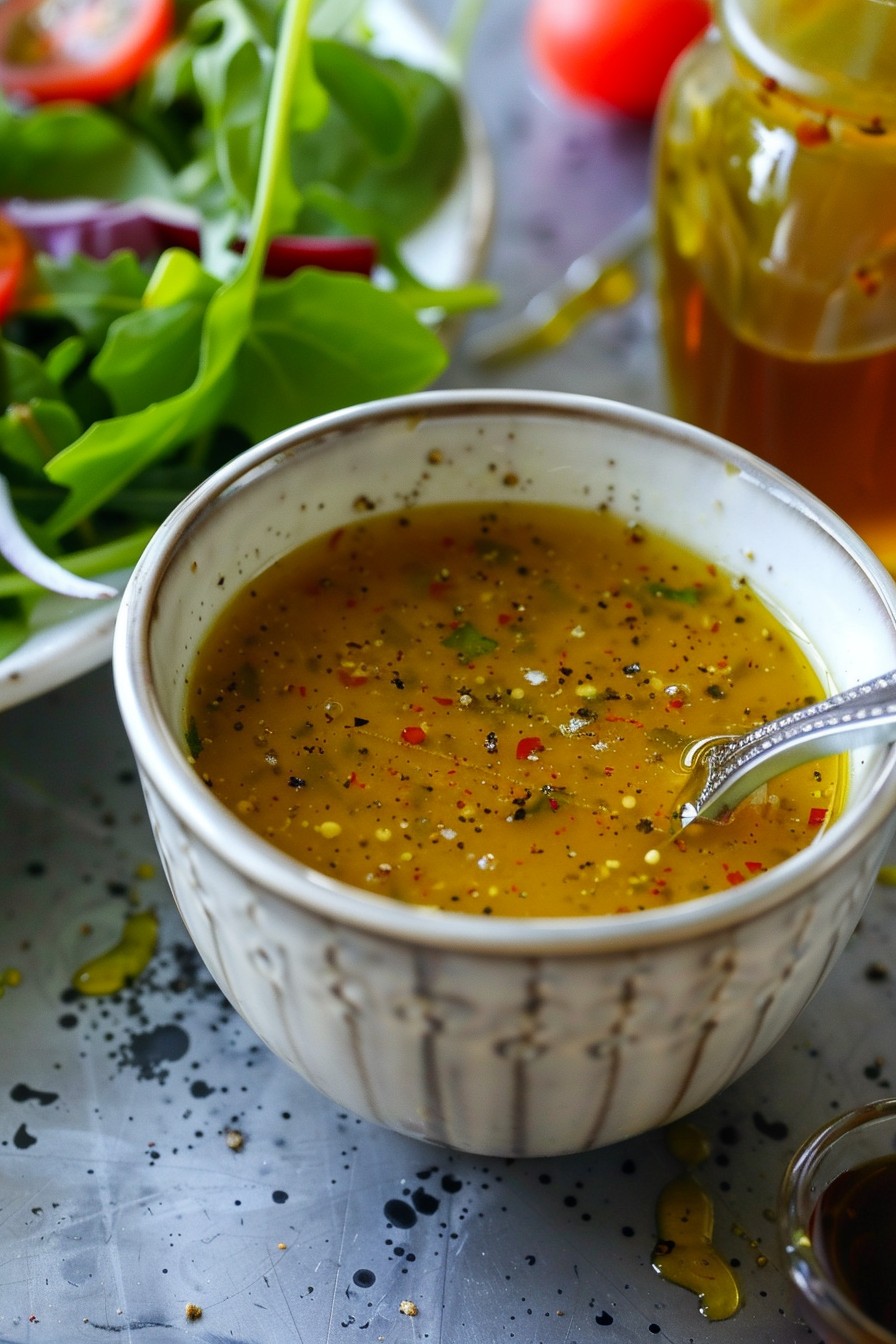
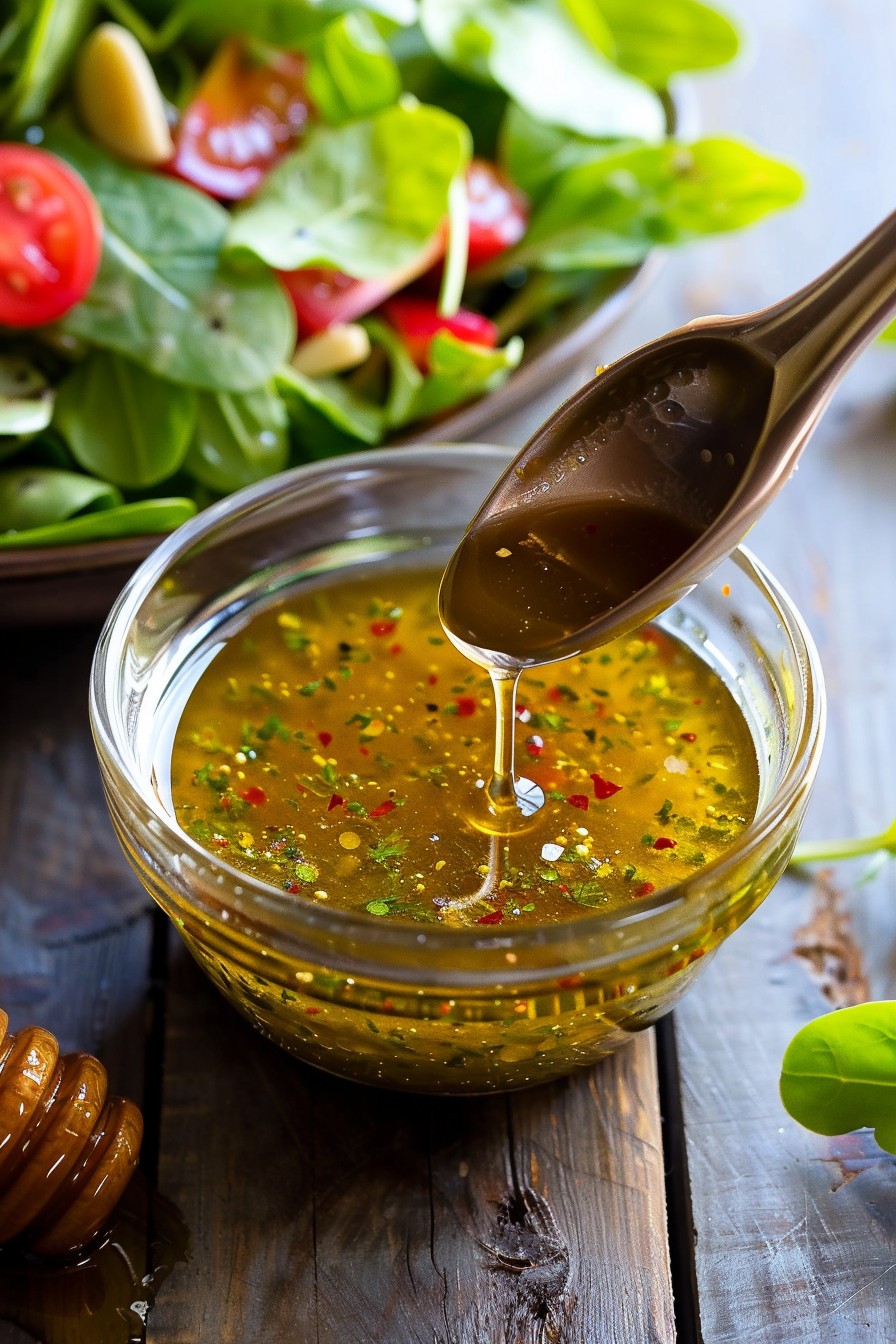
Step 3: Make the Dressing
In a small bowl, whisk together 1/4 cup of olive oil, 2 tbsp of lemon juice, 1 tsp of garlic powder, and salt and pepper to taste. This simple dressing packs a punch and brings all the flavors together beautifully.
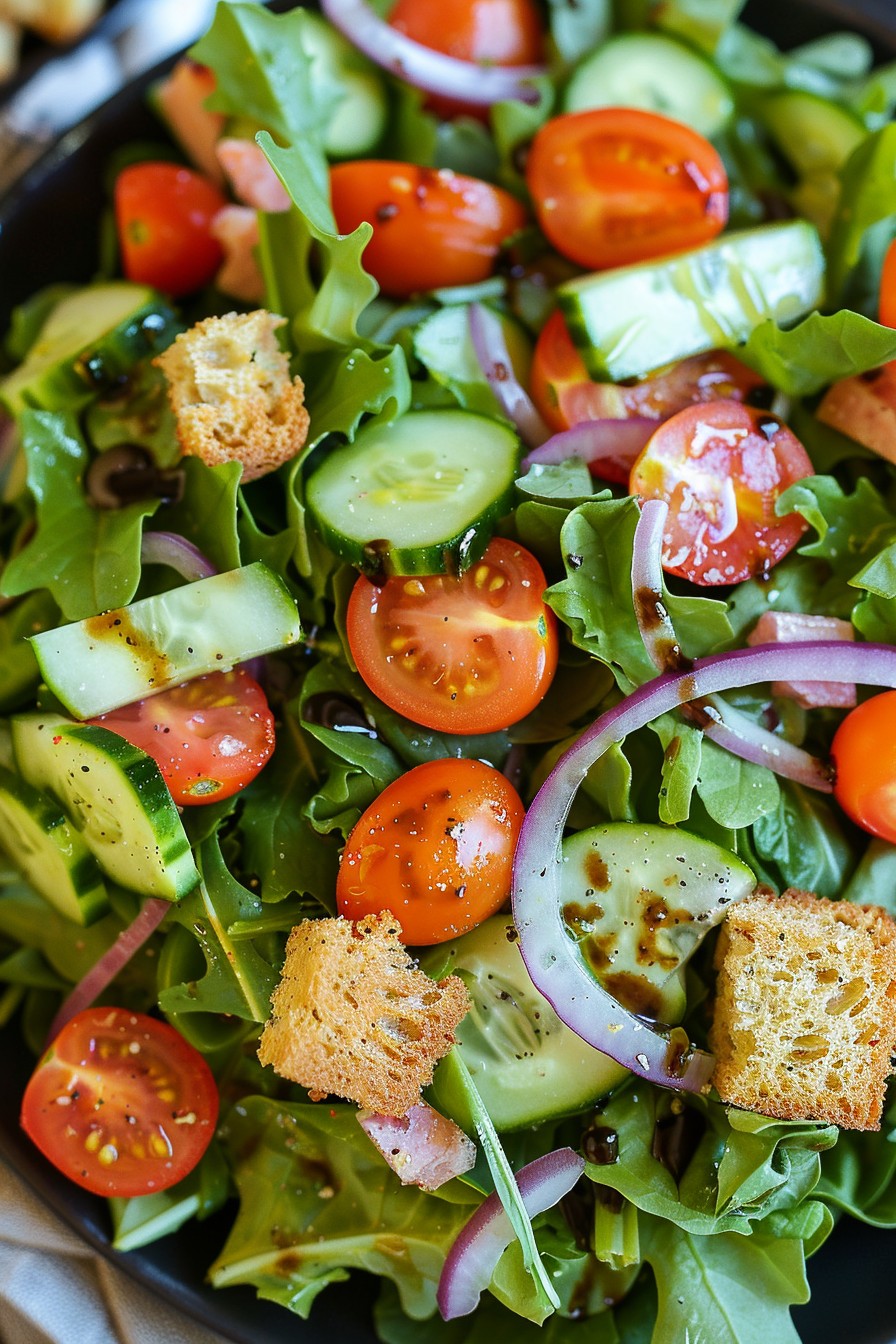
Step 4: Combine All Ingredients
In a large mixing bowl, combine the cooled pasta, chopped vegetables, and 2 tbsp each of fresh basil and parsley. Pour the dressing over the salad and toss gently to coat everything evenly. Tip: Let the salad sit for 10 minutes before serving to allow the flavors to meld.
Step 5: Serve and Enjoy
Transfer the salad to a serving dish and garnish with additional fresh herbs if desired. This dish is best served at room temperature, making it perfect for picnics or potlucks.
Tips and Tricks
For an extra layer of flavor, consider adding a sprinkle of grated Parmesan cheese or a handful of toasted pine nuts. If you’re short on time, using pre-cooked pasta from the deli section can be a great shortcut. Always taste your dressing before adding it to the salad; adjusting the seasoning can make a big difference. For a creamier version, a dollop of mayonnaise or Greek yogurt can be mixed into the dressing. Lastly, if you’re making this salad ahead of time, hold off on adding the fresh herbs until just before serving to keep them bright and flavorful.
Recipe Variations
- Add grilled chicken or shrimp for a protein-packed meal.
- Swap out the artichokes for sun-dried tomatoes for a different tangy flavor.
- Use whole wheat or gluten-free pasta to cater to dietary restrictions.
- Incorporate other vegetables like cucumbers or bell peppers for added crunch.
- For a vegan version, ensure all ingredients, including the pasta, are plant-based.
Frequently Asked Questions
Can I make this salad ahead of time?
Absolutely! This salad actually tastes better after the flavors have had time to meld. Just be sure to add the fresh herbs right before serving to keep them fresh and vibrant.
How long will this salad keep in the fridge?
Stored in an airtight container, this salad will stay fresh for up to 3 days. The pasta may absorb some of the dressing over time, so you might want to add a little extra before serving leftovers.
Can I use frozen artichokes?
While marinated artichokes are recommended for their flavor, frozen artichokes can be used in a pinch. Just be sure to thaw and drain them well before adding to the salad.
Summary
This artichoke pasta salad is a delightful mix of textures and flavors, perfect for any occasion. Easy to make and customizable, it’s sure to become a favorite in your recipe collection.