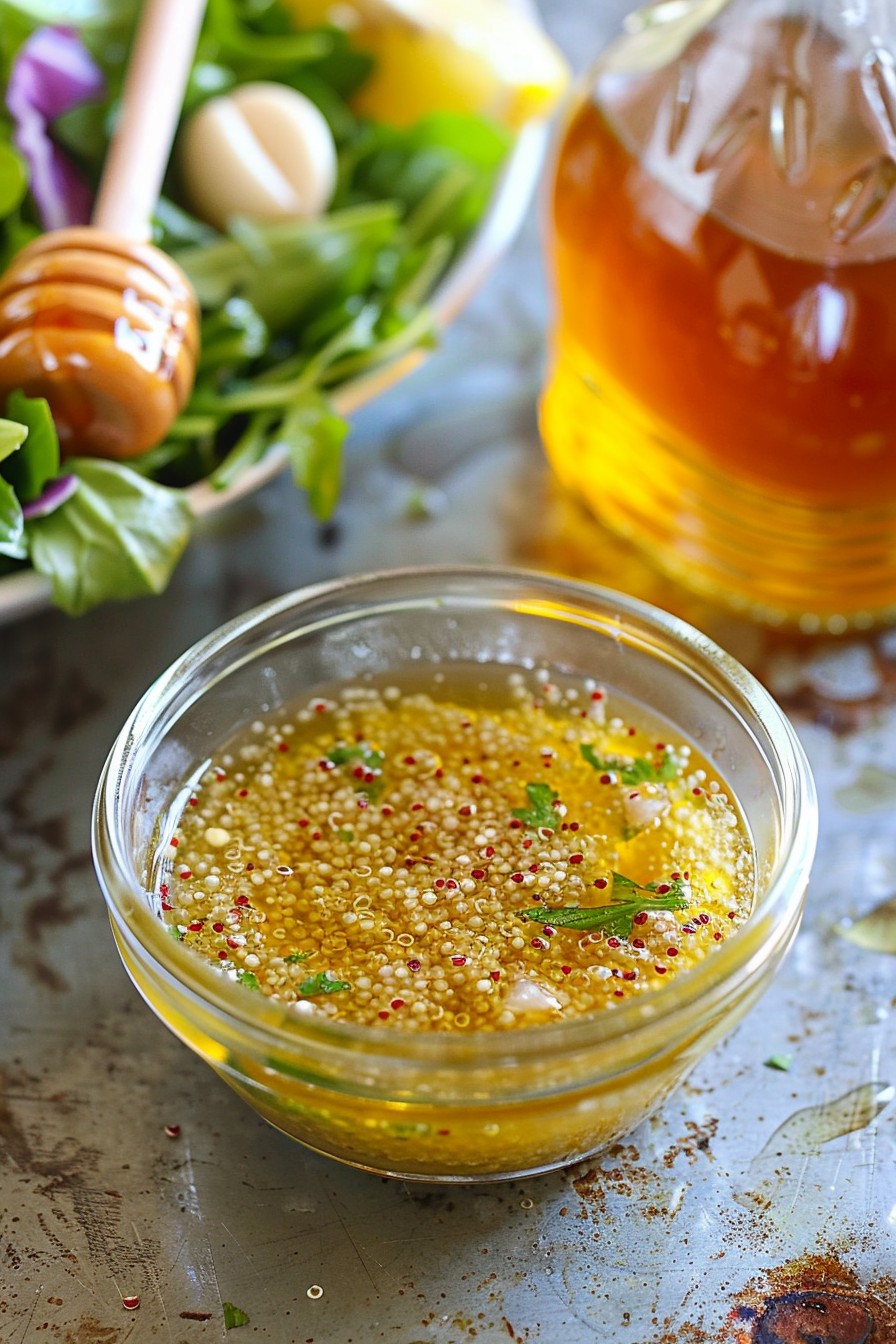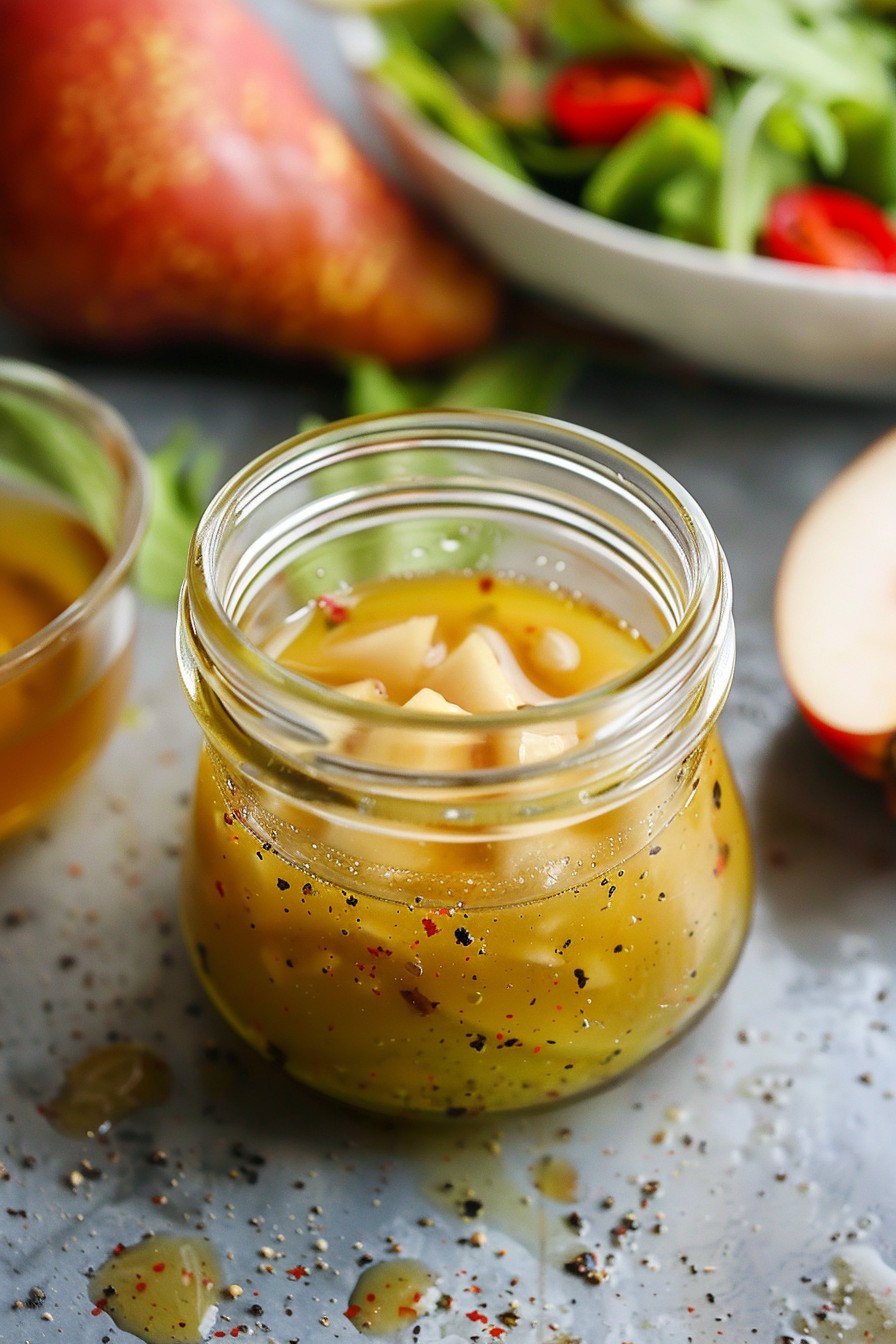
Unlock the secret to transforming your salads from mundane to magnificent with this irresistibly sweet and tangy maple salad dressing. Perfect for drizzling over your favorite greens, this dressing is a game-changer that’ll have everyone asking for the recipe.
Why This Recipe Works
- The perfect balance of sweet maple syrup and tangy vinegar creates a flavor profile that’s both complex and delightful.
- Using high-quality, pure maple syrup ensures a rich, authentic taste that artificial syrups can’t match.
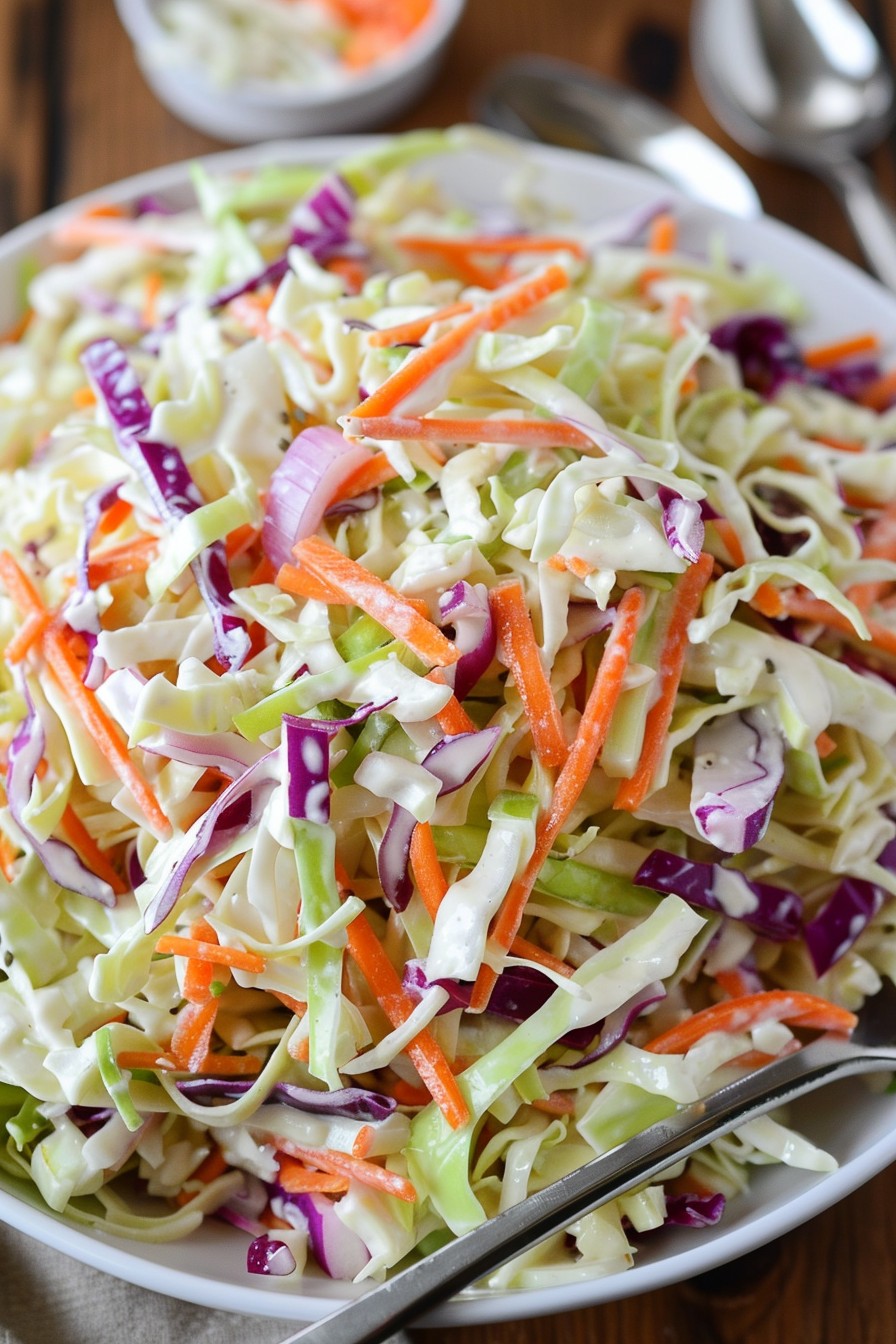
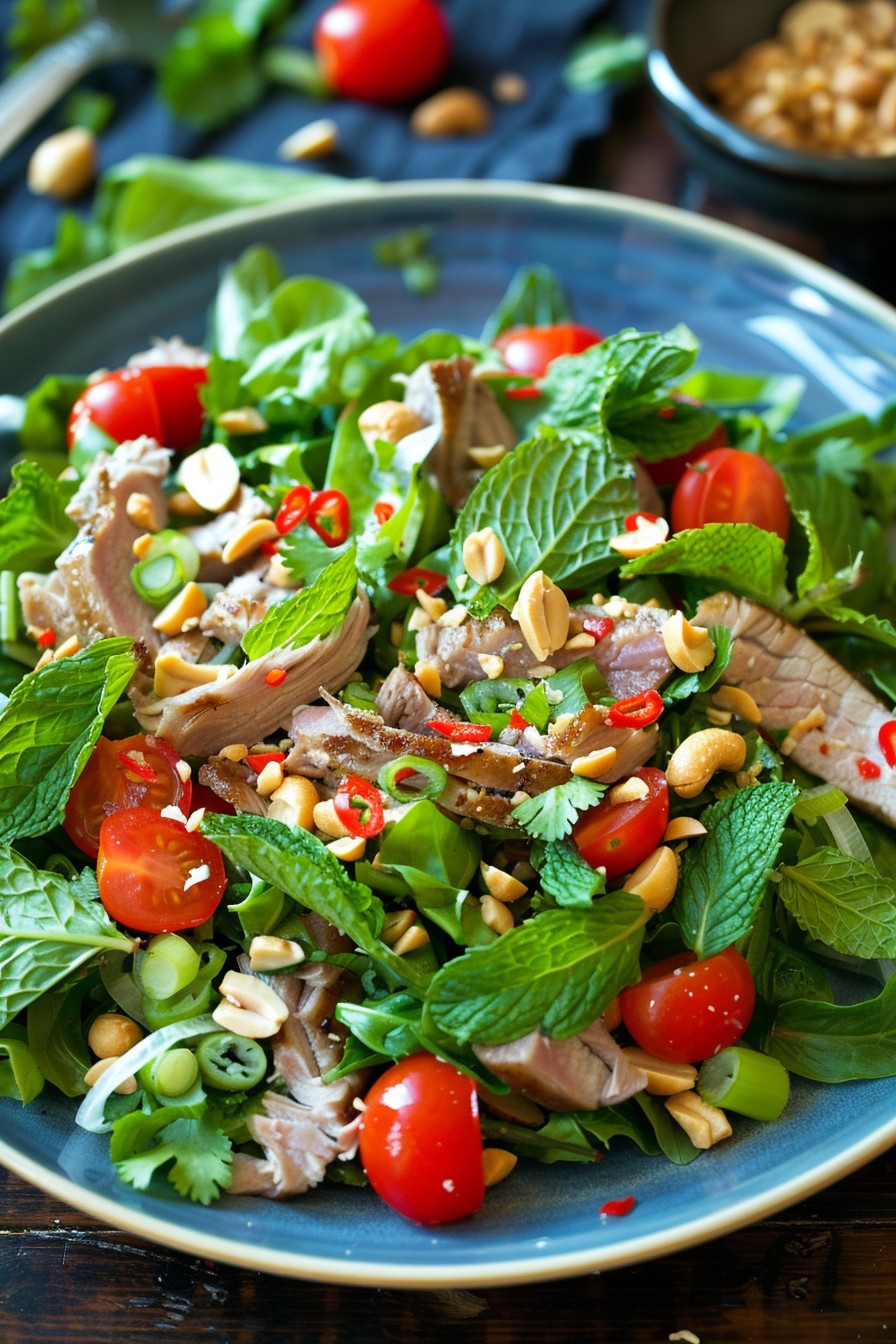
- This dressing is incredibly versatile, pairing well with everything from delicate greens to hearty grains.
- It’s quick and easy to make, requiring just a few simple ingredients and no cooking.
- The addition of Dijon mustard adds a subtle depth and helps emulsify the dressing for a smooth, cohesive texture.
Ingredients
- 1/2 cup pure maple syrup
- 1/4 cup apple cider vinegar
- 1/4 cup extra virgin olive oil
- 1 tablespoon Dijon mustard
- 1/2 teaspoon salt
- 1/4 teaspoon black pepper
Equipment Needed
- Measuring cups and spoons
- Small whisk or fork
- Mixing bowl
- Airtight container for storage
Instructions
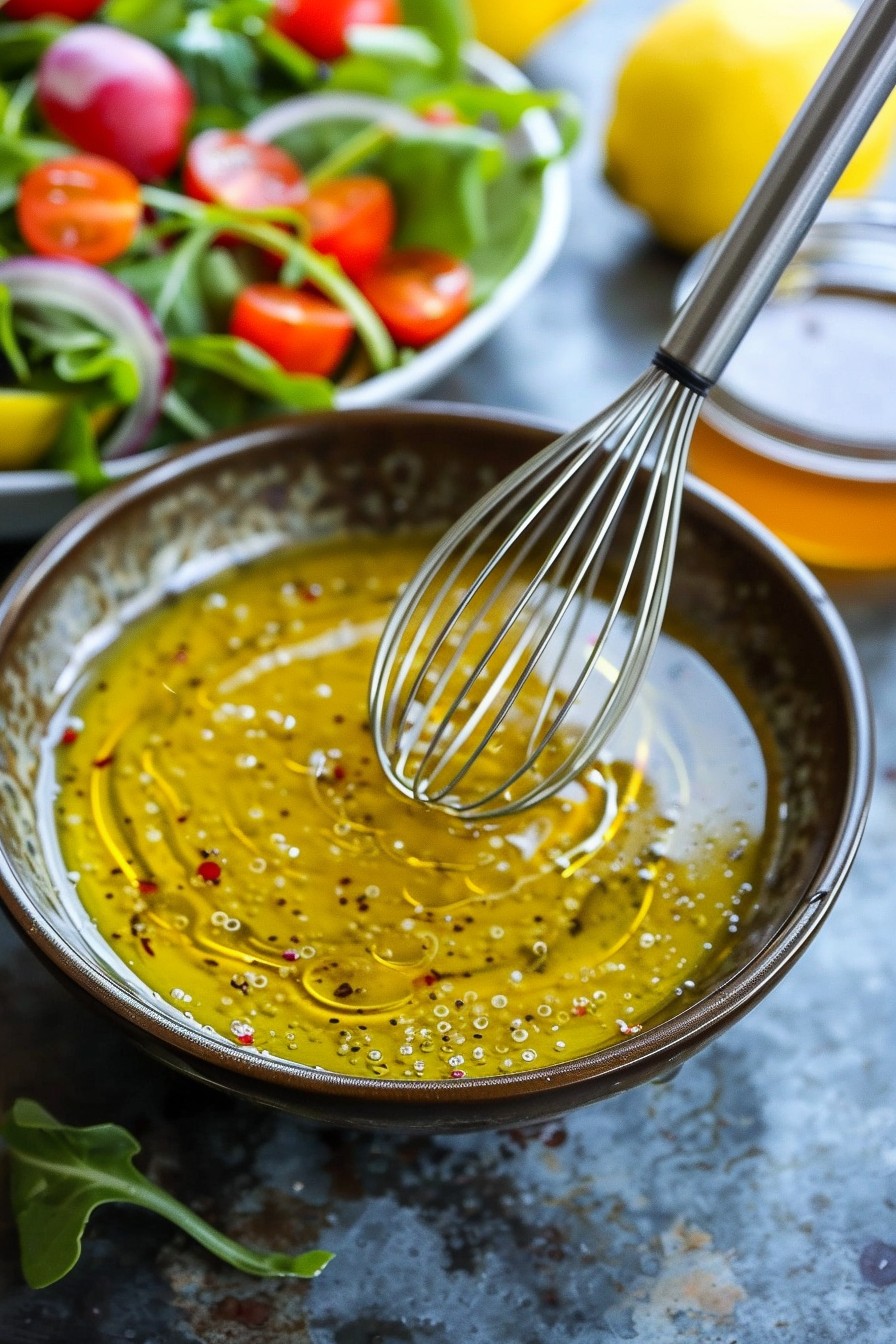
Step 1: Combine the Wet Ingredients
In a mixing bowl, whisk together the pure maple syrup and apple cider vinegar until well combined. The sweetness of the maple syrup will start to mellow the acidity of the vinegar, creating a balanced base for your dressing.
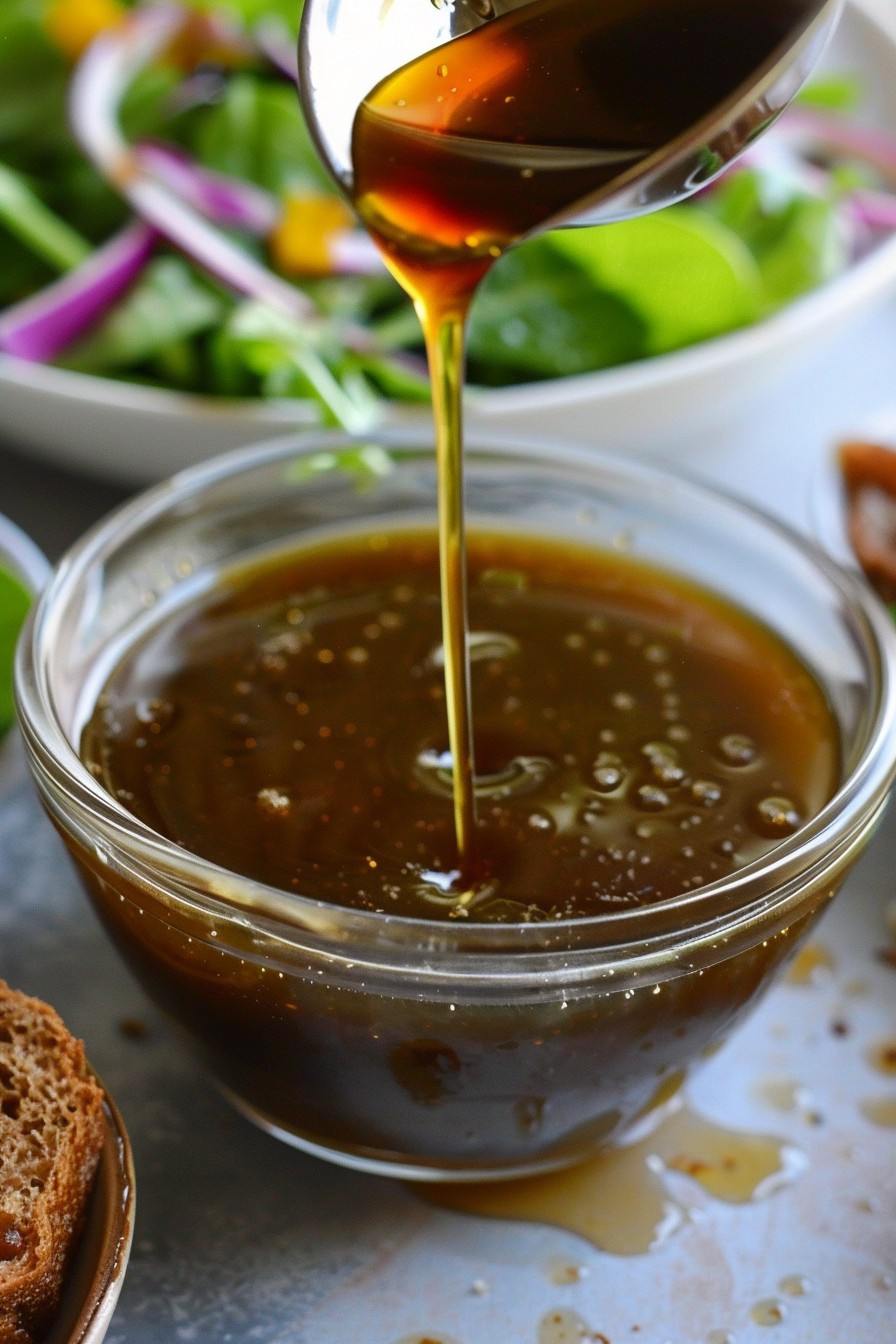
Step 2: Emulsify with Olive Oil
Slowly drizzle in the extra virgin olive oil while continuously whisking. This gradual addition helps the oil blend seamlessly with the maple and vinegar, preventing separation and ensuring a smooth, velvety texture.
Step 3: Add the Mustard and Seasonings
Stir in the Dijon mustard, salt, and black pepper. The mustard not only adds a layer of flavor but also acts as an emulsifier, keeping your dressing perfectly mixed. Taste and adjust the seasonings as needed.
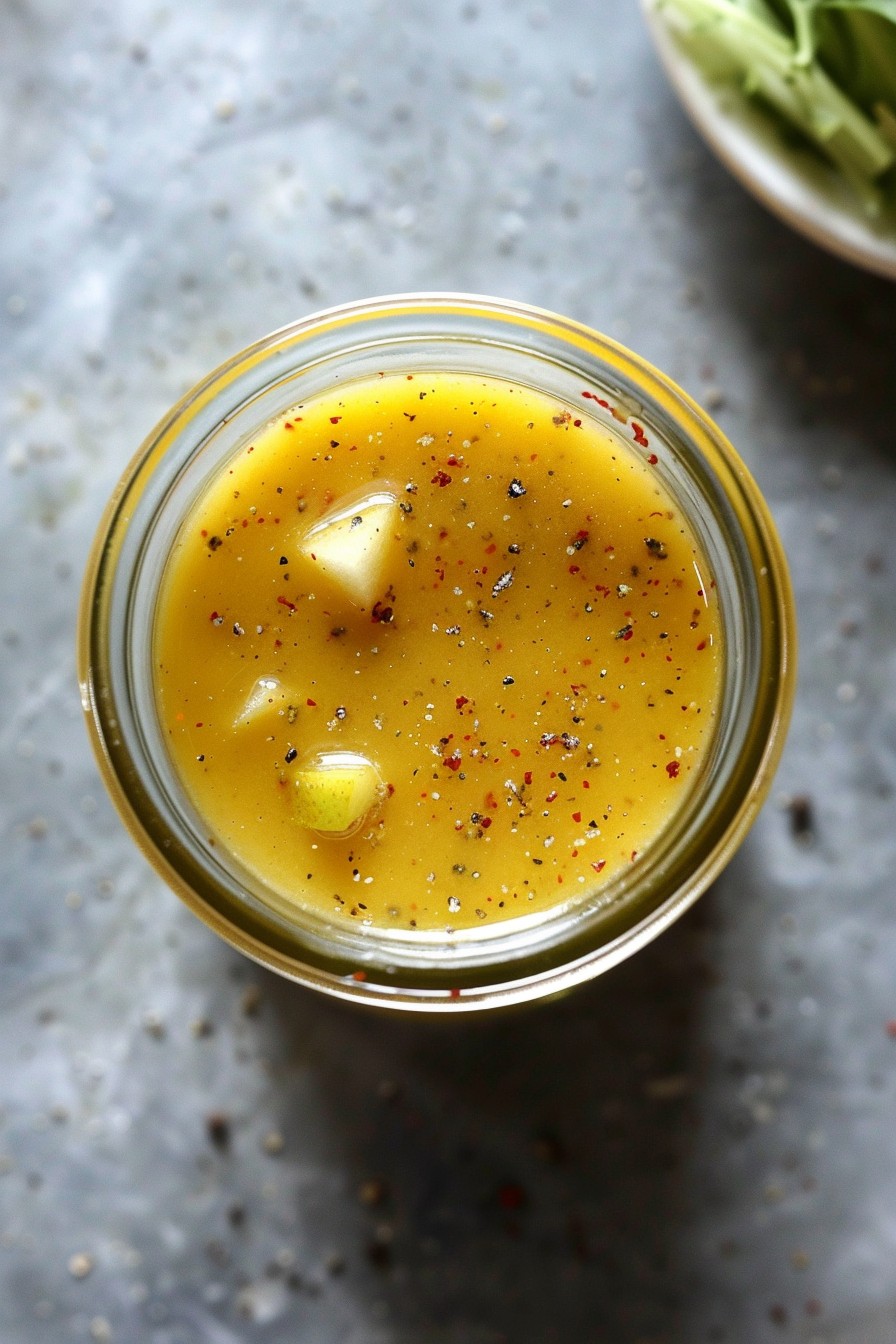
Step 4: Let the Flavors Marry
Transfer the dressing to an airtight container and let it sit in the refrigerator for at least 30 minutes before serving. This resting period allows the flavors to meld together beautifully.
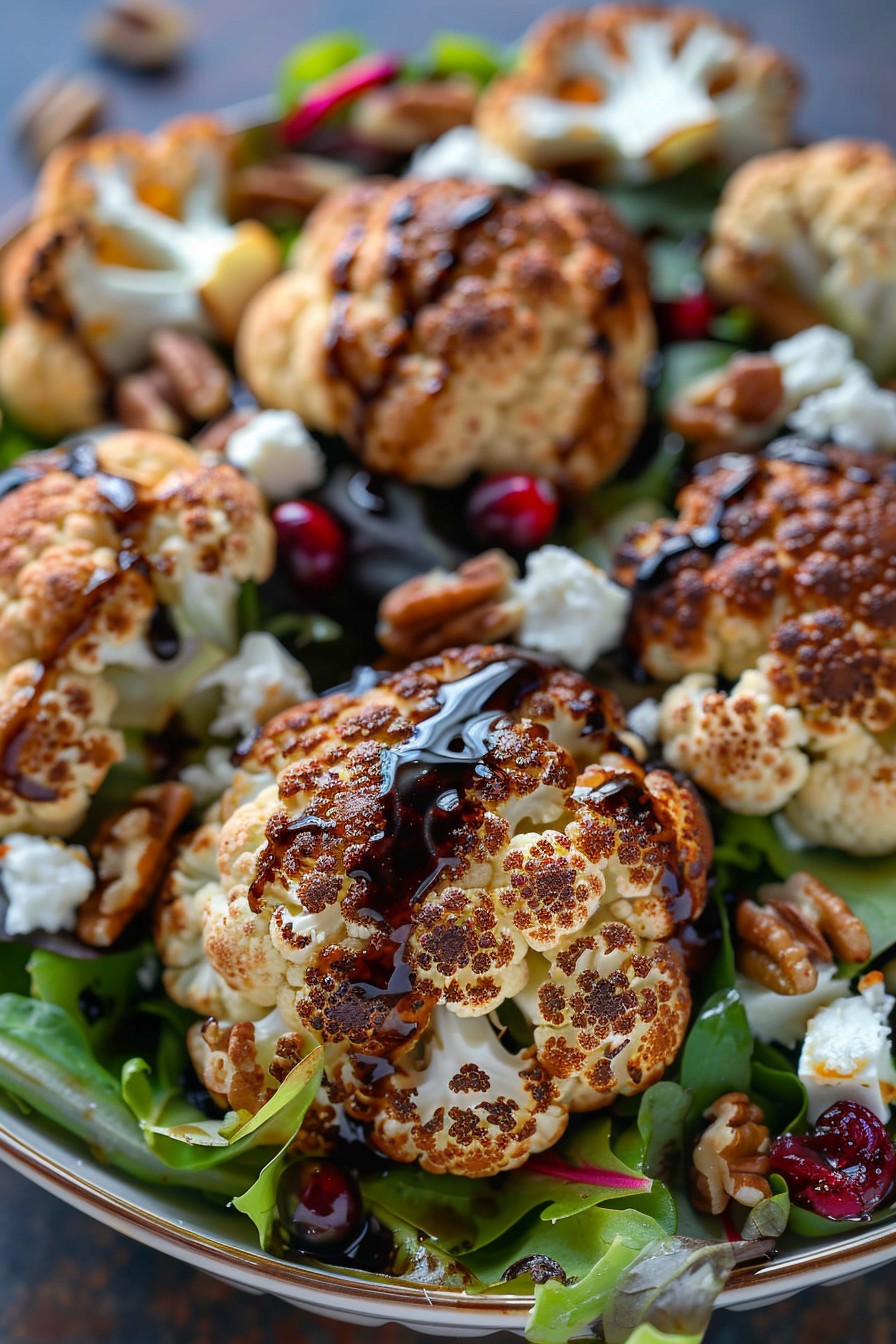
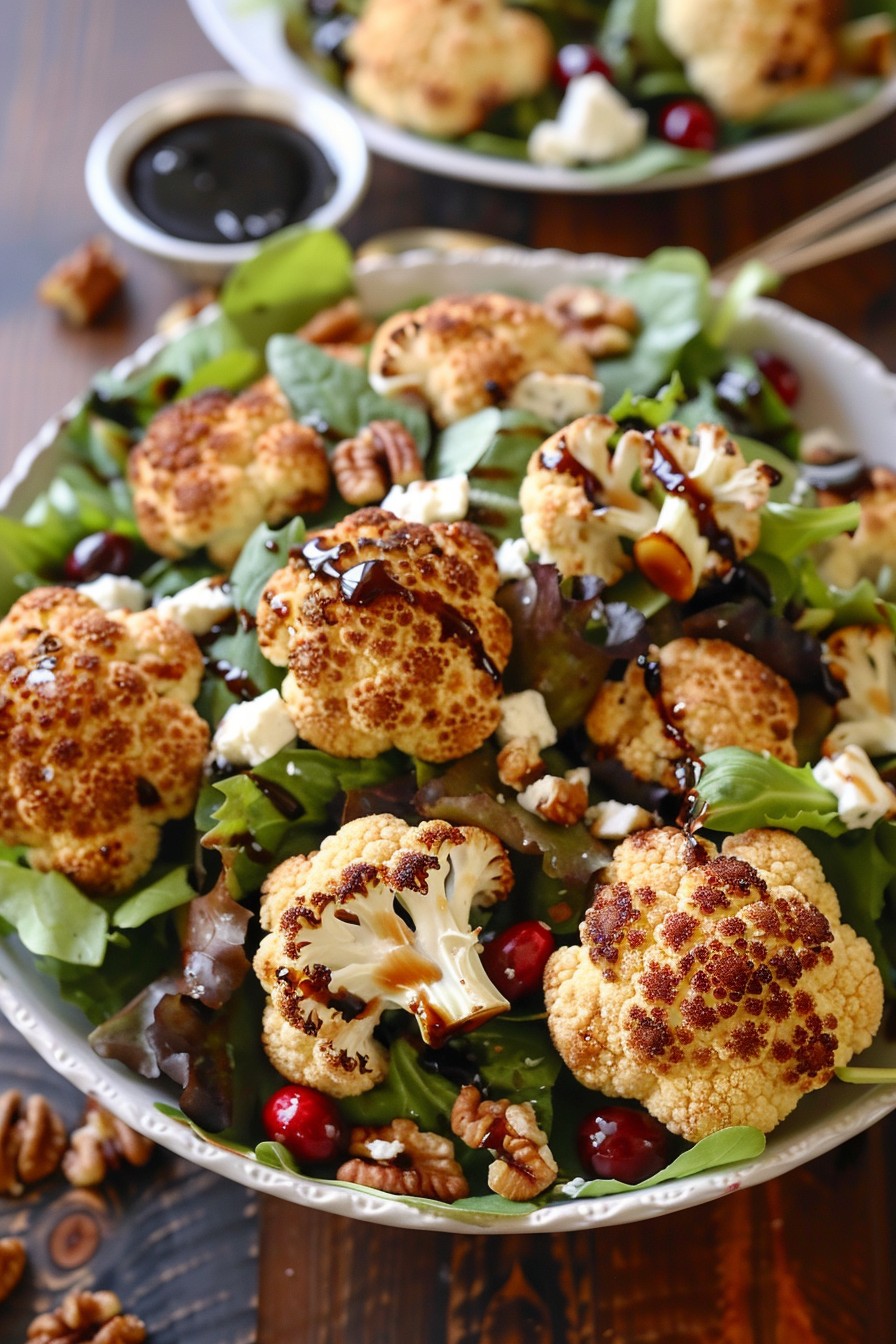
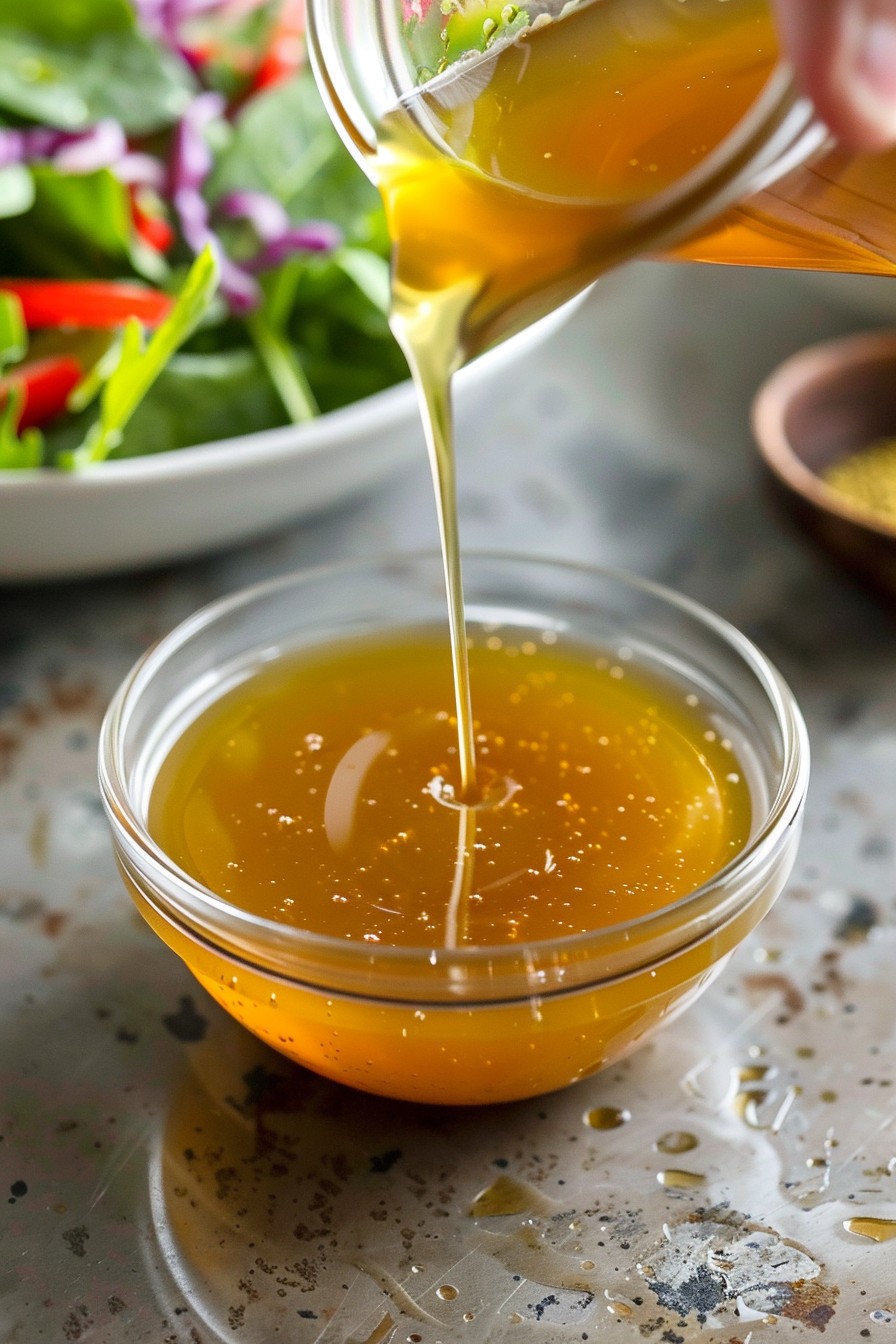
Step 5: Serve and Enjoy
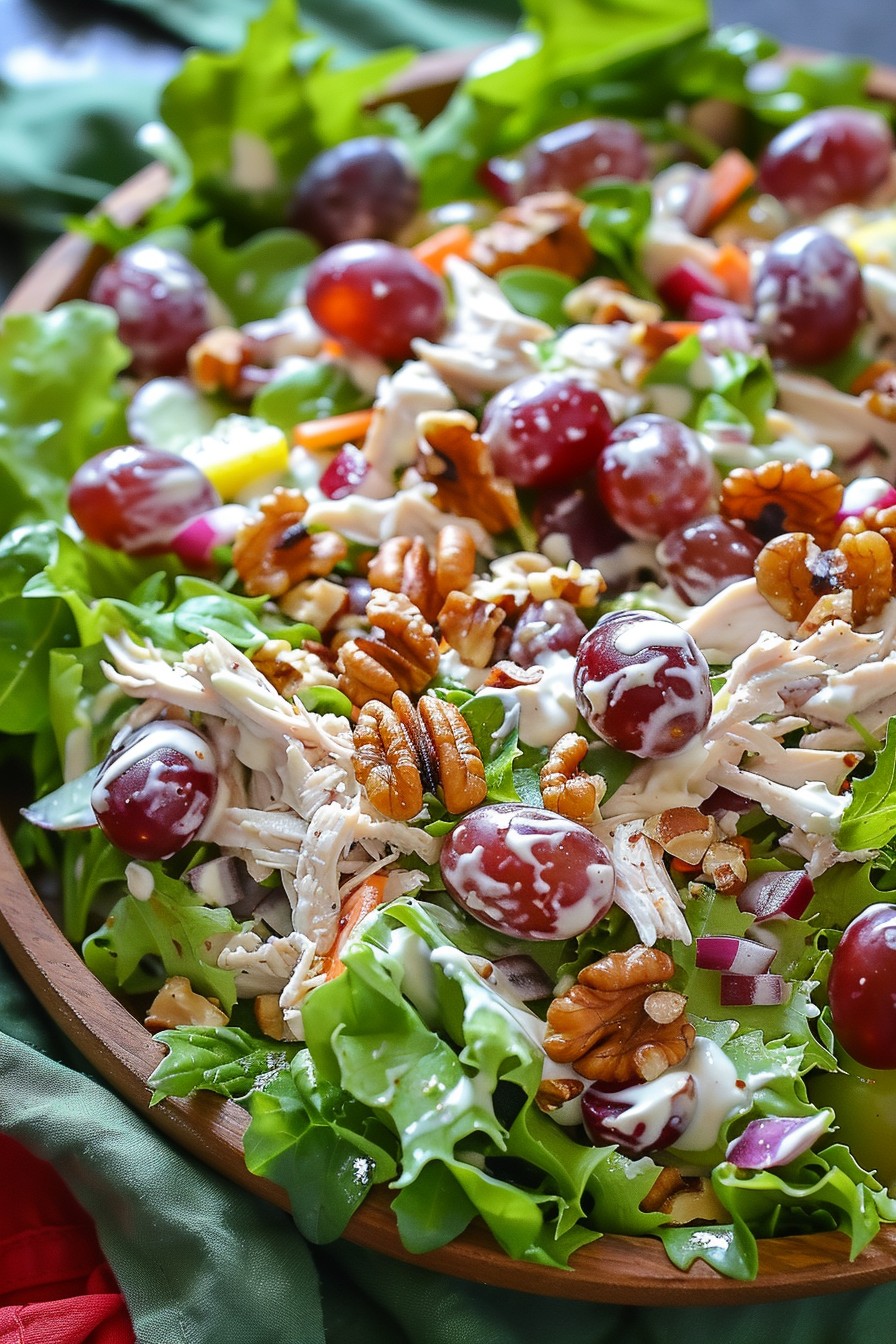
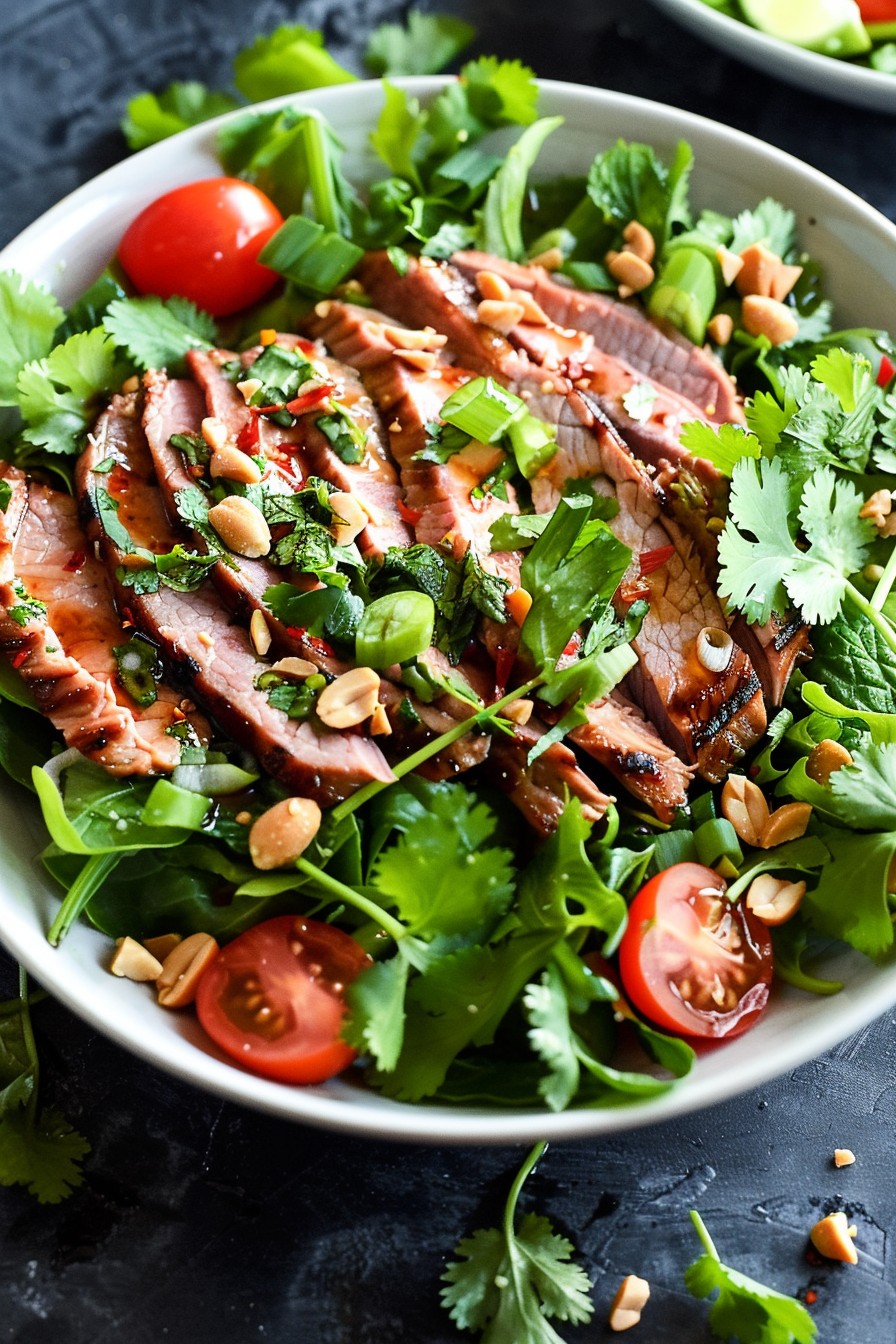
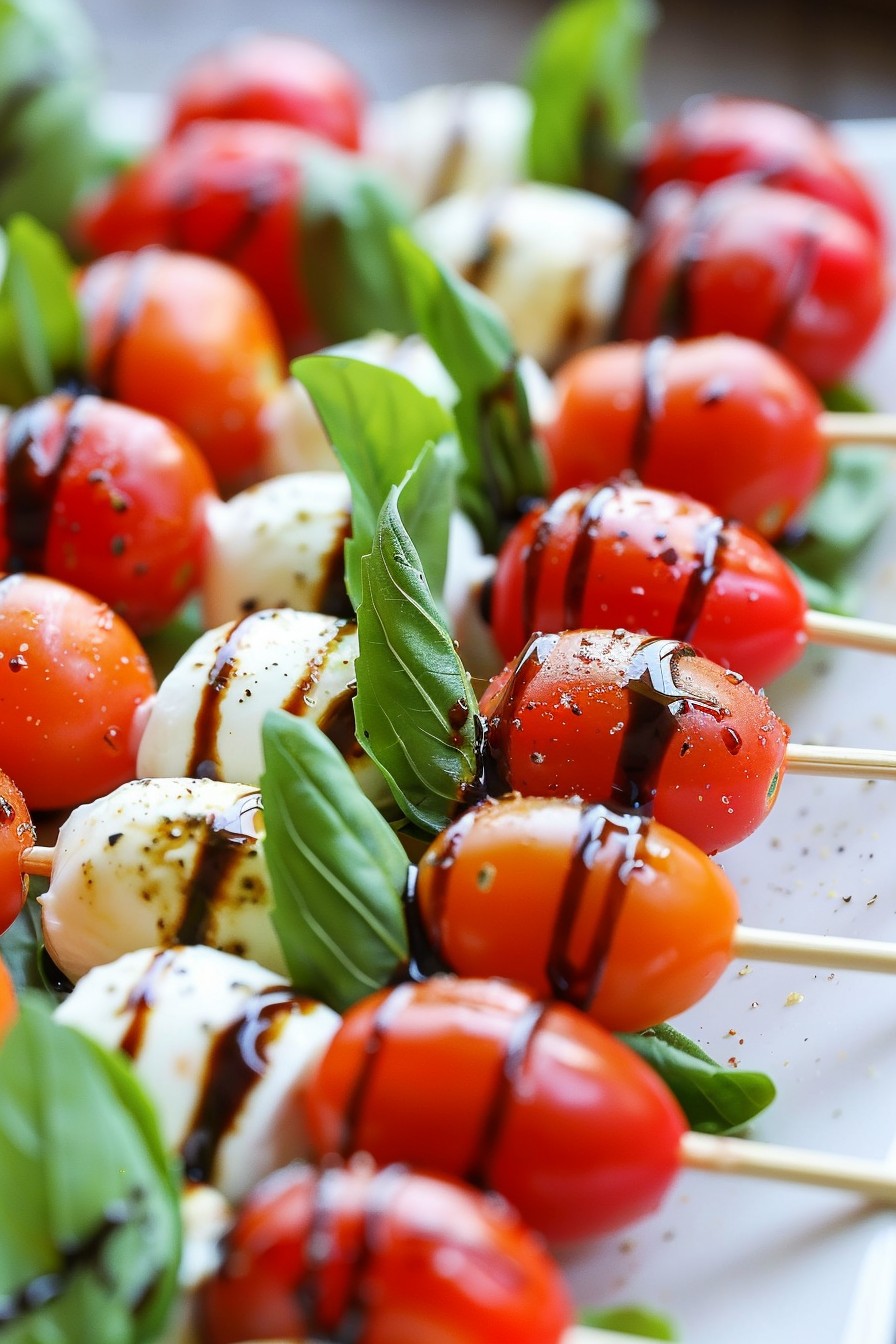
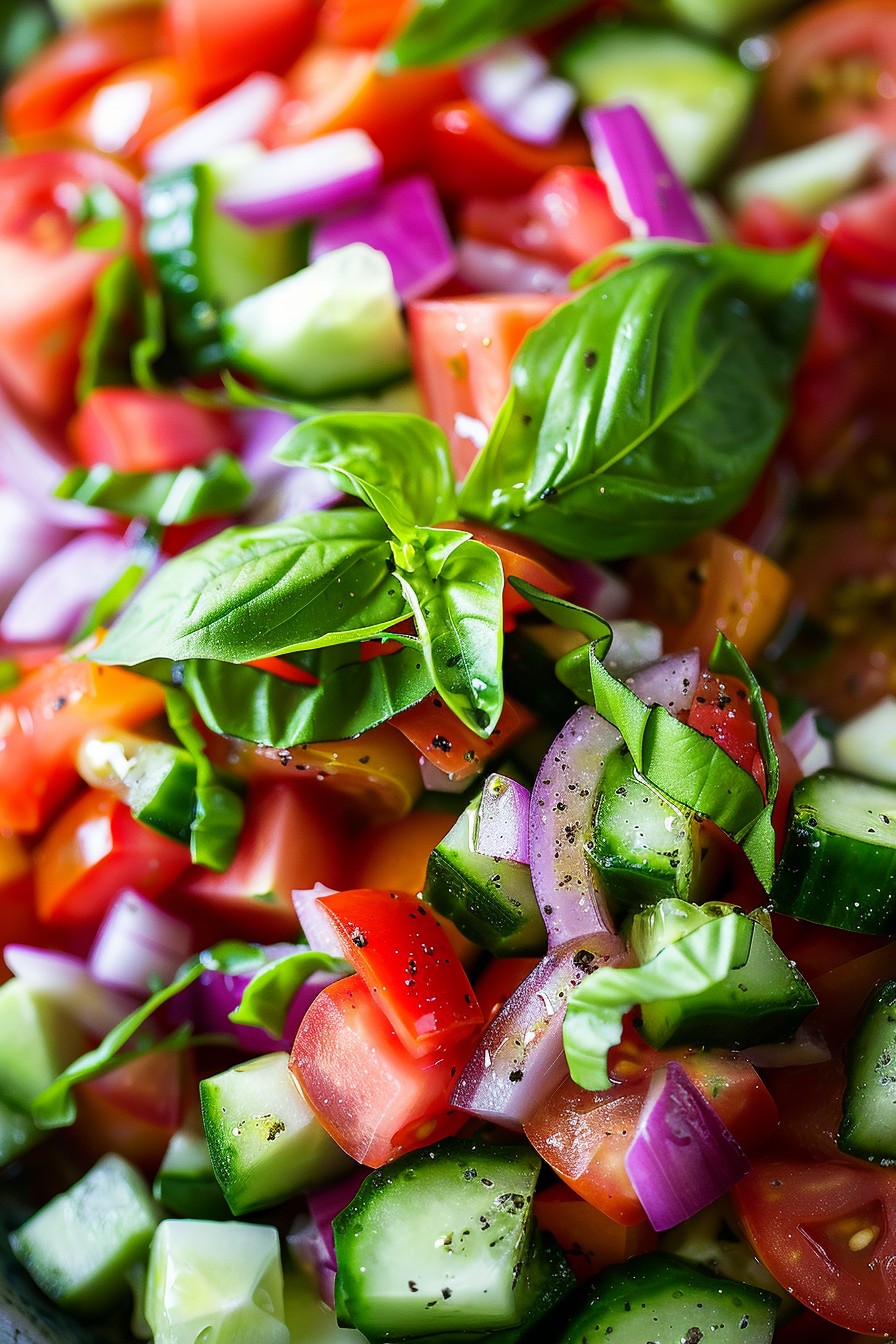
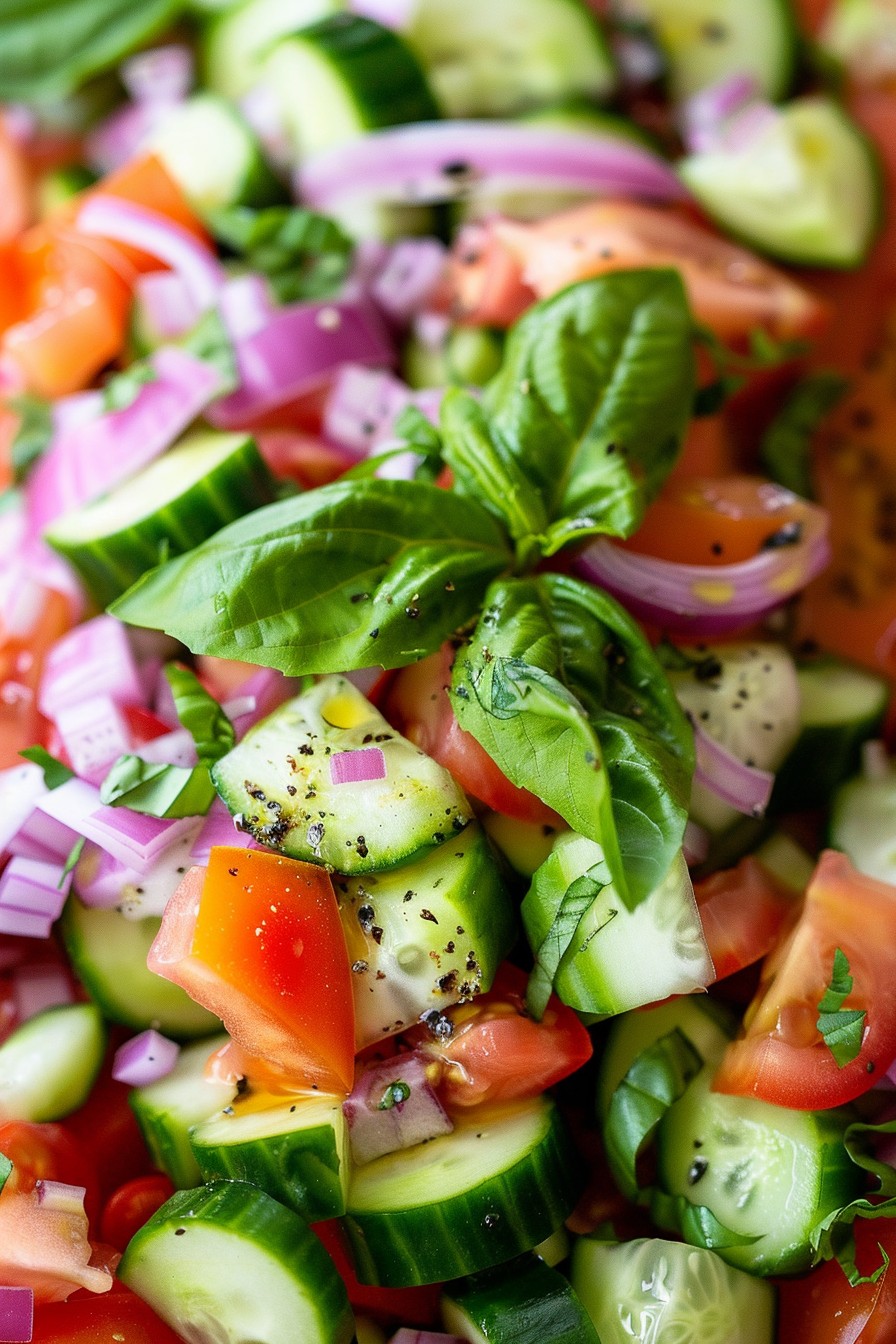
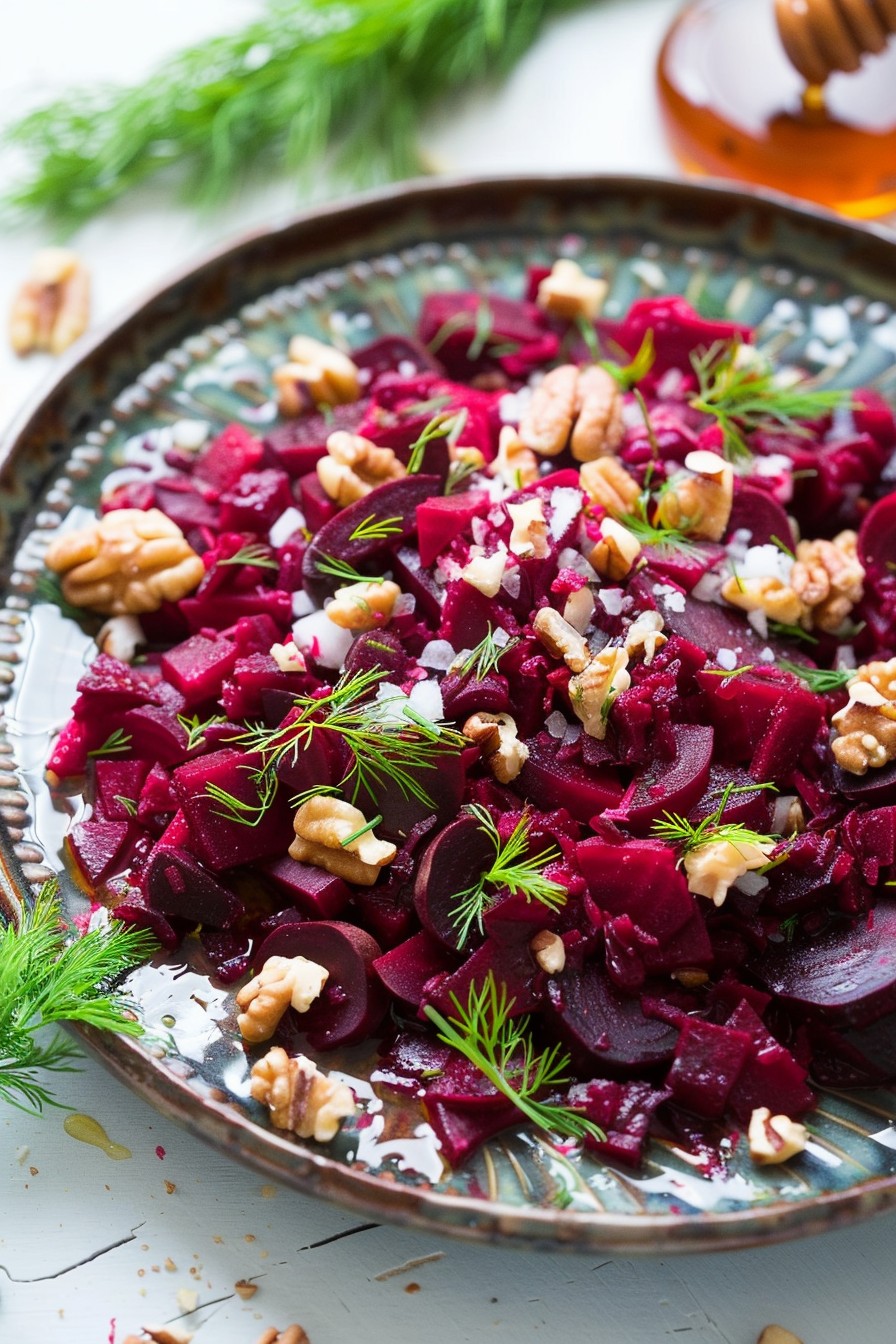
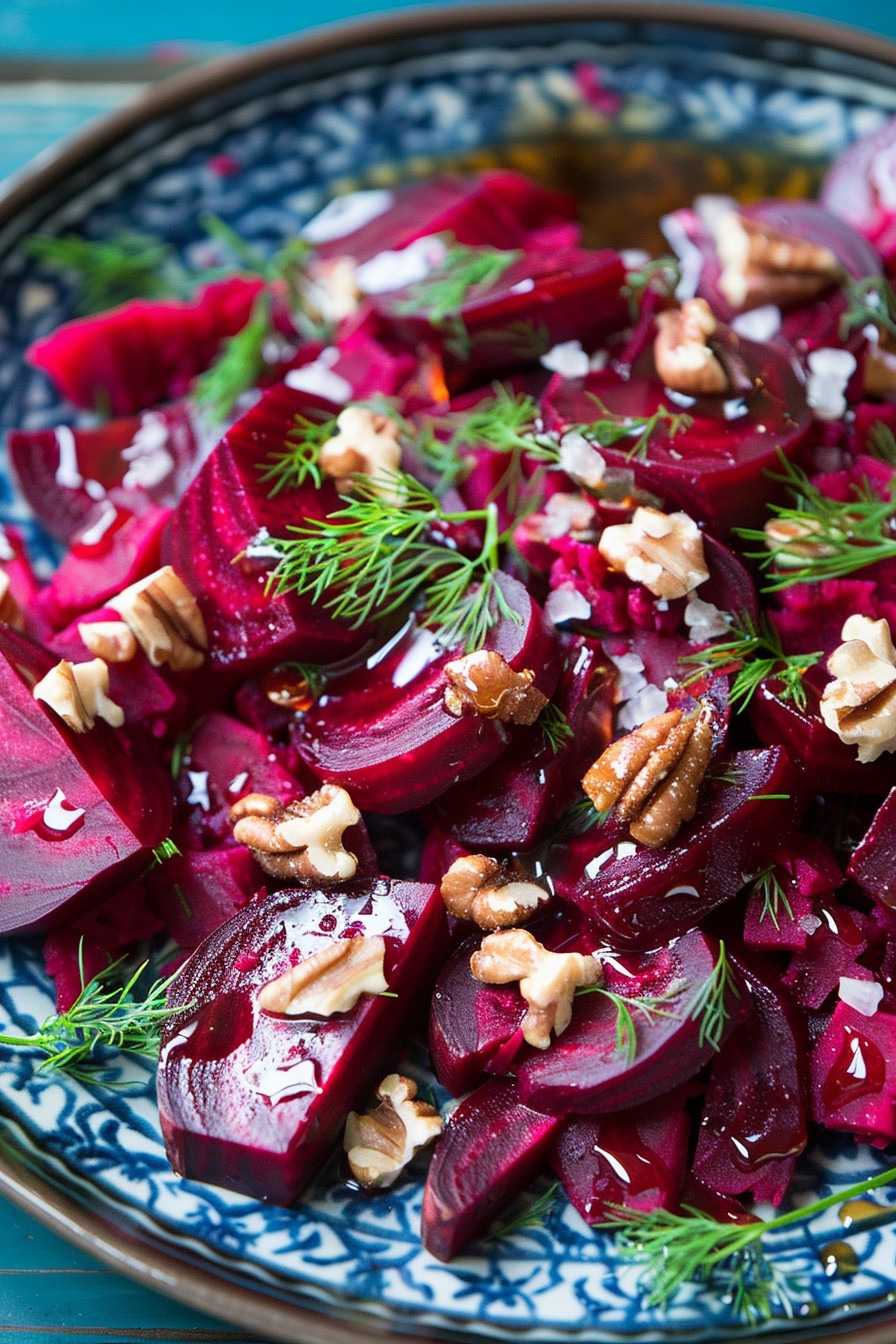
Drizzle your maple salad dressing over your favorite salad just before serving. The vibrant flavors will elevate any combination of greens, nuts, and fruits.
Tips and Tricks
For an even smoother dressing, consider blending all the ingredients in a small blender or food processor. This method ensures a perfectly emulsified dressing every time. If you prefer a thicker consistency, reduce the amount of olive oil slightly. To add a spicy kick, include a pinch of cayenne pepper or a small amount of grated fresh ginger. Always use pure maple syrup for the best flavor; imitation syrups contain additives that can alter the taste and texture of your dressing.
Recipe Variations
- For a creamier version, add a tablespoon of Greek yogurt or mayonnaise.
- Incorporate fresh herbs like thyme or rosemary for an aromatic twist.
- Swap apple cider vinegar for balsamic vinegar for a deeper, richer flavor.
- Add a teaspoon of soy sauce or tamari for a umami-packed variation.
- For a nutty flavor, whisk in a tablespoon of tahini or almond butter.
Frequently Asked Questions
Can I use honey instead of maple syrup?
Yes, honey can be a great substitute for maple syrup if you’re looking for a different kind of sweetness. However, keep in mind that honey has a more floral taste, which will slightly alter the flavor profile of your dressing. Start with a smaller amount and adjust to taste, as honey can be sweeter than maple syrup.
How long can I store this dressing?
This maple salad dressing can be stored in an airtight container in the refrigerator for up to two weeks. Before using, give it a good shake or stir to recombine any separated ingredients. The olive oil may solidify slightly when chilled, but it will return to its liquid state at room temperature.
Is this dressing vegan?
Yes, this dressing is vegan as long as you use pure maple syrup and ensure that your Dijon mustard doesn’t contain any honey or other animal-derived ingredients. It’s a great option for those following a plant-based diet, offering a delicious way to add flavor to salads and other dishes.
Summary
This maple salad dressing is a simple yet transformative recipe that brings a perfect balance of sweetness and tang to any salad. With just a few ingredients and minimal prep time, it’s an easy way to elevate your meals. Experiment with the variations to find your favorite combination, and enjoy the delicious results.