Category: Salad Dressing Recipes

  • Maple Salad Dressing Recipe: Sweet & Tangy Delight

    Maple Salad Dressing Recipe: Sweet & Tangy Delight

    Unlock the secret to transforming your salads from mundane to magnificent with this irresistibly sweet and tangy maple salad dressing. Perfect for drizzling over your favorite greens, this dressing is a game-changer that’ll have everyone asking for the recipe.

    Why This Recipe Works

    • The perfect balance of sweet maple syrup and tangy vinegar creates a flavor profile that’s both complex and delightful.
    • Using high-quality, pure maple syrup ensures a rich, authentic taste that artificial syrups can’t match.
    • This dressing is incredibly versatile, pairing well with everything from delicate greens to hearty grains.
    • It’s quick and easy to make, requiring just a few simple ingredients and no cooking.
    • The addition of Dijon mustard adds a subtle depth and helps emulsify the dressing for a smooth, cohesive texture.

    Ingredients

    • 1/2 cup pure maple syrup
    • 1/4 cup apple cider vinegar
    • 1/4 cup extra virgin olive oil
    • 1 tablespoon Dijon mustard
    • 1/2 teaspoon salt
    • 1/4 teaspoon black pepper

    Equipment Needed

    • Measuring cups and spoons
    • Small whisk or fork
    • Mixing bowl
    • Airtight container for storage

    Instructions
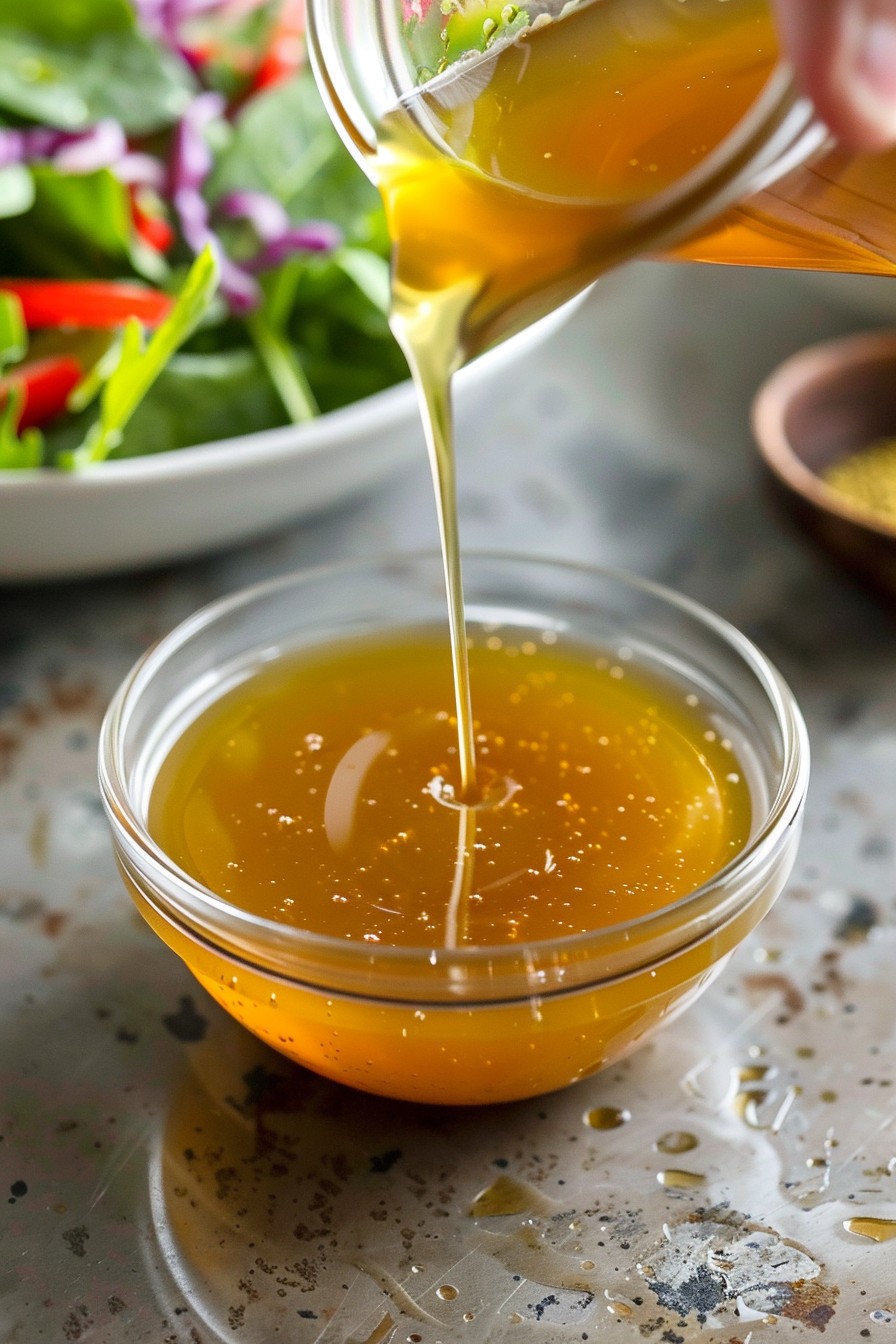
    Maple Salad Dressing Recipe

    Step 1: Combine the Wet Ingredients

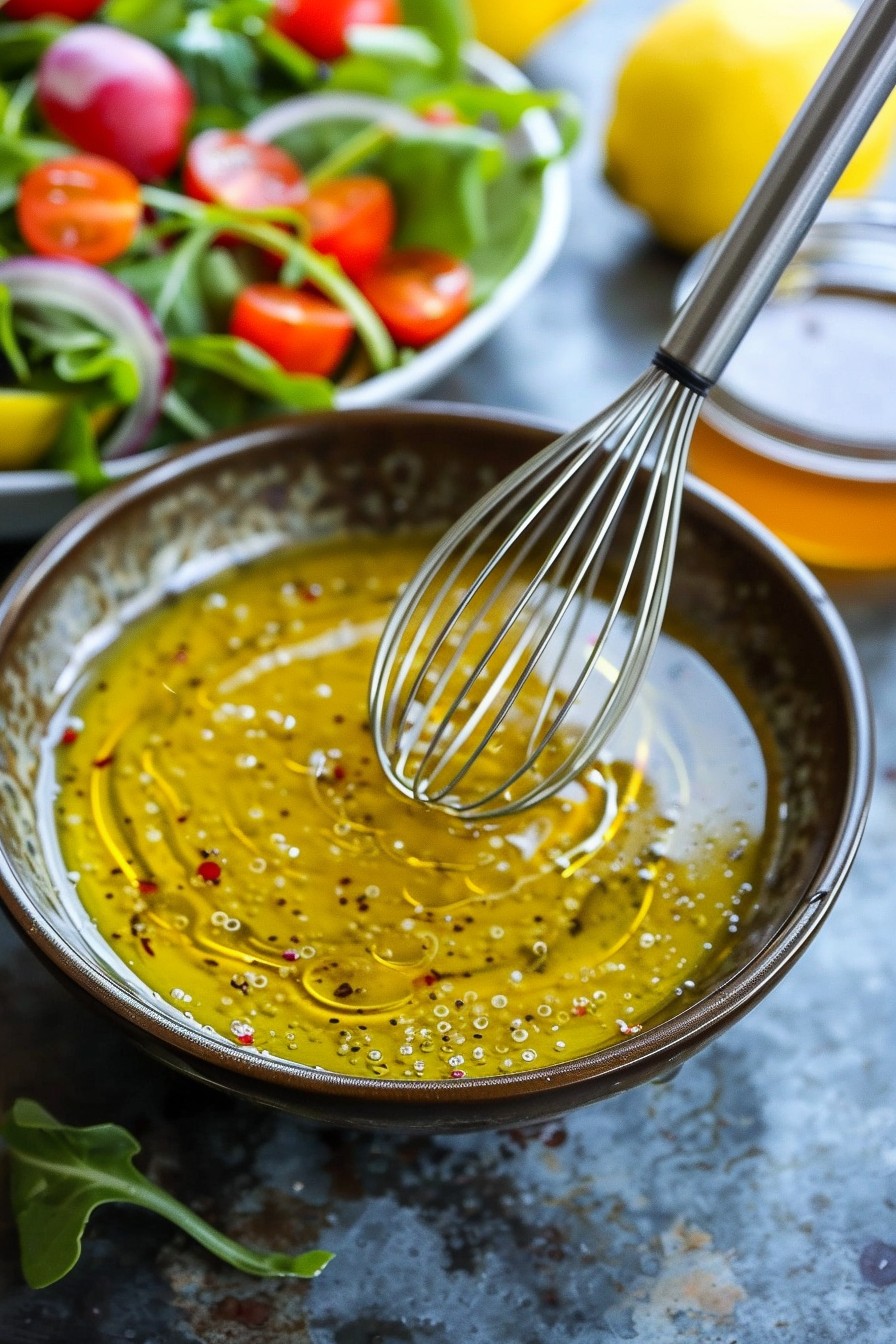
    In a mixing bowl, whisk together the pure maple syrup and apple cider vinegar until well combined. The sweetness of the maple syrup will start to mellow the acidity of the vinegar, creating a balanced base for your dressing.

    Step 2: Emulsify with Olive Oil

    Slowly drizzle in the extra virgin olive oil while continuously whisking. This gradual addition helps the oil blend seamlessly with the maple and vinegar, preventing separation and ensuring a smooth, velvety texture.

    Step 3: Add the Mustard and Seasonings

    Stir in the Dijon mustard, salt, and black pepper. The mustard not only adds a layer of flavor but also acts as an emulsifier, keeping your dressing perfectly mixed. Taste and adjust the seasonings as needed.

    Step 4: Let the Flavors Marry

    Transfer the dressing to an airtight container and let it sit in the refrigerator for at least 30 minutes before serving. This resting period allows the flavors to meld together beautifully.

    Step 5: Serve and Enjoy

    Drizzle your maple salad dressing over your favorite salad just before serving. The vibrant flavors will elevate any combination of greens, nuts, and fruits.

    Tips and Tricks

    For an even smoother dressing, consider blending all the ingredients in a small blender or food processor. This method ensures a perfectly emulsified dressing every time. If you prefer a thicker consistency, reduce the amount of olive oil slightly. To add a spicy kick, include a pinch of cayenne pepper or a small amount of grated fresh ginger. Always use pure maple syrup for the best flavor; imitation syrups contain additives that can alter the taste and texture of your dressing.

    Recipe Variations

    • For a creamier version, add a tablespoon of Greek yogurt or mayonnaise.
    • Incorporate fresh herbs like thyme or rosemary for an aromatic twist.
    • Swap apple cider vinegar for balsamic vinegar for a deeper, richer flavor.
    • Add a teaspoon of soy sauce or tamari for a umami-packed variation.
    • For a nutty flavor, whisk in a tablespoon of tahini or almond butter.

    Frequently Asked Questions

    Can I use honey instead of maple syrup?

    Yes, honey can be a great substitute for maple syrup if you’re looking for a different kind of sweetness. However, keep in mind that honey has a more floral taste, which will slightly alter the flavor profile of your dressing. Start with a smaller amount and adjust to taste, as honey can be sweeter than maple syrup.

    How long can I store this dressing?

    This maple salad dressing can be stored in an airtight container in the refrigerator for up to two weeks. Before using, give it a good shake or stir to recombine any separated ingredients. The olive oil may solidify slightly when chilled, but it will return to its liquid state at room temperature.

    Is this dressing vegan?

    Yes, this dressing is vegan as long as you use pure maple syrup and ensure that your Dijon mustard doesn’t contain any honey or other animal-derived ingredients. It’s a great option for those following a plant-based diet, offering a delicious way to add flavor to salads and other dishes.

    Summary

    This maple salad dressing is a simple yet transformative recipe that brings a perfect balance of sweetness and tang to any salad. With just a few ingredients and minimal prep time, it’s an easy way to elevate your meals. Experiment with the variations to find your favorite combination, and enjoy the delicious results.
  • Quinoa Salad Dressing Recipe: A Zesty Twist to Your Greens

    Quinoa Salad Dressing Recipe: A Zesty Twist to Your Greens

    Today’s the day to elevate your quinoa salad from mundane to magnificent with this zesty dressing recipe. Trust me, your taste buds will thank you for this flavorful upgrade.

    Why This Recipe Works

    • It combines the tanginess of lemon juice with the richness of olive oil for a perfectly balanced flavor.
    • The addition of garlic and honey adds depth and a hint of sweetness that complements the quinoa beautifully.
    • It’s versatile enough to pair with any quinoa salad mix, making it a must-have in your recipe arsenal.

    Ingredients

    • 1/2 cup extra virgin olive oil
    • 1/4 cup fresh lemon juice
    • 2 cloves garlic, minced
    • 1 tablespoon honey
    • 1 teaspoon Dijon mustard
    • Salt and pepper to taste

    Equipment Needed

    • Measuring cups and spoons
    • A small whisk or fork
    • A small bowl for mixing

    Instructions

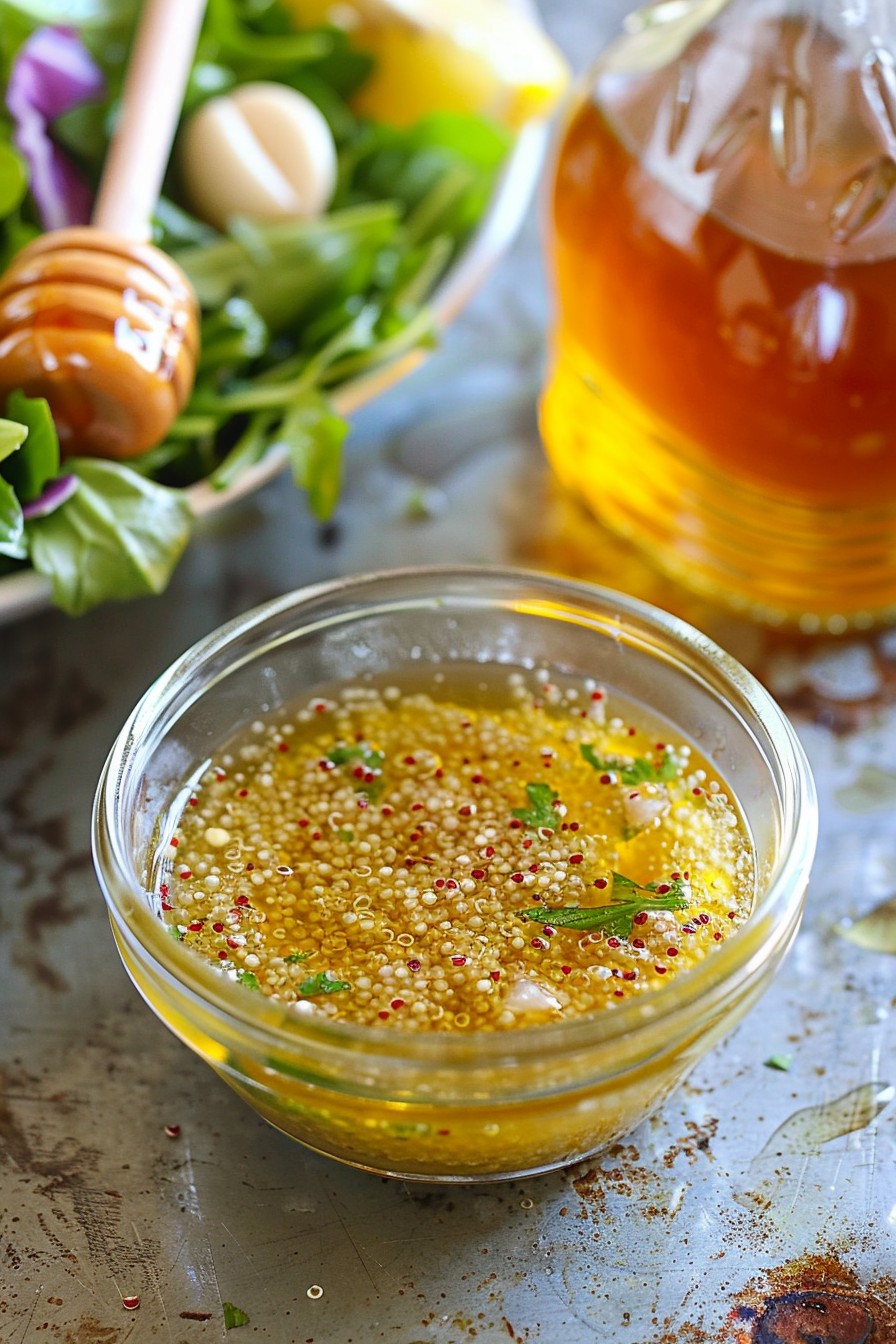
    Quinoa Salad Dressing Recipe

    Step 1: Combine the Wet Ingredients

    In your small bowl, start by whisking together the olive oil and lemon juice. This creates the base of your dressing. The key here is to whisk vigorously for about a minute to ensure the mixture starts to emulsify, which will give your dressing a smoother texture.

    Step 2: Add the Flavor Enhancers

    Next, add the minced garlic, honey, and Dijon mustard to the bowl. These ingredients are crucial for adding depth and complexity to your dressing. Whisk them in until everything is well combined. At this stage, you’ll start to see the dressing come together with a lovely, uniform consistency.

    Step 3: Season to Perfection

    Now, it’s time to season your dressing with salt and pepper. Start with a pinch of each, then taste and adjust as needed. Remember, the dressing should be flavorful but not overpowering, as it will be coating your quinoa and other salad ingredients.

    Step 4: Let It Marry

    Cover the bowl with plastic wrap and let the dressing sit at room temperature for at least 15 minutes. This allows the flavors to meld together beautifully. If you’re planning ahead, you can also refrigerate it overnight for even more depth of flavor.

    Step 5: Give It a Final Whisk

    Before serving, give the dressing one last vigorous whisk to recombine any ingredients that may have separated. Then, drizzle it over your quinoa salad and toss to coat evenly. Enjoy the burst of flavors!

    Tips and Tricks

    For an even smoother dressing, consider using a blender or food processor to combine all the ingredients. This method ensures a perfectly emulsified dressing every time. If you prefer a thicker consistency, you can add a bit more Dijon mustard or even a teaspoon of tahini. And for those who love a bit of heat, a pinch of red pepper flakes can add a nice kick.

    Recipe Variations

    • For a creamier version, substitute half of the olive oil with Greek yogurt.
    • Add fresh herbs like basil or cilantro for an herby twist.
    • Swap the lemon juice for apple cider vinegar for a different kind of tang.
    • Include a teaspoon of grated ginger for an Asian-inspired flavor profile.

    Frequently Asked Questions

    Can I make this dressing ahead of time? Absolutely! This dressing can be stored in an airtight container in the refrigerator for up to a week. Just give it a good shake or whisk before using.

    Is there a substitute for honey? Yes, you can use maple syrup or agave nectar as a vegan alternative to honey.

    Can I use bottled lemon juice? While fresh lemon juice is recommended for the best flavor, bottled lemon juice can work in a pinch. Just be aware that the flavor might not be as bright.

    Summary

    This quinoa salad dressing recipe is a simple yet flavorful way to enhance your salads. With its perfect balance of tangy, sweet, and savory notes, it’s sure to become a staple in your kitchen.

  • Pear Salad Dressing Recipe: A Sweet & Tangy Delight

    Pear Salad Dressing Recipe: A Sweet & Tangy Delight

    Welcome to a flavor-packed journey where pears take the spotlight in this irresistibly sweet and tangy salad dressing. Whether you’re dressing up a simple green salad or adding a gourmet touch to your favorite dishes, this pear salad dressing is your ticket to a taste sensation.

    Why This Recipe Works

    • The natural sweetness of pears balances the acidity of vinegar, creating a harmonious flavor profile.
    • Olive oil adds a smooth, rich texture that coats every leaf of your salad perfectly.
    • A hint of Dijon mustard introduces a subtle complexity that elevates the dressing beyond the ordinary.
    • It’s incredibly versatile, pairing well with a wide range of salads from leafy greens to fruit-based mixes.
    • Quick and easy to make, this dressing comes together in just minutes, saving you time without sacrificing taste.

    Ingredients

    • 1 ripe pear, peeled and diced
    • 1/4 cup olive oil
    • 2 tbsp apple cider vinegar
    • 1 tsp Dijon mustard
    • 1/2 tsp salt
    • 1/4 tsp black pepper

    Equipment Needed

    • Blender or food processor
    • Measuring cups and spoons
    • Knife and cutting board

    Instructions

    Pear Salad Dressing Recipe

    Step 1: Prepare the Pear

    Start by peeling and dicing the pear into small pieces. This ensures it blends smoothly into the dressing. A ripe pear is key here for maximum sweetness and flavor.

    Step 2: Blend the Base

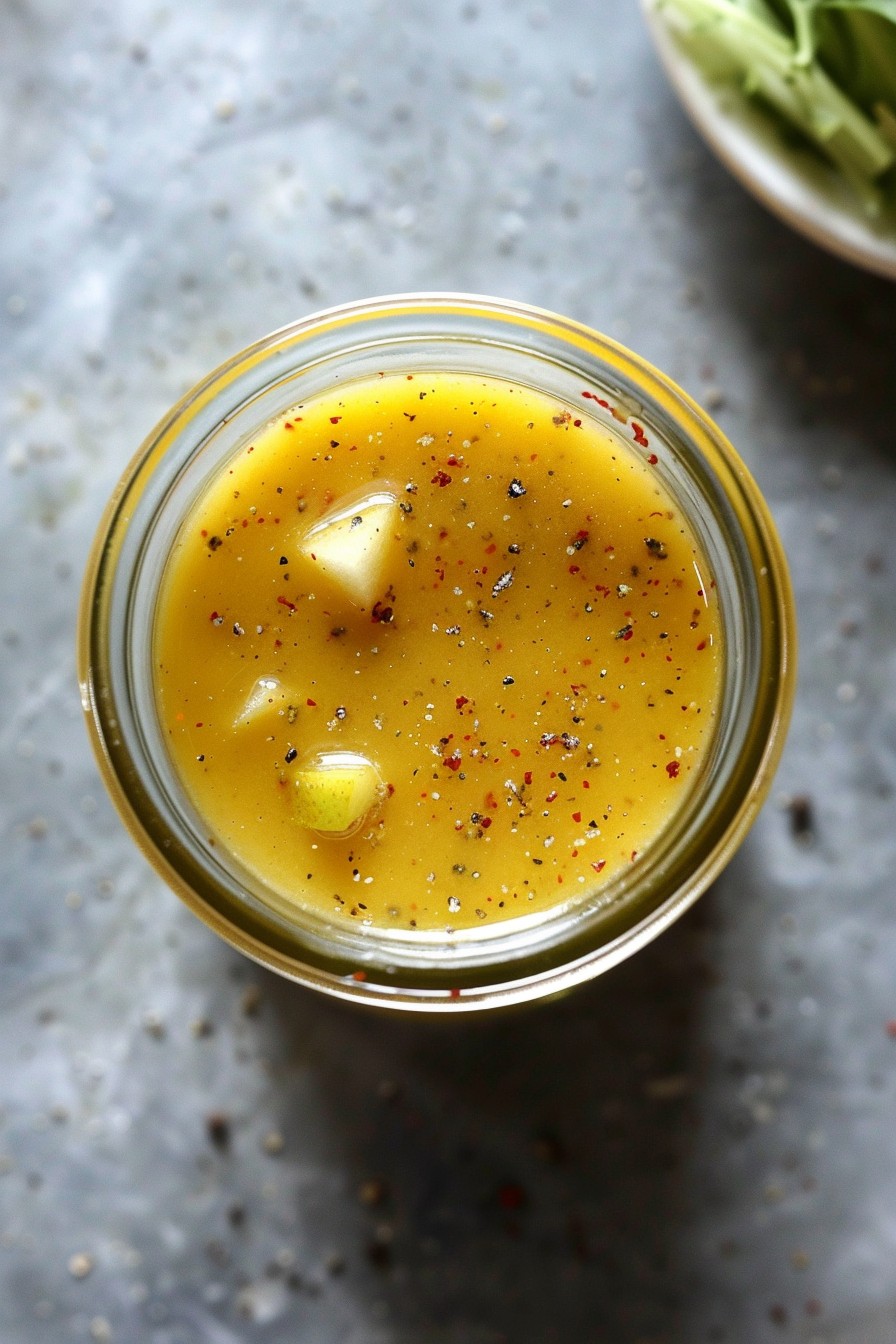
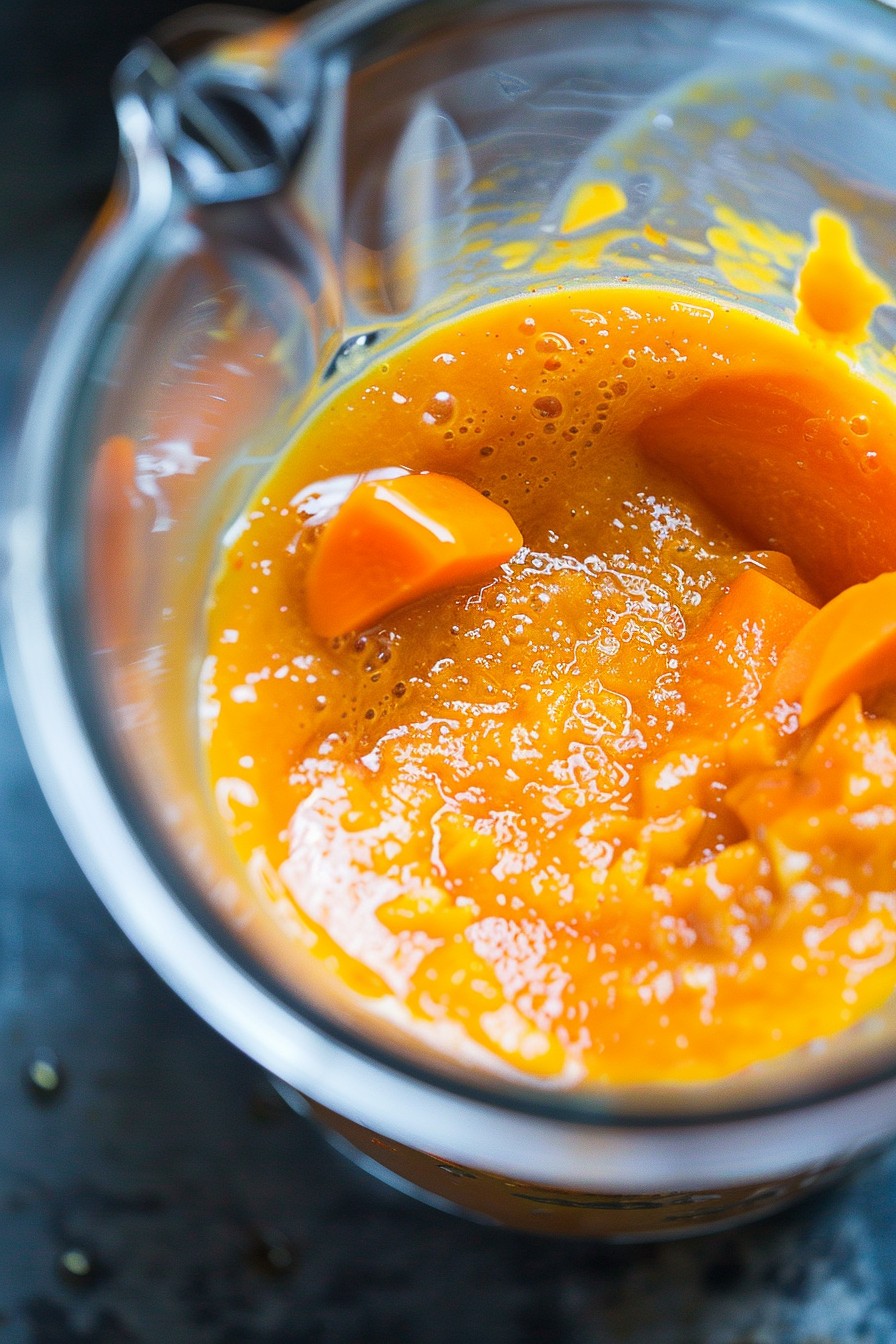
    Combine the diced pear, apple cider vinegar, and Dijon mustard in a blender. Blend on high until the mixture is completely smooth, about 30 seconds. This creates the flavorful foundation of your dressing.

    Step 3: Emulsify with Olive Oil

    With the blender running on low, slowly drizzle in the olive oil. This gradual addition helps emulsify the dressing, giving it a creamy, cohesive texture. Once all the oil is added, blend for another 10 seconds to ensure it’s fully incorporated.

    Step 4: Season to Perfection

    Add the salt and black pepper to the blender. Give it a quick pulse to mix in the seasonings evenly. Taste and adjust the seasoning if necessary, keeping in mind the dressing will taste slightly less intense once tossed with salad.

    Step 5: Serve or Store

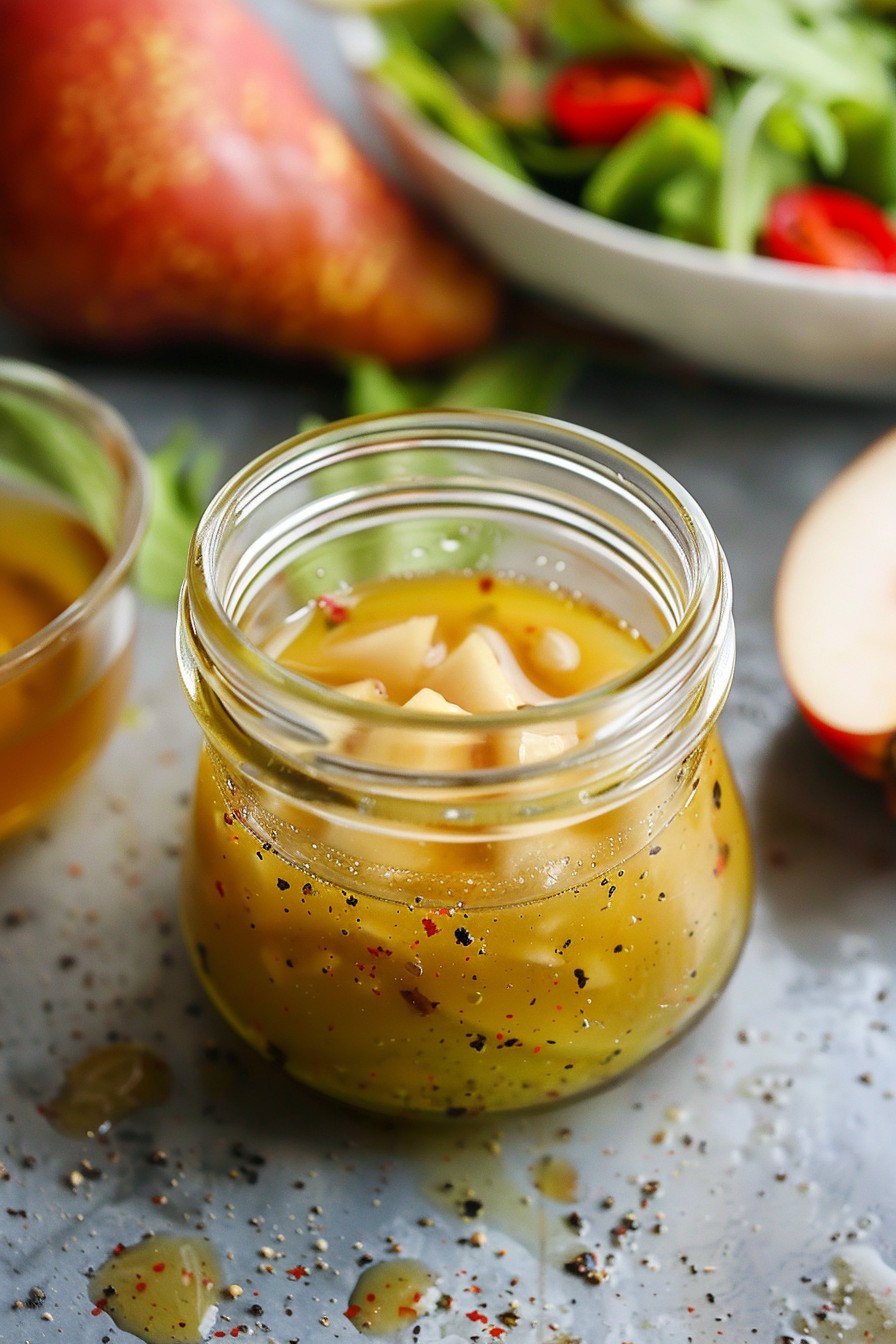
    Your pear salad dressing is now ready to use! Pour it over your favorite salad immediately, or store it in an airtight container in the refrigerator for up to a week. Shake well before each use as separation is natural.

    Tips and Tricks

    For an extra smooth dressing, strain the blended mixture through a fine mesh sieve to remove any remaining pear pulp. If you prefer a chunkier texture, reserve a small amount of diced pear to stir in after blending. To enhance the dressing’s flavor, let it sit in the refrigerator for an hour before serving, allowing the flavors to meld together beautifully. For a lighter version, you can substitute half of the olive oil with water or pear juice, though this may slightly alter the dressing’s richness and texture.

    Recipe Variations

    • Spicy Pear Dressing: Add a pinch of cayenne pepper or a small diced jalapeño to the blender for a spicy kick.
    • Creamy Pear Dressing: Incorporate 2 tablespoons of Greek yogurt or mayonnaise for a creamier texture.
    • Herbed Pear Dressing: Mix in fresh herbs like basil, thyme, or mint for an aromatic twist.
    • Nutty Pear Dressing: Blend in a tablespoon of almond or walnut butter for a nutty flavor and extra protein.
    • Citrus Pear Dressing: Replace the apple cider vinegar with lemon or orange juice for a citrusy note.

    Frequently Asked Questions

    Can I use a different type of vinegar?

    Absolutely! While apple cider vinegar offers a fruity tang that complements the pear beautifully, you can experiment with white wine vinegar for a milder taste or balsamic vinegar for a deeper, sweeter flavor profile. Each vinegar will bring its own unique character to the dressing.

    How can I make this dressing thicker?

    If you prefer a thicker dressing, consider adding a teaspoon of honey or maple syrup, which will also enhance the sweetness. Alternatively, blending in a small amount of soaked chia seeds can naturally thicken the dressing while adding nutritional benefits.

    Is there a substitute for Dijon mustard?

    Yes, if you’re out of Dijon mustard, you can use yellow mustard for a similar tangy effect, though the flavor will be slightly different. For a mustard-free version, a pinch of ground turmeric can provide color, but you’ll miss the mustard’s distinctive taste.

    Summary

    This pear salad dressing is a delightful blend of sweet and tangy flavors, perfect for elevating any salad. Easy to make and customizable, it’s a must-try for anyone looking to add a gourmet touch to their meals.

  • Creamy Greek Yogurt Salad Dressing Recipe: A Tangy Twist for Your Greens

    Creamy Greek Yogurt Salad Dressing Recipe: A Tangy Twist for Your Greens

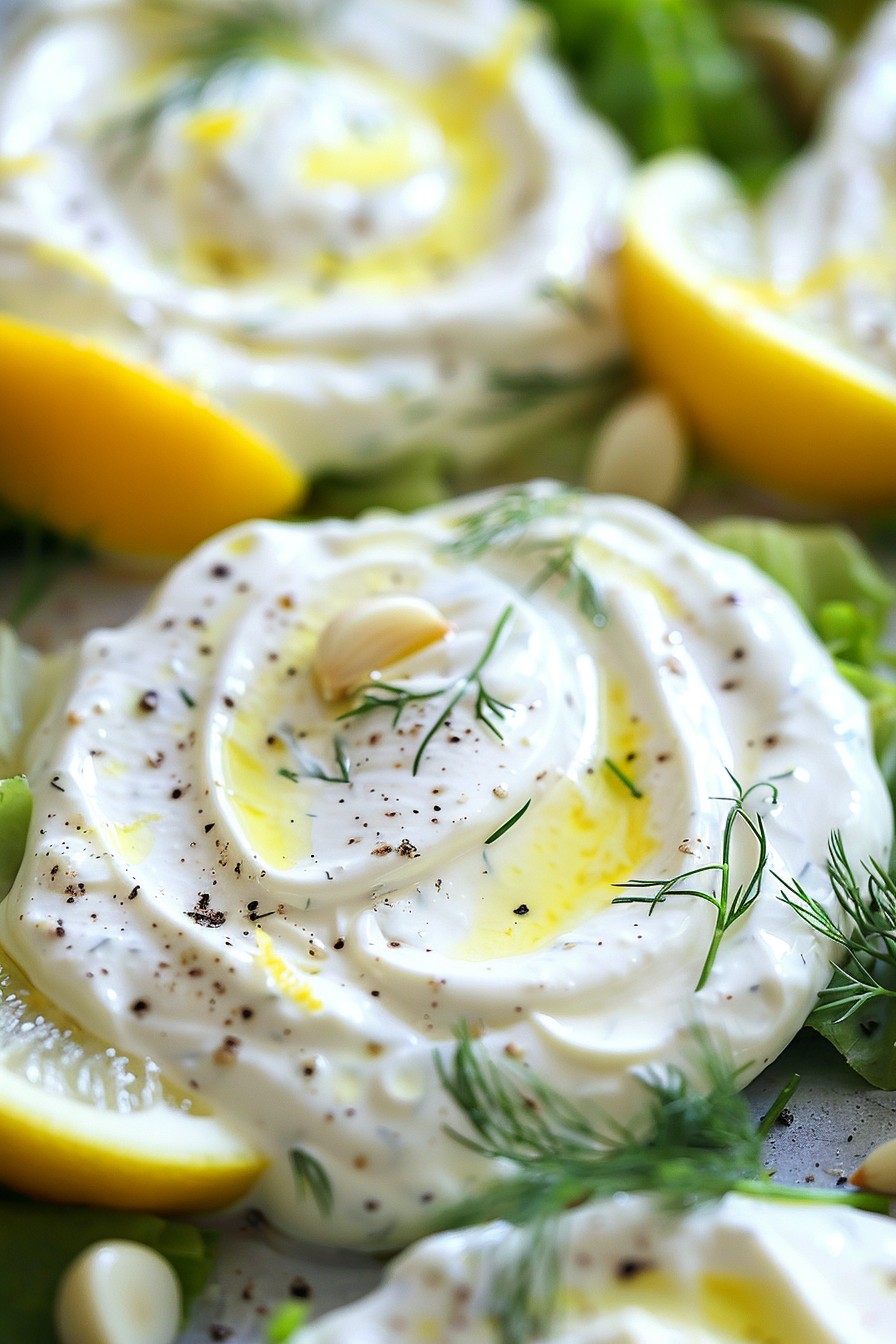
    Perfect for those who love a creamy yet healthy dressing, this Greek yogurt-based recipe is a game-changer. Packed with protein and probiotics, it’s not just delicious but also good for your gut.

    Why This Recipe Works

    • Greek yogurt provides a creamy base without the heaviness of mayonnaise or sour cream.
    • The addition of lemon juice and garlic adds a fresh, tangy flavor that elevates any salad.
    • It’s versatile enough to pair with a wide range of salads, from leafy greens to pasta salads.
    • This dressing is quick to make, requiring just a few minutes and simple ingredients.
    • It’s a healthier alternative to store-bought dressings, which often contain preservatives and added sugars.

    Ingredients

    • 1 cup plain Greek yogurt
    • 2 tablespoons olive oil
    • 1 tablespoon lemon juice
    • 1 garlic clove, minced
    • 1/2 teaspoon salt
    • 1/4 teaspoon black pepper
    • 1 tablespoon fresh dill, chopped

    Equipment Needed

    • Mixing bowl
    • Whisk
    • Measuring cups and spoons

    Instructions

    Greek Yogurt Salad Dressing Recipe

    Step 1: Combine the Base Ingredients

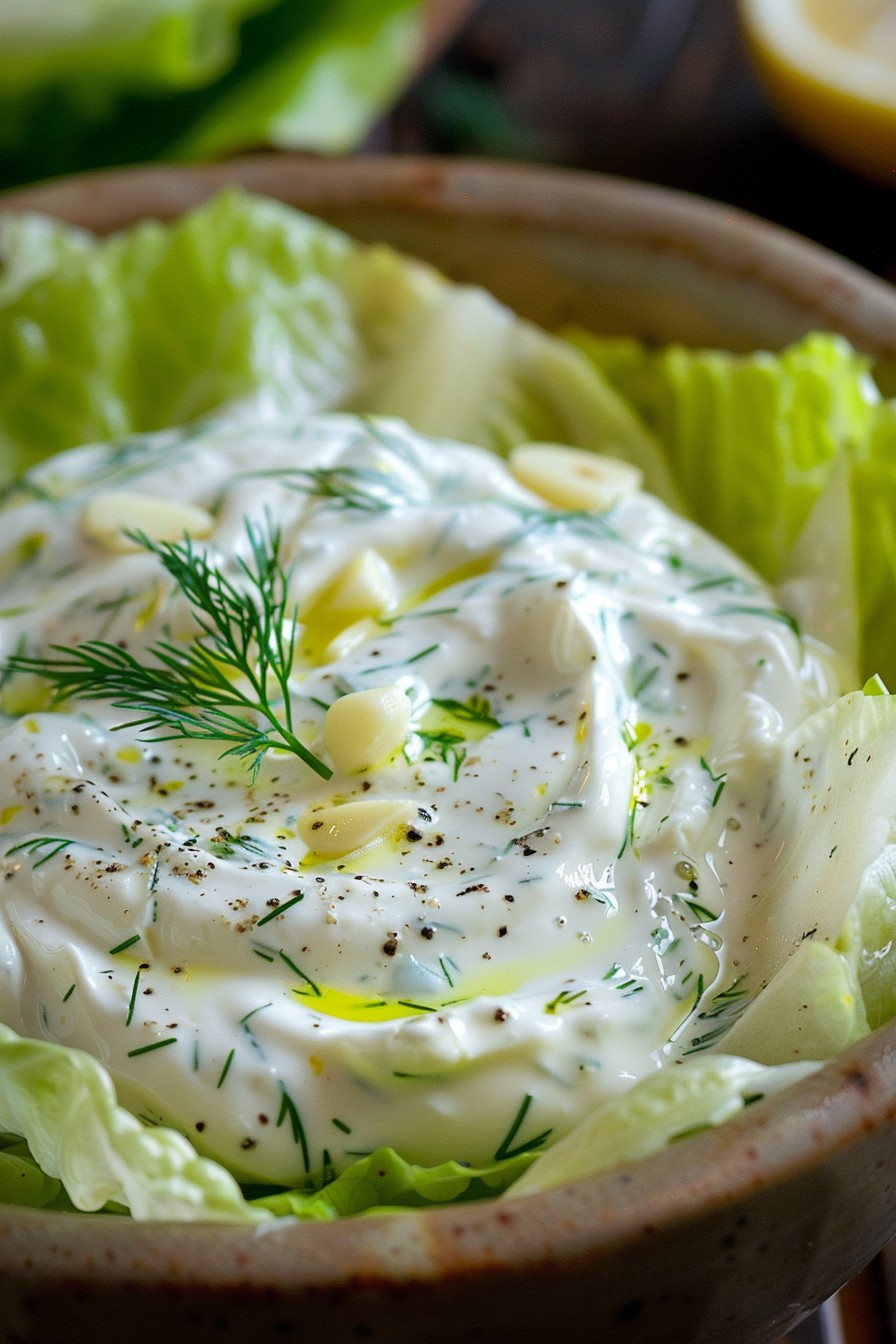
    In a mixing bowl, whisk together the Greek yogurt, olive oil, and lemon juice until smooth. This combination forms the creamy base of your dressing, with the lemon juice adding a bright, tangy flavor.

    Step 2: Add the Flavor Enhancers

    Stir in the minced garlic, salt, and black pepper. The garlic adds a punch of flavor, while the salt and pepper enhance all the other tastes in the dressing.

    Step 3: Incorporate the Fresh Herbs

    Fold in the fresh dill for a herby freshness that complements the tanginess of the yogurt and lemon. If you’re not a fan of dill, you can substitute it with parsley or chives.

    Step 4: Adjust the Consistency

    If the dressing is too thick, you can thin it out with a tablespoon of water or more lemon juice, depending on your preference for tanginess.

    Step 5: Let It Rest

    Cover the bowl and let the dressing sit in the refrigerator for at least 30 minutes before serving. This allows the flavors to meld together beautifully.

    Tips and Tricks

    For an even smoother dressing, you can blend all the ingredients in a food processor. If you prefer a sweeter dressing, a teaspoon of honey can be a great addition. Always taste and adjust the seasoning before serving, as the flavors can develop over time. For a dairy-free version, coconut yogurt can be used as a substitute for Greek yogurt, though the flavor profile will change slightly.

    Recipe Variations

    • Add a teaspoon of mustard for a spicy kick.
    • Incorporate avocado for an even creamier texture and a boost of healthy fats.
    • Mix in some cucumber and mint for a tzatziki-inspired version.
    • For a cheesy flavor, sprinkle in some grated Parmesan or feta cheese.
    • Blend in roasted red peppers for a smoky, sweet variation.

    Frequently Asked Questions

    Can I use regular yogurt instead of Greek yogurt?

    Yes, but the dressing will be thinner. You might need to strain the regular yogurt or reduce the amount of liquid added to achieve the desired consistency.

    How long can I store this dressing?

    It can be stored in an airtight container in the refrigerator for up to 5 days. Give it a good stir before using it again.

    Is this dressing suitable for vegans?

    As is, no, because Greek yogurt is dairy-based. However, you can use a plant-based yogurt alternative to make it vegan-friendly.

    Summary

    This Greek yogurt salad dressing is a creamy, tangy, and healthy alternative to store-bought options. Easy to make and customizable, it’s perfect for elevating your salads.

  • Carrot Ginger Salad Dressing Recipe: A Zesty Twist to Your Greens

    Carrot Ginger Salad Dressing Recipe: A Zesty Twist to Your Greens

    Fresh, vibrant, and packed with flavor, this carrot ginger salad dressing is about to become your new favorite. Perfect for drizzling over greens or using as a marinade, it’s a game-changer for any meal.

    Why This Recipe Works

    • The combination of sweet carrots and spicy ginger creates a balanced flavor profile that elevates any salad.
    • Using fresh ingredients ensures a bright, vibrant dressing that’s far superior to store-bought versions.
    • It’s incredibly versatile, doubling as a marinade for proteins or a dip for fresh veggies.
    • The recipe is naturally vegan and can be easily adjusted for dietary preferences.
    • Prep time is minimal, making it perfect for quick, healthy meals.

    Ingredients

    • 2 cups peeled and chopped carrots
    • 1/4 cup peeled and chopped fresh ginger
    • 1/4 cup rice vinegar
    • 2 tablespoons soy sauce
    • 1 tablespoon honey
    • 1/2 cup olive oil
    • 1 clove garlic, minced
    • Salt and pepper to taste

    Equipment Needed

    • Blender or food processor
    • Measuring cups and spoons
    • Knife and cutting board
    • Peeler

    Instructions

    Carrot Ginger Salad Dressing Recipe

    Step 1: Prep Your Ingredients

    Start by peeling and chopping your carrots and ginger into small pieces to ensure they blend smoothly. Mince the garlic clove finely. Having all your ingredients prepped and ready to go makes the blending process a breeze.

    Step 2: Blend the Base

    Add the chopped carrots, ginger, rice vinegar, soy sauce, honey, and minced garlic to your blender or food processor. Blend on high until the mixture is completely smooth, about 1-2 minutes. Scrape down the sides as needed to incorporate all the ingredients.

    Step 3: Emulsify with Oil

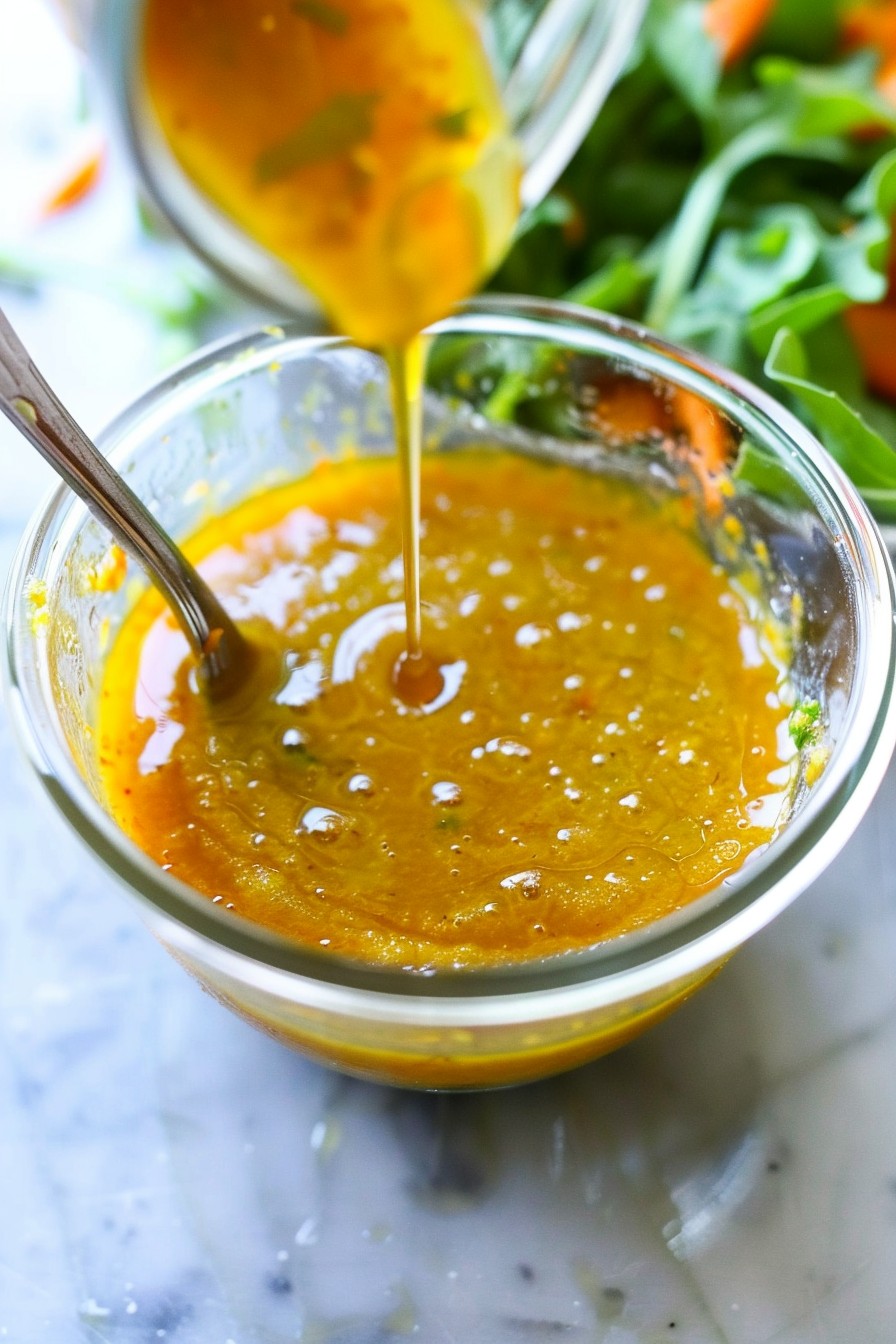
    With the blender running on low, slowly drizzle in the olive oil to create a smooth, emulsified dressing. This step is crucial for achieving the perfect consistency, so take your time. The dressing should be thick but pourable.

    Step 4: Season to Taste

    Once emulsified, taste your dressing and adjust the seasoning with salt and pepper as needed. Remember, the soy sauce adds saltiness, so you may not need much additional salt.

    Step 5: Serve or Store

    Your carrot ginger salad dressing is ready to use immediately, or you can store it in an airtight container in the refrigerator for up to a week. Shake well before each use as separation is natural.

    Tips and Tricks

    For a smoother dressing, strain it through a fine mesh sieve after blending to remove any fibrous bits. If you prefer a thinner consistency, add a tablespoon of water at a time until desired thickness is reached. For an extra kick, add a pinch of red pepper flakes or a splash of sriracha. To enhance the sweetness, roast the carrots before blending. Always use fresh ginger for the best flavor; powdered ginger won’t give the same zesty punch.

    Recipe Variations

    • For a creamier version, add 1/4 cup of mayonnaise or Greek yogurt to the blender.
    • Substitute maple syrup for honey to make the recipe vegan.
    • Add a tablespoon of miso paste for a deeper umami flavor.
    • Incorporate a handful of cilantro or parsley for a fresh herb twist.
    • Use apple cider vinegar in place of rice vinegar for a different tang.

    Frequently Asked Questions

    Can I make this dressing without a blender? Yes, but you’ll need to grate the carrots and ginger very finely and whisk everything together vigorously. The texture will be more rustic, but the flavor will still be great.

    How long does this dressing last in the fridge? Stored properly in an airtight container, it will last up to a week. The flavors may even deepen over time.

    Can I freeze this dressing? Freezing is not recommended as the texture may change upon thawing, affecting the emulsion.

    Summary

    This carrot ginger salad dressing is a vibrant, flavorful addition to any meal, easy to make, and customizable to suit your taste. Perfect for salads, marinades, or dips, it’s a must-try for anyone looking to add a zesty twist to their dishes.

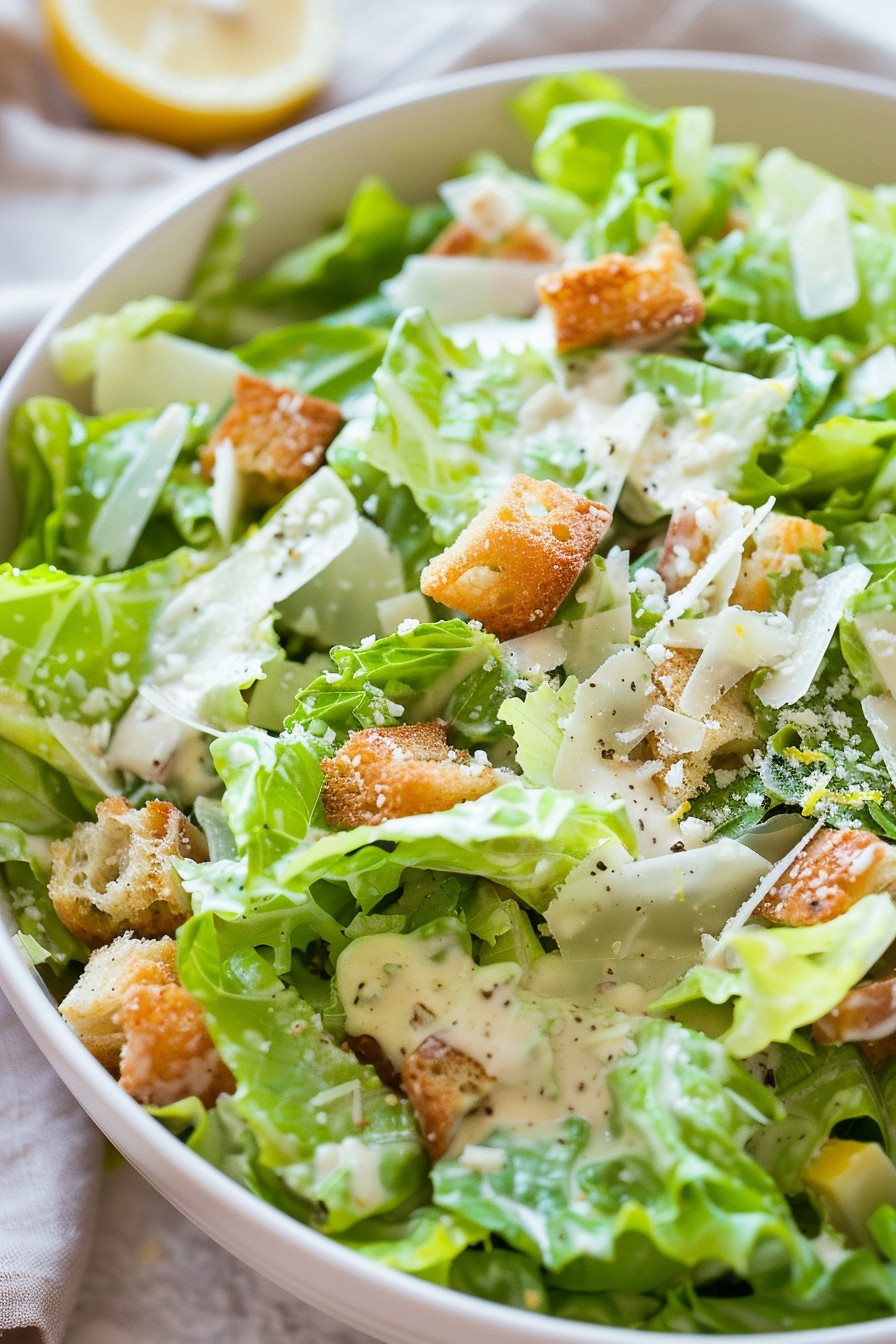
  • Caesar Salad Without Anchovies Recipe: A Classic Twist

    Caesar Salad Without Anchovies Recipe: A Classic Twist

    Never let the absence of anchovies stop you from enjoying a classic Caesar salad. This version keeps all the creamy, garlicky goodness without the fishy business. Perfect for those who prefer their greens without a side of seafood.

    Why This Recipe Works

    • Uses Worcestershire sauce for that umami depth without anchovies.
    • Creamy dressing made with mayonnaise ensures a rich texture.
    • Freshly grated Parmesan adds a nutty, salty flavor that elevates the dish.
    • Homemade croutons provide the perfect crunch.
    • Quick and easy to prepare, making it a great last-minute side or main.

    Ingredients

    • 1 large head romaine lettuce, chopped (about 6 cups)
    • 1/2 cup mayonnaise
    • 2 tablespoons lemon juice
    • 1 teaspoon Worcestershire sauce
    • 1 teaspoon Dijon mustard
    • 2 cloves garlic, minced
    • 1/2 cup freshly grated Parmesan cheese
    • 1 cup croutons
    • Salt and pepper to taste

    Equipment Needed

    • Large salad bowl
    • Small mixing bowl
    • Whisk
    • Measuring cups and spoons
    • Knife and cutting board

    Instructions

    Caesar Salad Without Anchovies Recipe

    Prepare the Dressing

    In a small mixing bowl, whisk together the mayonnaise, lemon juice, Worcestershire sauce, Dijon mustard, and minced garlic until smooth. Season with salt and pepper to taste. This dressing is the heart of your salad, so take your time to ensure it’s well blended.

    Chop the Lettuce

    Wash and dry the romaine lettuce thoroughly, then chop it into bite-sized pieces. Dry lettuce is key to a crisp salad, so don’t skip the drying step. Transfer the lettuce to a large salad bowl.

    Add the Dressing

    Pour the dressing over the chopped lettuce. Use salad tongs or your hands to toss the lettuce until every leaf is evenly coated with the dressing. This ensures every bite is flavorful.

    Top with Parmesan and Croutons

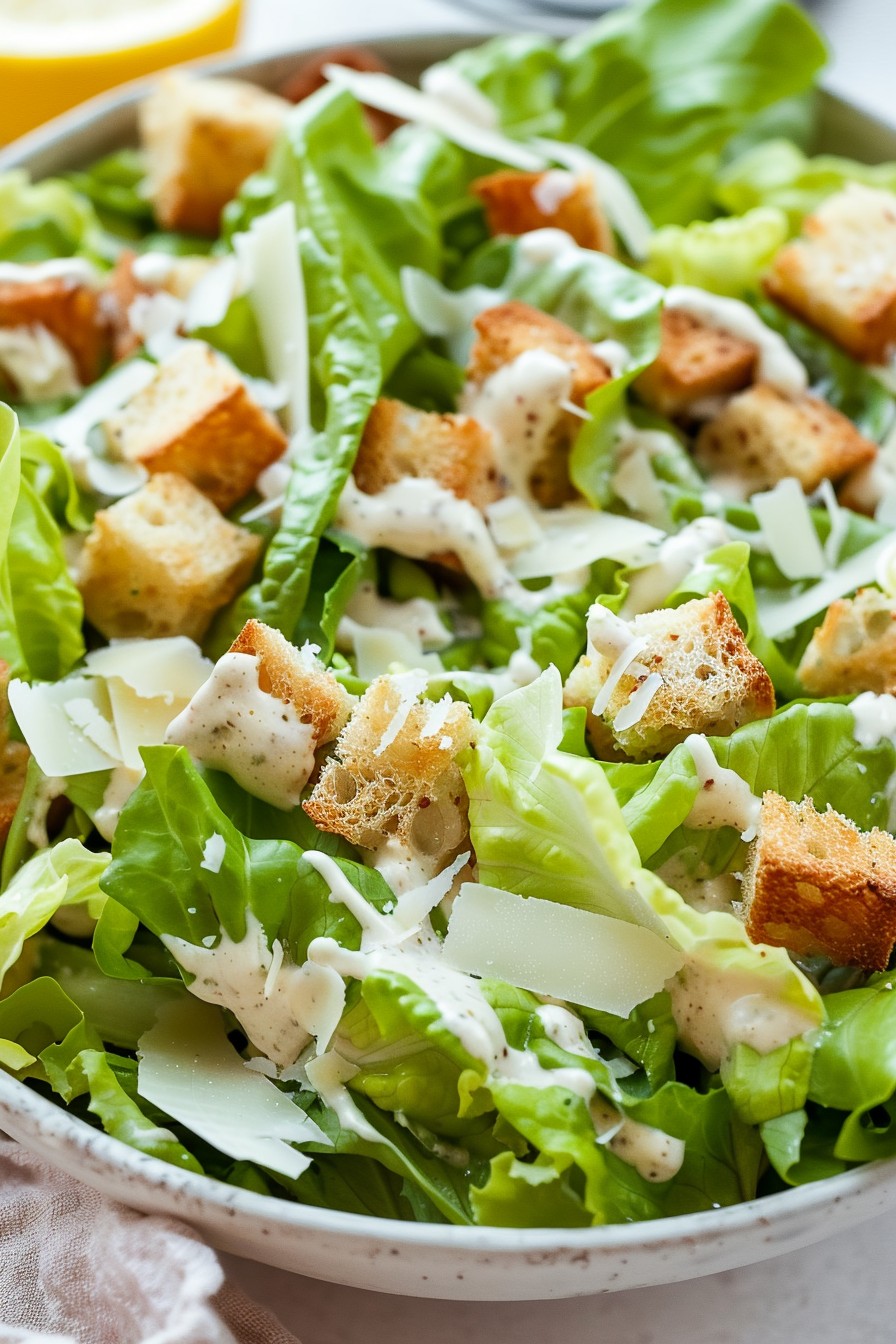
    Sprinkle the freshly grated Parmesan cheese and croutons over the dressed lettuce. Toss lightly to distribute the toppings evenly. The Parmesan adds a salty, nutty flavor, while the croutons bring the crunch.

    Serve Immediately

    For the best texture and flavor, serve the salad right after preparing it. This prevents the croutons from getting soggy and keeps the lettuce crisp.

    Tips and Tricks

    For an extra flavor boost, toast the croutons in a bit of olive oil and garlic before adding them to the salad. If you’re making the salad ahead of time, keep the dressing and croutons separate until just before serving to maintain freshness. For a lighter version, you can substitute Greek yogurt for half of the mayonnaise in the dressing. Always use freshly grated Parmesan for the best flavor; pre-grated cheese often contains anti-caking agents that can affect texture.

    Recipe Variations

    • Add grilled chicken or shrimp for a protein-packed meal.
    • Substitute kale for romaine for a heartier green.
    • Include avocado slices for a creamy texture and healthy fats.
    • Use gluten-free croutons for a gluten-free version.
    • Add a sprinkle of red pepper flakes for a spicy kick.

    Frequently Asked Questions

    Can I make the dressing ahead of time?

    Absolutely! The dressing can be stored in an airtight container in the refrigerator for up to 3 days. Just give it a good stir before using to recombine any separated ingredients.

    What can I use instead of Worcestershire sauce?

    If you don’t have Worcestershire sauce, you can use a splash of soy sauce or tamari for a similar umami flavor. Just adjust the quantity to taste, as these alternatives can be saltier.

    How can I make this salad vegan?

    To make a vegan version, substitute the mayonnaise with a vegan mayo, use nutritional yeast instead of Parmesan, and ensure your Worcestershire sauce is anchovy-free (many brands contain anchovies).

    Summary

    This Caesar salad without anchovies delivers all the classic flavors you love, with a creamy, garlicky dressing and plenty of crunch. It’s versatile, easy to make, and sure to be a hit at any meal.

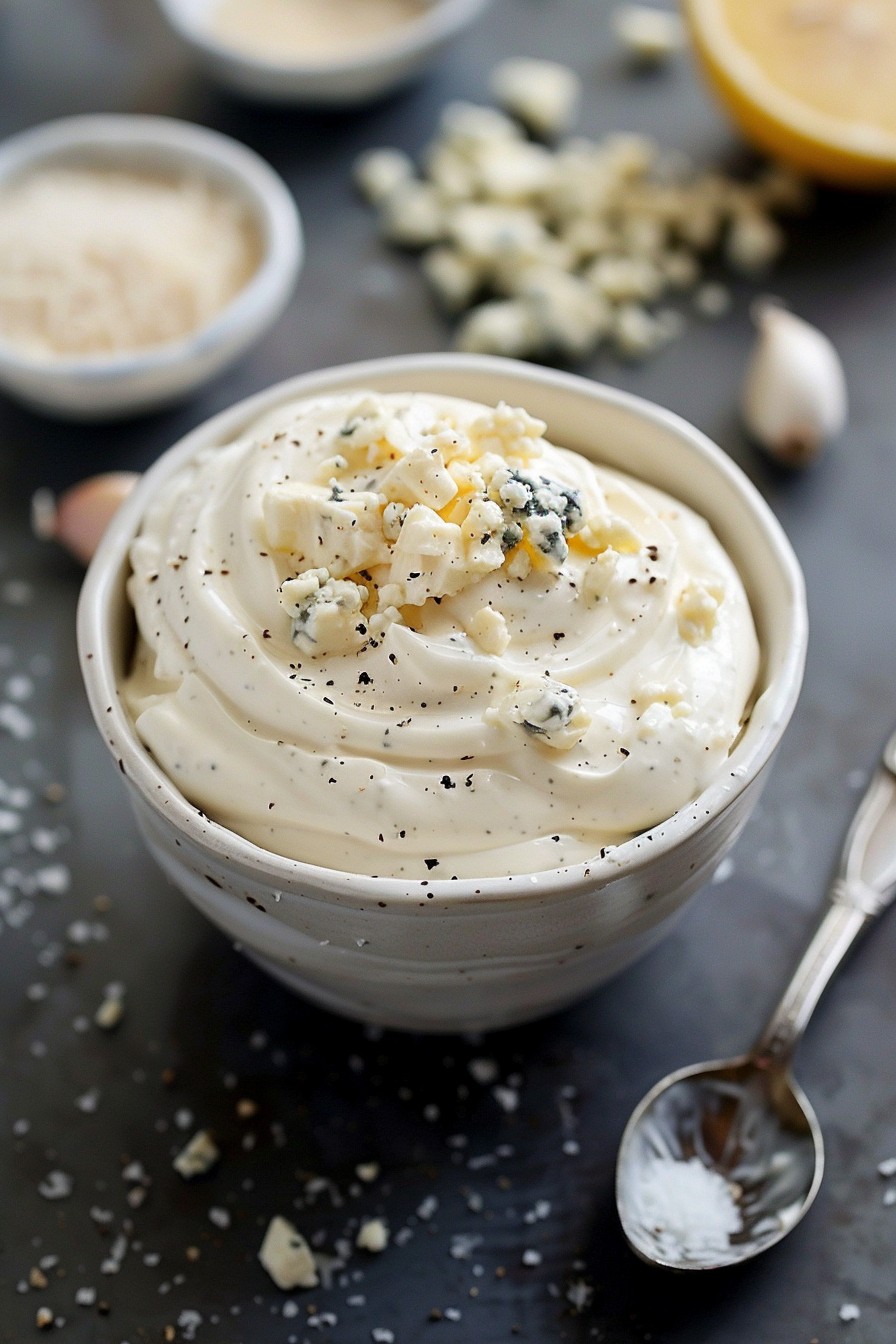
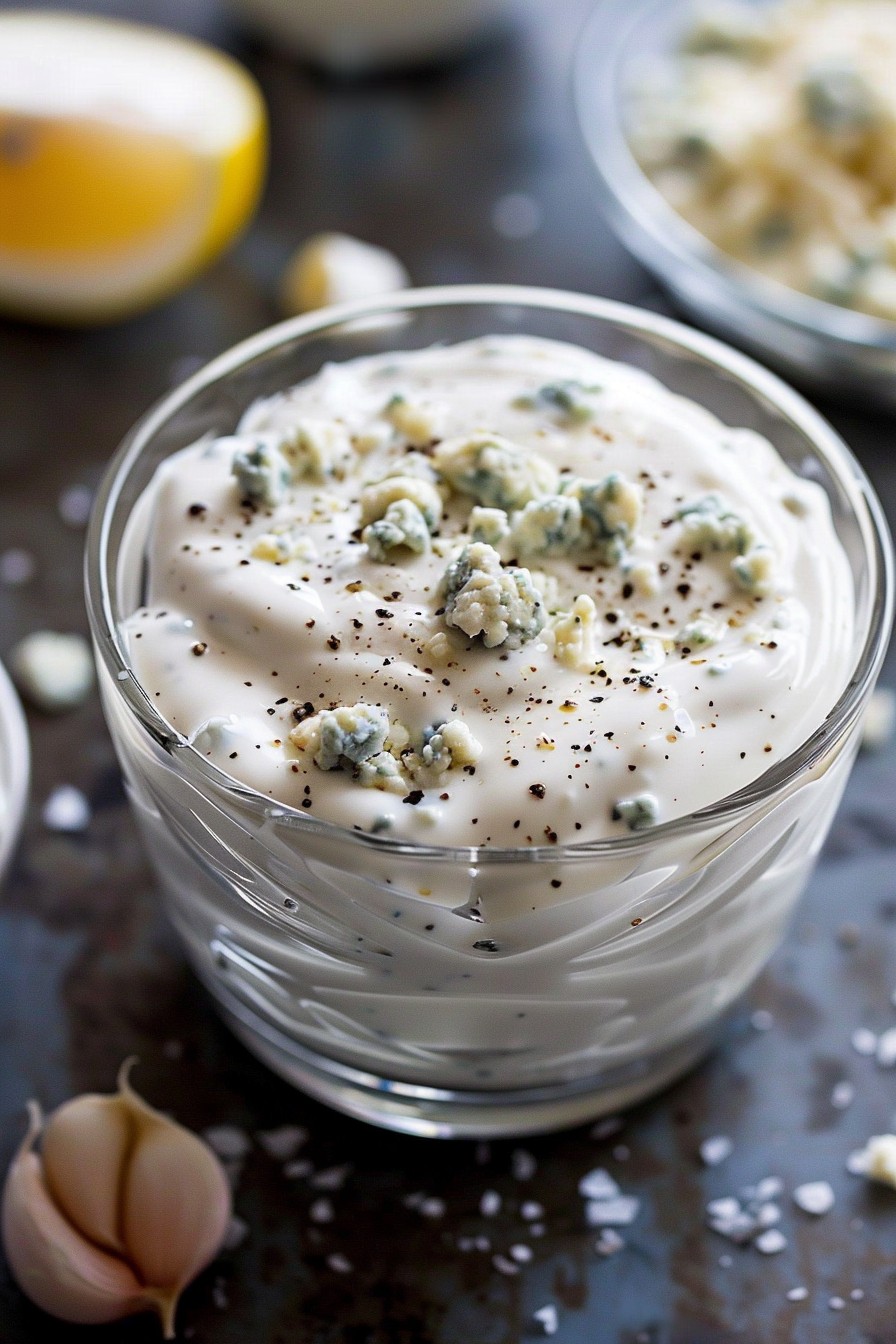
  • Buttermilk Blue Cheese Salad Dressing Recipe – A Creamy Dream Come True

    Buttermilk Blue Cheese Salad Dressing Recipe – A Creamy Dream Come True

    You’re about to dive into the creamiest, tangiest, most flavor-packed buttermilk blue cheese dressing your taste buds have ever encountered. Perfect for drizzling over a crisp wedge salad or as a dip for buffalo wings, this recipe is a game-changer.

    Why This Recipe Works

    • The combination of buttermilk and sour cream creates a perfectly balanced base that’s both tangy and creamy.
    • Crumbled blue cheese adds a bold, savory depth that elevates any salad or appetizer.
    • A hint of garlic and a splash of lemon juice bring brightness and complexity to the dressing.
    • It’s incredibly versatile, doubling as a dressing or a dip with minimal effort.
    • This recipe comes together in just minutes, making it perfect for last-minute gatherings or weeknight dinners.

    Ingredients

    • 1 cup buttermilk
    • 1/2 cup sour cream
    • 1/2 cup crumbled blue cheese
    • 1 tablespoon lemon juice
    • 1 small garlic clove, minced
    • 1/2 teaspoon salt
    • 1/4 teaspoon black pepper

    Equipment Needed

    • Mixing bowl
    • Whisk
    • Measuring cups and spoons

    Instructions

    Buttermilk Blue Cheese Salad Dressing Recipe

    Step 1: Combine the Base Ingredients

    In a large mixing bowl, whisk together the buttermilk and sour cream until smooth. This combination forms the creamy base of your dressing, so take your time to ensure there are no lumps. Tip: For an extra smooth texture, you can use a blender instead of a whisk.

    Step 2: Add the Flavor Enhancers

    Stir in the minced garlic, lemon juice, salt, and black pepper. These ingredients add the necessary tang and seasoning to balance the richness of the buttermilk and sour cream. Mix well to distribute the flavors evenly throughout the dressing.

    Step 3: Incorporate the Blue Cheese

    Gently fold in the crumbled blue cheese, reserving a small amount for garnish if desired. The blue cheese should be evenly distributed but still maintain some texture for that signature bite. Tip: For a stronger blue cheese flavor, let the dressing sit in the refrigerator for an hour before serving.

    Step 4: Adjust the Consistency

    If the dressing is too thick for your liking, you can thin it out with a little extra buttermilk, one tablespoon at a time, until you reach the desired consistency. This step ensures your dressing is perfectly pourable or dippable, depending on your needs.

    Step 5: Chill and Serve

    Transfer the dressing to an airtight container and refrigerate for at least 30 minutes before serving. This chilling time allows the flavors to meld together beautifully. Serve chilled over your favorite salad or as a dip for vegetables and wings.

    Tips and Tricks

    For those looking to take their buttermilk blue cheese dressing to the next level, consider these advanced tips. First, homemade buttermilk can be made by adding a tablespoon of lemon juice or vinegar to a cup of milk and letting it sit for 10 minutes. This can add a fresher tang to your dressing. Second, experimenting with different types of blue cheese, such as Gorgonzola or Stilton, can introduce new flavor profiles. Lastly, for a herb-infused version, finely chop fresh herbs like chives or parsley and mix them into the dressing for a colorful and flavorful twist.

    Recipe Variations

    • Spicy Kick: Add a teaspoon of hot sauce or a pinch of cayenne pepper for a dressing with a bit of heat.
    • Herb Garden: Mix in fresh herbs like dill, parsley, or chives for a fresh, garden-inspired flavor.
    • Bacon Lover’s: Crumble cooked bacon into the dressing for a smoky, savory addition.
    • Honey Mustard Twist: Stir in a tablespoon of honey and mustard for a sweet and tangy variation.
    • Avocado Cream: Blend in half an avocado for an ultra-creamy, healthy fat-packed version.

    Frequently Asked Questions

    Q: Can I use yogurt instead of sour cream?
    A: Absolutely! Greek yogurt is a great substitute for sour cream, offering a similar tang and creaminess with a bit more protein. Just keep in mind that the flavor might be slightly different, so adjust the seasoning to taste.

    Q: How long does this dressing last in the fridge?
    A: Stored in an airtight container, your buttermilk blue cheese dressing will stay fresh for up to a week. Just give it a good stir before using, as it may separate slightly over time.

    Q: Can I make this dressing vegan?
    A: Yes, you can! Substitute the buttermilk with almond milk mixed with a tablespoon of lemon juice, use vegan sour cream, and opt for a dairy-free blue cheese alternative. The flavor profile will be different but still delicious.

    Summary

    This buttermilk blue cheese dressing is a creamy, tangy, and versatile condiment that’s perfect for salads, dips, and more. With simple ingredients and easy steps, it’s a must-try for any blue cheese lover.

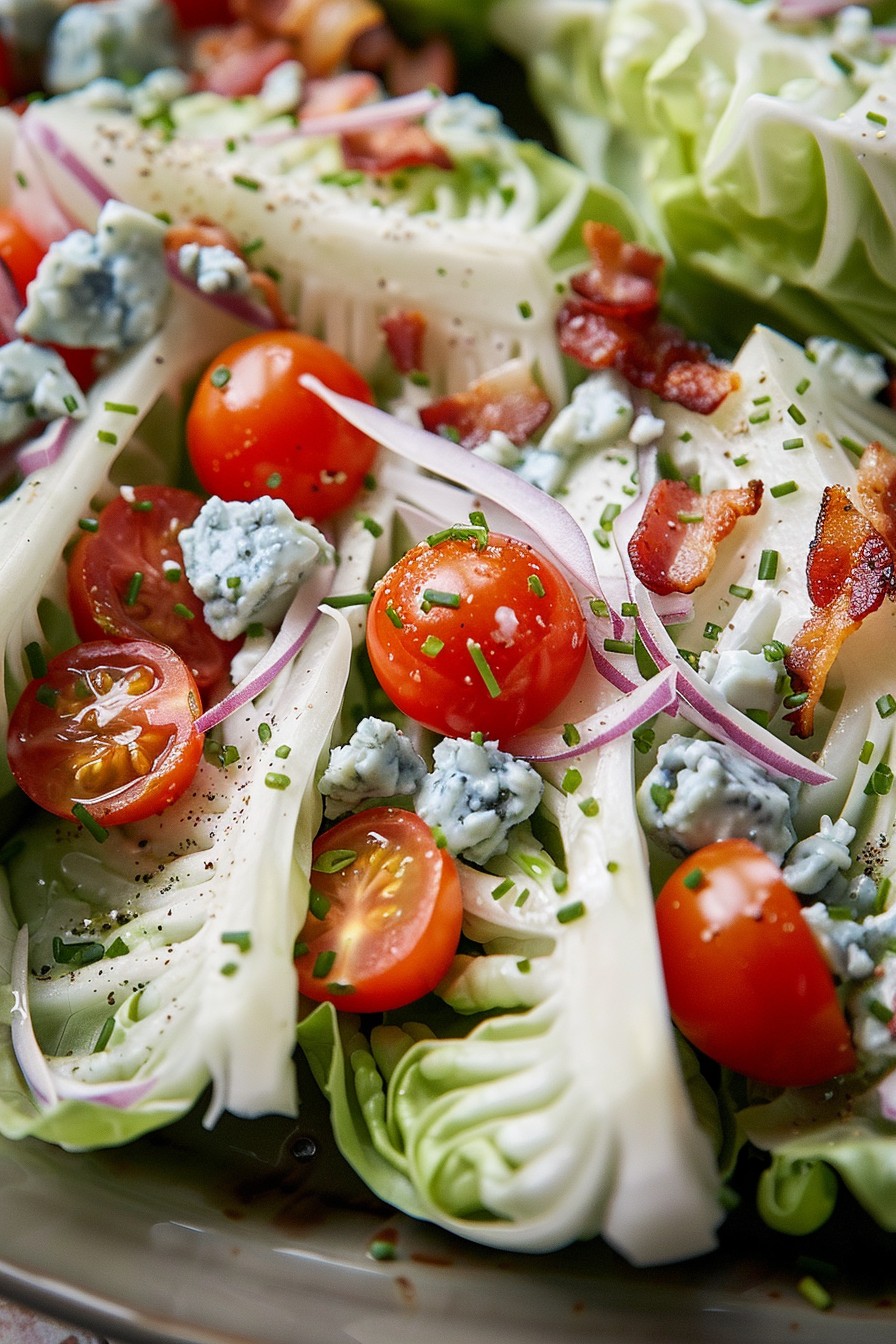
  • Classic Wedge Salad Recipe: A Crisp, Creamy Delight

    Classic Wedge Salad Recipe: A Crisp, Creamy Delight

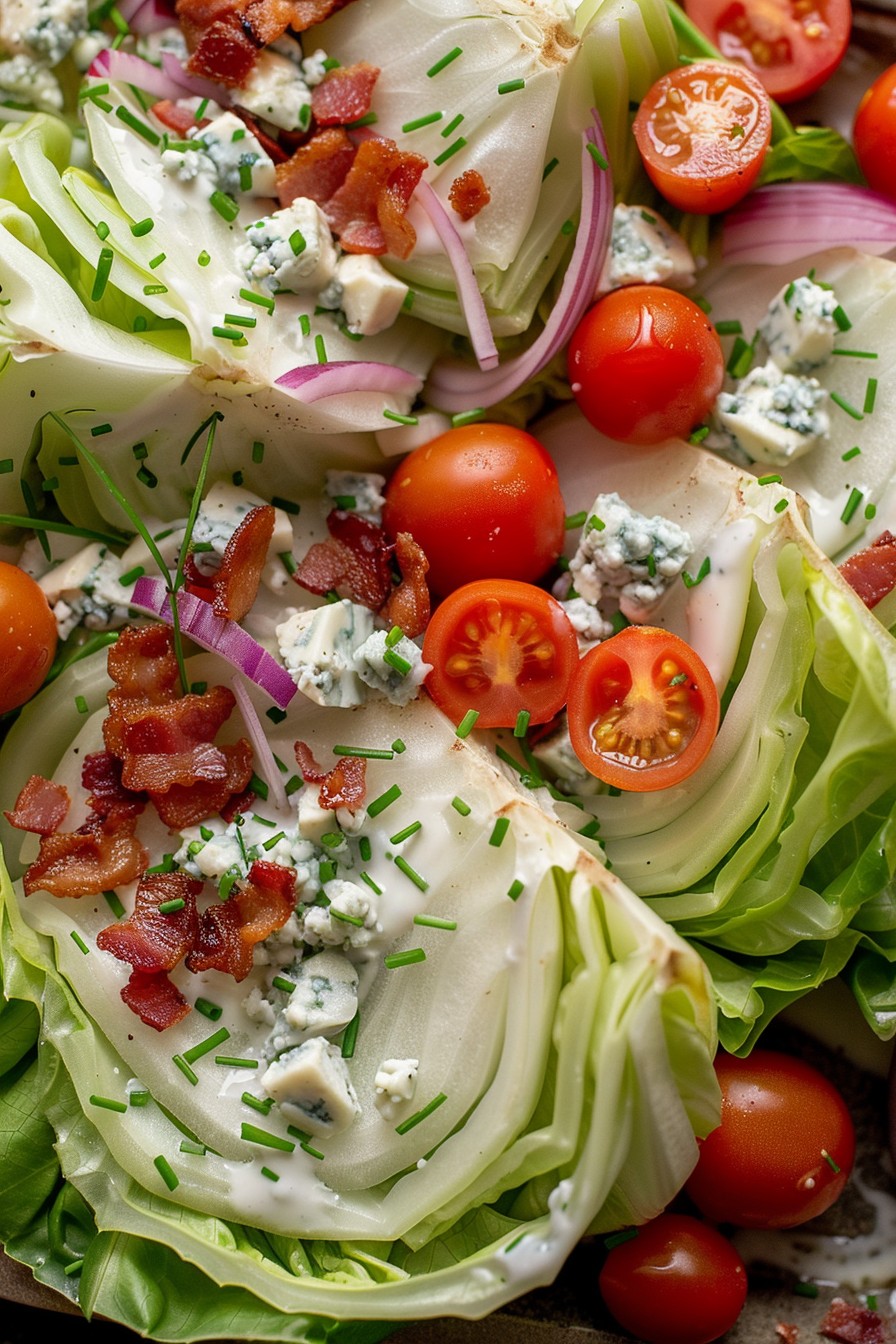
    Venture into the world of salads with a twist! The classic wedge salad is not just a dish; it’s an experience. With its crisp iceberg lettuce, creamy dressing, and a sprinkle of bacon, it’s a timeless favorite that’s both simple and sophisticated.

    Why This Recipe Works

    • The iceberg lettuce provides a refreshing crunch that’s unmatched by other greens.
    • Homemade blue cheese dressing adds a rich, tangy flavor that elevates the salad.
    • Crispy bacon bits offer a smoky contrast to the cool, creamy elements.
    • It’s incredibly versatile, allowing for endless variations to suit any taste.
    • Perfect for entertaining, it’s as visually appealing as it is delicious.

    Ingredients

    • 1 head iceberg lettuce, cut into 4 wedges
    • 1 cup blue cheese dressing (homemade or store-bought)
    • 1/2 cup crumbled blue cheese
    • 1/2 cup cherry tomatoes, halved
    • 1/4 cup red onion, thinly sliced
    • 6 slices bacon, cooked and crumbled
    • 2 tbsp chives, finely chopped
    • Salt and pepper to taste

    Equipment Needed

    • Sharp knife
    • Cutting board
    • Mixing bowl
    • Whisk
    • Salad plates

    Instructions

    Salad Wedge Recipe

    Prepare the Lettuce Wedges

    Start by removing any outer leaves from the iceberg lettuce that look wilted or damaged. Cut the head of lettuce into four equal wedges, ensuring each piece has a bit of the core to hold it together. Rinse the wedges under cold water and pat them dry with paper towels to ensure the dressing sticks properly.

    Make the Blue Cheese Dressing

    In a mixing bowl, combine 1 cup of mayonnaise, 1/2 cup of sour cream, 1/2 cup of crumbled blue cheese, 2 tablespoons of buttermilk, 1 tablespoon of lemon juice, and a pinch of salt and pepper. Whisk until the mixture is smooth but still has small chunks of blue cheese for texture. Taste and adjust the seasoning as needed.

    Assemble the Salad

    Place each lettuce wedge on a salad plate. Drizzle generously with the blue cheese dressing, ensuring each wedge is well-coated. Sprinkle the crumbled blue cheese, cherry tomatoes, red onion, and bacon bits over the top. Finish with a sprinkle of chives for a pop of color and flavor.

    Serve Immediately

    This salad is best enjoyed fresh, so serve it right after assembling. The contrast between the cold, crisp lettuce and the warm, crispy bacon is part of what makes this dish so special.

    Tips and Tricks

    For an extra crispy lettuce wedge, chill the iceberg lettuce in the refrigerator for an hour before cutting and serving. If you’re not a fan of blue cheese, you can substitute it with ranch or Caesar dressing. To make this salad a meal, add grilled chicken or shrimp on top. Always use a sharp knife to cut the lettuce to prevent bruising the leaves. For a vegetarian version, omit the bacon or use a plant-based alternative.

    Recipe Variations

    • Swap the blue cheese for gorgonzola or feta for a different flavor profile.
    • Add avocado slices or hard-boiled eggs for extra protein and creaminess.
    • Use pancetta instead of bacon for an Italian twist.
    • Incorporate nuts like walnuts or pecans for added crunch.
    • Try a balsamic glaze drizzle for a sweet and tangy finish.

    Frequently Asked Questions

    Can I make the dressing ahead of time?

    Absolutely! The blue cheese dressing can be made up to 3 days in advance and stored in the refrigerator. Just give it a good stir before using to recombine any separated ingredients.

    How do I prevent the lettuce from browning?

    To keep your lettuce wedges looking fresh, avoid cutting them too far in advance and store any unused portions in the fridge wrapped in a damp paper towel.

    Can I use a different type of lettuce?

    While iceberg is traditional for its crisp texture, you can experiment with romaine or butter lettuce for a different take on the classic wedge salad.

    Summary

    The classic wedge salad is a testament to the beauty of simplicity. With its crisp lettuce, creamy dressing, and savory toppings, it’s a dish that’s both elegant and easy to make. Perfect for any occasion, it’s sure to impress.

  • Hot Bacon Salad Dressing: A Sizzling Twist to Your Greens

    Hot Bacon Salad Dressing: A Sizzling Twist to Your Greens

    Unleash the power of bacon in your salad with this irresistibly hot bacon salad dressing. Perfect for those who love a smoky, tangy kick to their greens, this recipe is a game-changer for salad enthusiasts.

    Why This Recipe Works

    • The combination of crispy bacon and a warm, tangy dressing brings a delightful contrast to fresh greens.
    • Using the bacon fat as a base infuses the dressing with deep, smoky flavors that store-bought versions can’t match.
    • It’s versatile enough to dress up any salad, from a simple garden salad to a more sophisticated spinach and mushroom mix.
    • The recipe is quick and easy, making it perfect for weeknight dinners or last-minute gatherings.
    • It’s a great way to add a protein boost to your salad, making it more satisfying and meal-worthy.

    Ingredients

    • 6 slices of bacon, chopped
    • 1/4 cup apple cider vinegar
    • 1 tablespoon sugar
    • 1 teaspoon Dijon mustard
    • 1/4 teaspoon salt
    • 1/4 teaspoon black pepper
    • 1/4 cup water

    Equipment Needed

    • Skillet
    • Whisk
    • Measuring cups and spoons

    Instructions

    Recipe For Hot Bacon Salad Dressing

    Cook the Bacon to Crispy Perfection

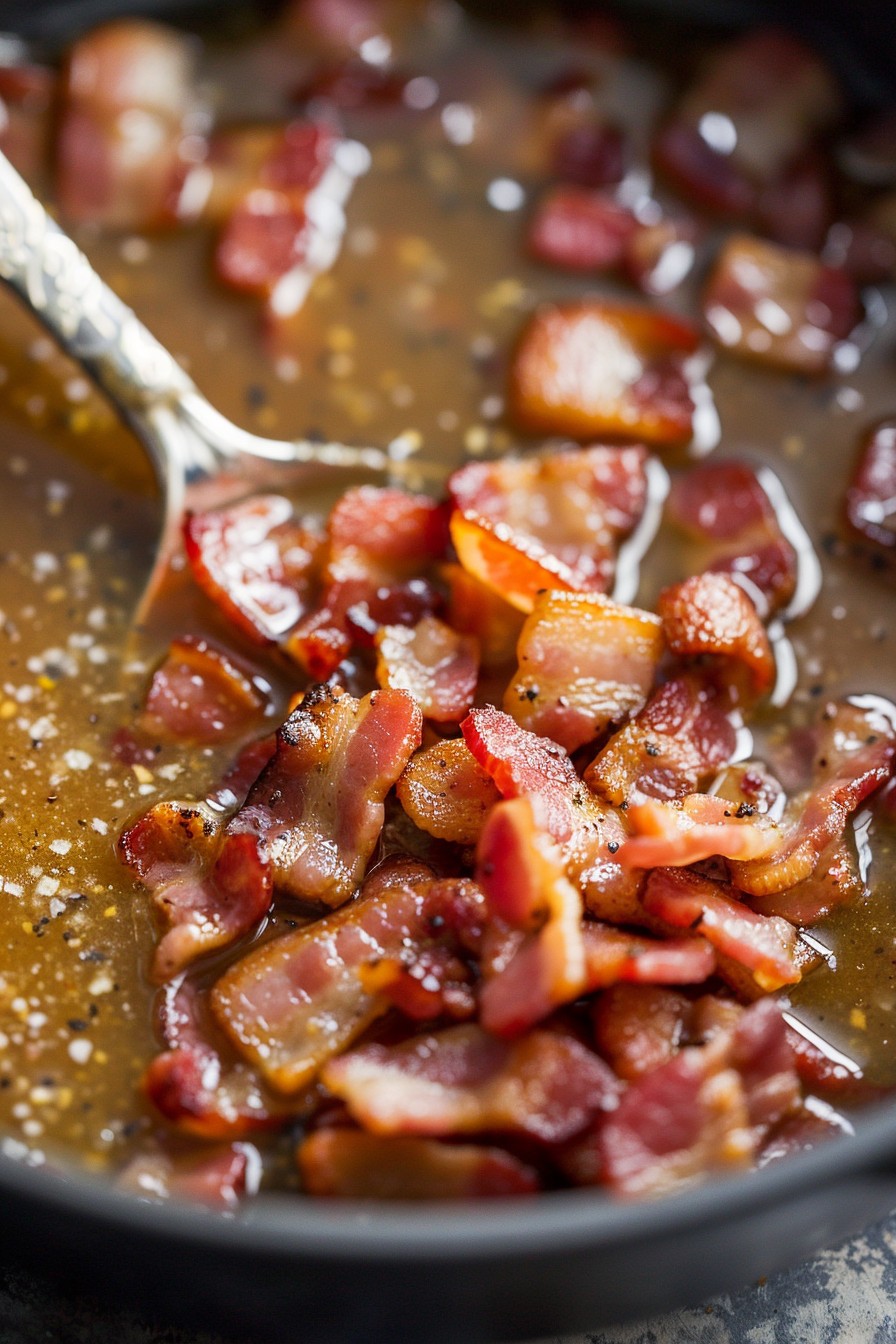
    Start by heating a skillet over medium heat. Add the chopped bacon and cook until it’s crispy and the fat has rendered, about 8-10 minutes. Use a slotted spoon to transfer the bacon to a paper towel-lined plate, leaving the fat in the skillet. This crispy bacon will add a delightful crunch to your salad later.

    Whisk Together the Dressing Ingredients

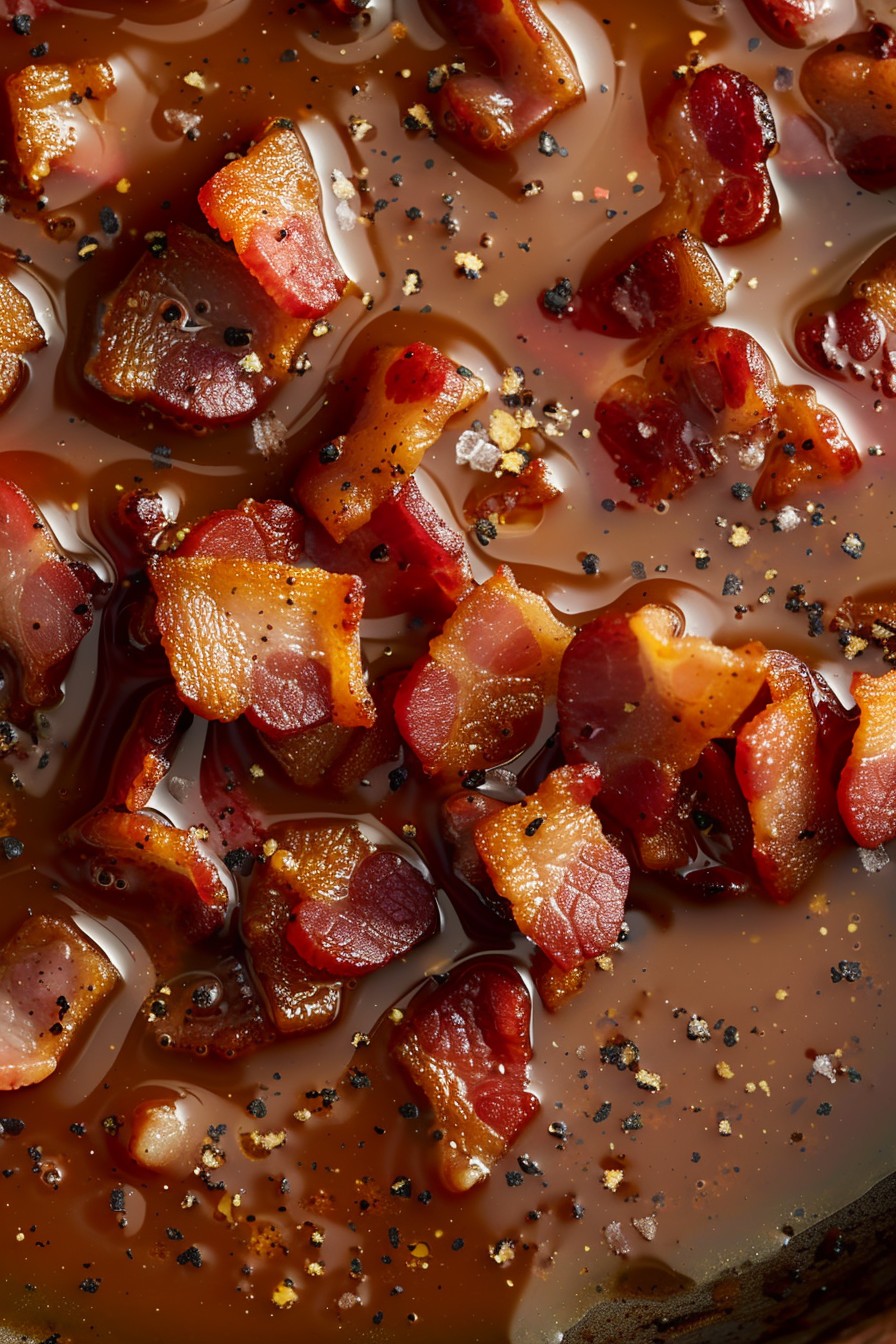
    In the same skillet with the bacon fat, carefully add the apple cider vinegar, sugar, Dijon mustard, salt, and pepper. Whisk these ingredients together over low heat until the sugar has dissolved completely, about 2 minutes. The warmth from the skillet helps meld the flavors beautifully.

    Simmer to Thicken the Dressing

    Gradually add the water to the skillet, continuing to whisk as you pour. Allow the mixture to simmer for about 3-5 minutes, or until it has slightly thickened. The dressing should coat the back of a spoon when it’s ready. This step ensures your dressing has the perfect consistency to cling to every leaf.

    Combine with the Salad

    Immediately drizzle the warm dressing over your prepared salad greens. Toss gently to ensure every piece is lightly coated. The warmth of the dressing will slightly wilt the greens, enhancing their texture and flavor absorption.

    Garnish with Bacon and Serve

    Sprinkle the reserved crispy bacon pieces over the dressed salad for that irresistible crunch and smoky flavor. Serve immediately to enjoy the contrast of warm dressing with crisp greens.

    Tips and Tricks

    For an extra layer of flavor, consider adding a minced garlic clove to the dressing as it simmers. If you prefer a sweeter dressing, adjust the sugar to your taste. For those who like a bit of heat, a pinch of red pepper flakes can add a nice kick. Always taste your dressing before serving and adjust the seasoning as needed. Remember, the dressing will thicken as it cools, so it’s best served warm. If you’re making it ahead, gently reheat it before serving to bring back its perfect consistency.

    Recipe Variations

    • For a healthier version, use turkey bacon and reduce the amount of sugar.
    • Add a tablespoon of maple syrup for a sweeter, more autumnal flavor profile.
    • Incorporate a teaspoon of smoked paprika for an extra smoky dimension.
    • For a creamier dressing, whisk in a tablespoon of mayonnaise or Greek yogurt at the end.
    • Experiment with different vinegars, like balsamic or red wine vinegar, for a unique twist.

    Frequently Asked Questions

    Can I make this dressing ahead of time?

    Yes, you can prepare the dressing ahead of time and store it in the refrigerator for up to 3 days. Just remember to reheat it gently before serving, as it thickens when cooled. Stir well to bring back its smooth consistency.

    What salads pair well with this dressing?

    This dressing pairs beautifully with robust greens like spinach, kale, or arugula. It also works well with salads that include fruits like apples or pears, adding a nice contrast to the sweetness. For a heartier option, try it with a warm potato salad.

    Can I use this dressing as a marinade?

    Absolutely! The smoky and tangy flavors of this dressing make it an excellent marinade for chicken or pork. Just let the meat marinate for at least an hour, or overnight for deeper flavor penetration, before cooking as usual.

    Summary

    This hot bacon salad dressing is a flavorful way to elevate any salad. With its smoky, tangy, and slightly sweet profile, it’s sure to become a favorite. Easy to make and versatile, it’s perfect for adding a gourmet touch to your meals.

  • Creamy Yogurt Caesar Salad Dressing Recipe: A Lighter Twist on a Classic

    Creamy Yogurt Caesar Salad Dressing Recipe: A Lighter Twist on a Classic

    Yogurt caesar salad dressing is here to revolutionize your salad game. This lighter, tangier version of the classic dressing swaps out heavy mayo for creamy yogurt, without sacrificing any of that beloved caesar flavor. Perfect for drizzling over greens, as a dip, or even as a sandwich spread, this dressing is versatile, delicious, and surprisingly simple to make.

    Why This Recipe Works

    • Uses Greek yogurt for a protein-packed, creamy base that’s lighter than traditional mayo.
    • Incorporates fresh lemon juice and garlic for that authentic caesar tang and punch.
    • Anchovies or Worcestershire sauce add depth and umami, making the dressing irresistibly savory.
    • Quick to whip up with no cooking required, perfect for last-minute meal prep.
    • Customizable to taste, allowing you to adjust the thickness, tanginess, or saltiness to your preference.

    Ingredients

    • 1 cup plain Greek yogurt
    • 2 tablespoons fresh lemon juice
    • 2 cloves garlic, minced
    • 1 teaspoon Dijon mustard
    • 1 teaspoon Worcestershire sauce (or 2 anchovies, minced)
    • 1/4 cup grated Parmesan cheese
    • Salt and freshly ground black pepper, to taste
    • 2 tablespoons olive oil
    • 1 tablespoon water (optional, for thinning)

    Equipment Needed

    • Mixing bowl
    • Whisk
    • Measuring cups and spoons
    • Garlic press (optional)
    • Juicer or fork (for lemon juice)

    Instructions

    Yogurt Caesar Salad Dressing Recipe

    Step 1: Combine the Base Ingredients

    In a medium mixing bowl, add 1 cup of plain Greek yogurt, 2 tablespoons of fresh lemon juice, and 2 minced garlic cloves. The acidity of the lemon juice will not only add flavor but also help to thin the yogurt slightly, making it easier to whisk. Tip: For an extra smooth dressing, you can press the garlic through a garlic press instead of mincing it.

    Step 2: Add the Flavor Enhancers

    Stir in 1 teaspoon of Dijon mustard and 1 teaspoon of Worcestershire sauce (or the minced anchovies if you’re going the traditional route). These ingredients are key to achieving that classic caesar flavor profile. Whisk everything together until well combined. Tip: If you’re not a fan of anchovies, Worcestershire sauce is a great vegetarian-friendly alternative that still delivers that umami kick.

    Step 3: Incorporate the Cheese and Seasonings

    Add 1/4 cup of grated Parmesan cheese to the mixture. The Parmesan adds a salty, nutty flavor that’s essential for caesar dressing. Season with salt and freshly ground black pepper to taste. Remember, the Parmesan is already salty, so you might not need much additional salt. Whisk again to combine all the ingredients thoroughly.

    Step 4: Slowly Add the Olive Oil

    While continuously whisking, slowly drizzle in 2 tablespoons of olive oil. This step helps to emulsify the dressing, giving it a smoother, creamier texture. If the dressing is too thick for your liking, you can thin it out with a tablespoon of water at this stage.

    Step 5: Taste and Adjust

    Give your dressing a taste and adjust any of the seasonings as needed. More lemon juice for tanginess, more Parmesan for saltiness, or more olive oil for creaminess. Once you’re happy with the flavor, your yogurt caesar salad dressing is ready to use! Tip: Letting the dressing sit in the fridge for an hour before serving allows the flavors to meld together beautifully.

    Tips and Tricks

    For those looking to elevate their yogurt caesar salad dressing even further, consider these advanced tips. First, if you’re using anchovies, try mashing them into a paste before adding them to the dressing for a more uniform flavor. Second, for a smokier version, add a pinch of smoked paprika or a dash of liquid smoke. Third, if you’re dairy-free, nutritional yeast can be a great substitute for Parmesan cheese, offering a similar umami quality. Lastly, for an extra creamy texture, blend all the ingredients in a food processor or blender until smooth.

    Recipe Variations

    • Avocado Yogurt Caesar: Blend in half an avocado for an even creamier texture and a boost of healthy fats.
    • Spicy Caesar: Add a teaspoon of sriracha or a pinch of cayenne pepper for a spicy kick.
    • Herbed Caesar: Mix in a tablespoon of chopped fresh herbs like parsley, chives, or dill for a fresh twist.
    • Vegan Caesar: Use dairy-free yogurt and substitute the Parmesan with nutritional yeast for a plant-based version.
    • Extra Tangy Caesar: Double the amount of lemon juice and add a teaspoon of apple cider vinegar for those who love a tangy dressing.

    Frequently Asked Questions

    Can I make this dressing ahead of time?

    Absolutely! This dressing can be made up to 3 days in advance and stored in an airtight container in the refrigerator. The flavors actually improve over time, making it a great make-ahead option for meal prep or entertaining. Just give it a good stir or shake before using, as it may separate slightly in the fridge.

    Is there a substitute for Greek yogurt?

    If you don’t have Greek yogurt on hand, regular plain yogurt can be used, but keep in mind it’s thinner, so you may need to adjust the amount of water added. Alternatively, sour cream or mayonnaise can be used for a different flavor and texture profile, though it will no longer be as light as the yogurt version.

    How can I store leftover dressing?

    Leftover dressing should be stored in an airtight container in the refrigerator and will keep for up to 5 days. Make sure to give it a good stir before using, as the ingredients may settle over time. Unfortunately, this dressing doesn’t freeze well due to the dairy content, so it’s best enjoyed fresh.

    Summary

    This yogurt caesar salad dressing is a lighter, tangier take on the classic, perfect for elevating any salad, sandwich, or dip. With simple ingredients and no cooking required, it’s an easy way to add a burst of flavor to your meals. Customizable to suit any taste, it’s a versatile dressing you’ll want to keep on hand.