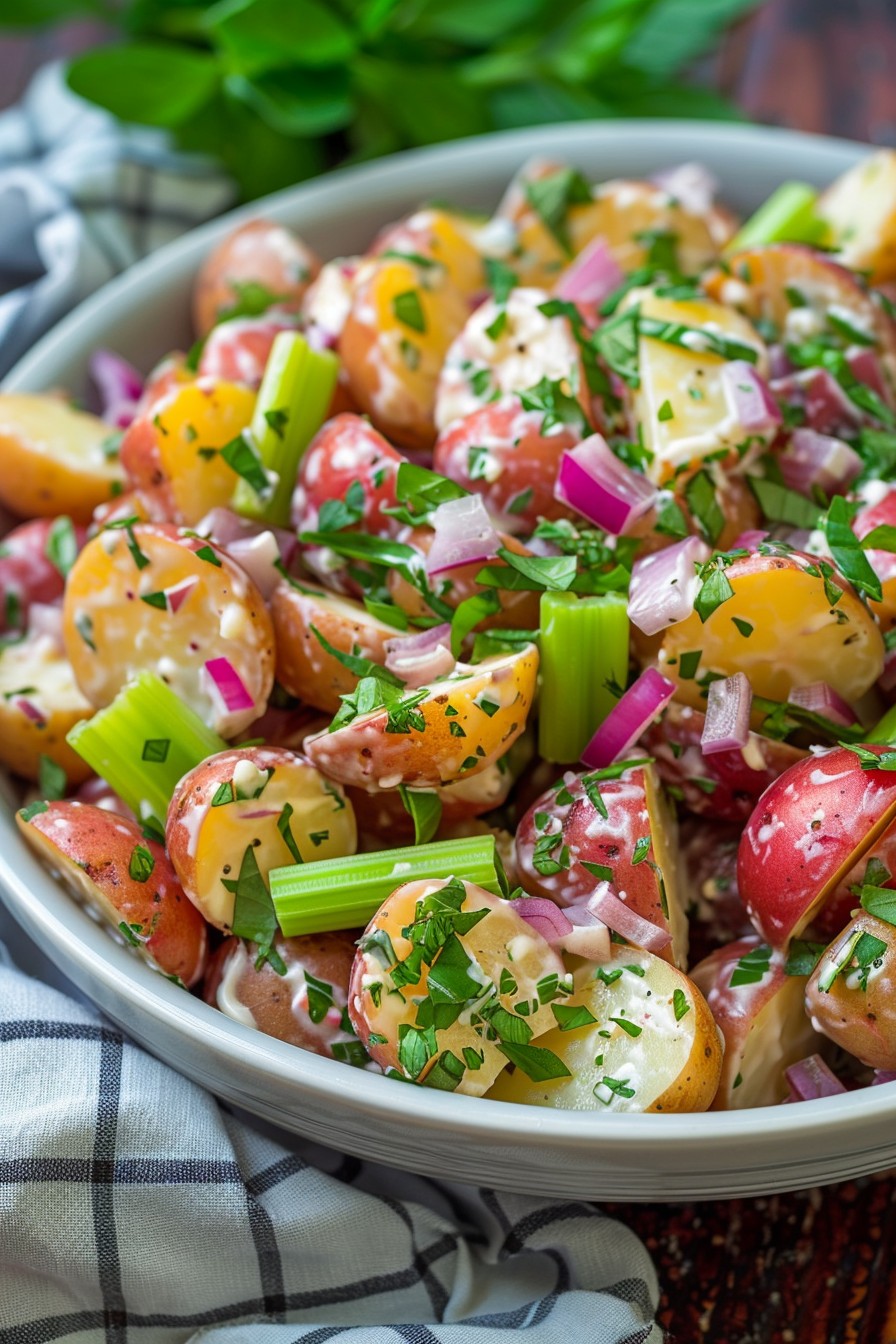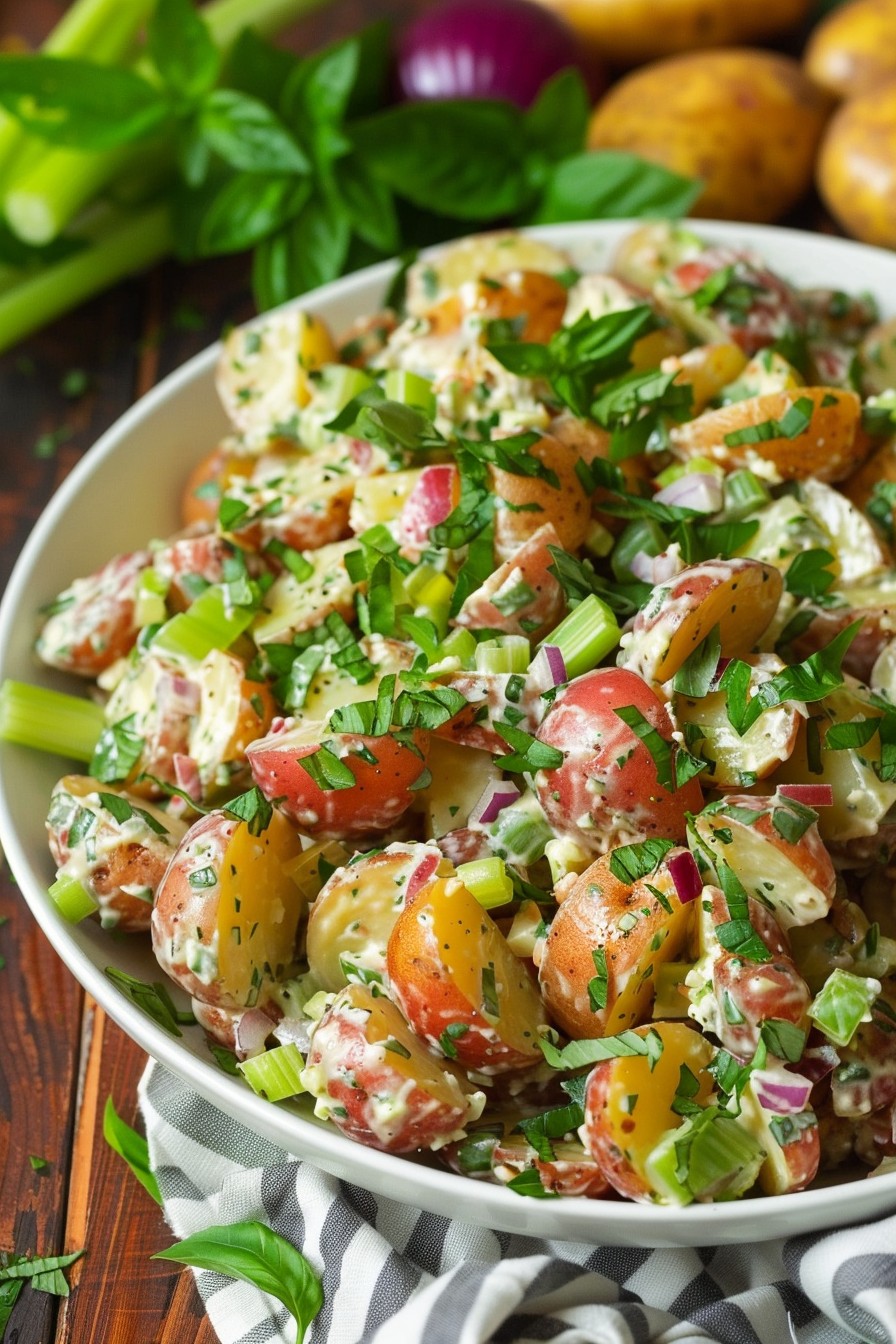
Kick off your summer meals with this refreshing cucumber salad that’s bursting with flavor. Perfect for picnics, BBQs, or just a light lunch, this recipe is as easy as it is delicious.
Why This Recipe Works
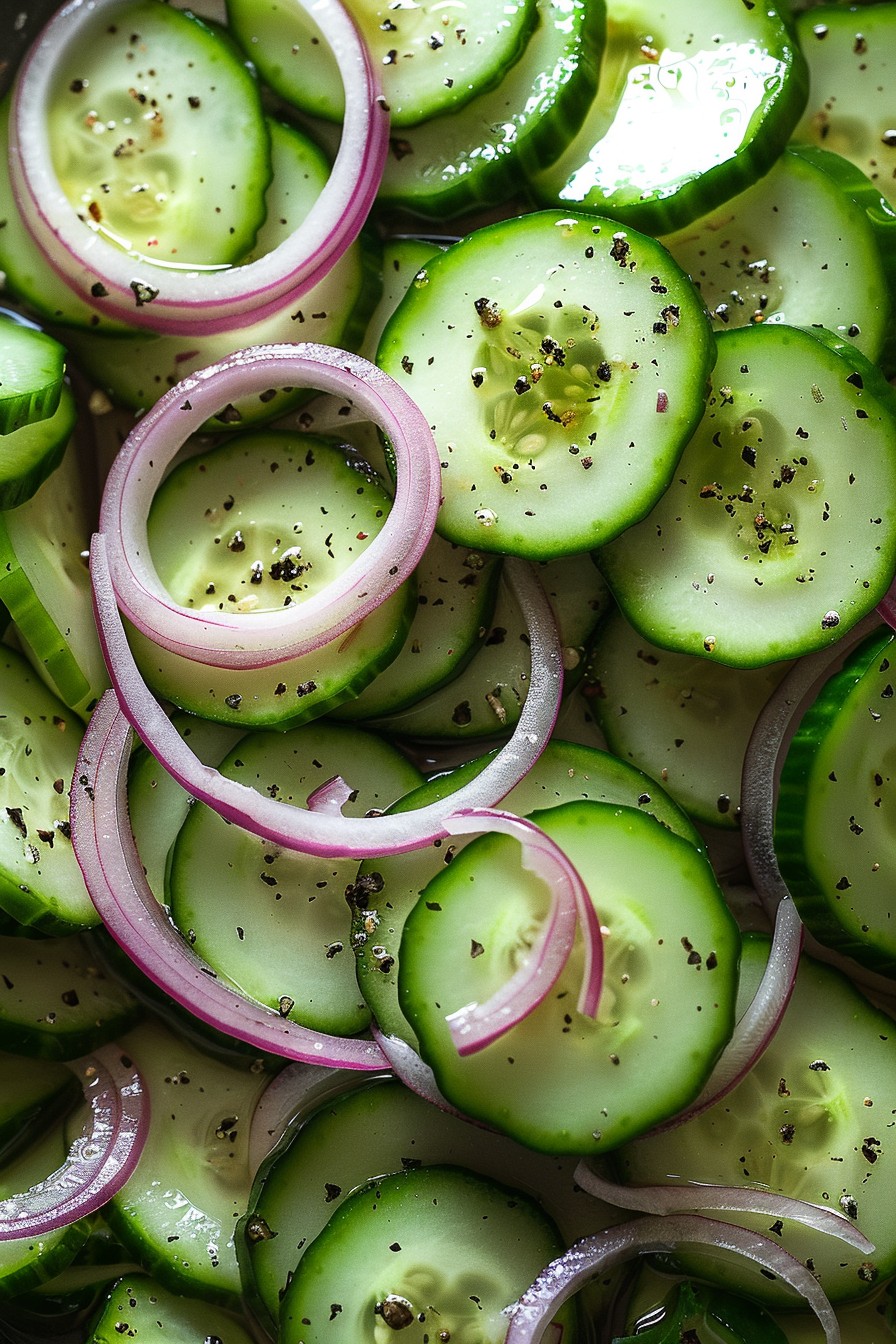
- The crispness of fresh cucumbers pairs perfectly with the tangy kick of white vinegar, creating a refreshing side dish.
- It’s incredibly easy to make, requiring just a few simple ingredients and minimal prep time.
- This salad is versatile, serving as a great base for additional flavors or ingredients based on your preferences.
- It’s a healthy option, low in calories but high in flavor, making it a guilt-free addition to any meal.
- The acidity from the vinegar helps to slightly pickle the cucumbers, enhancing their flavor and texture.
Ingredients
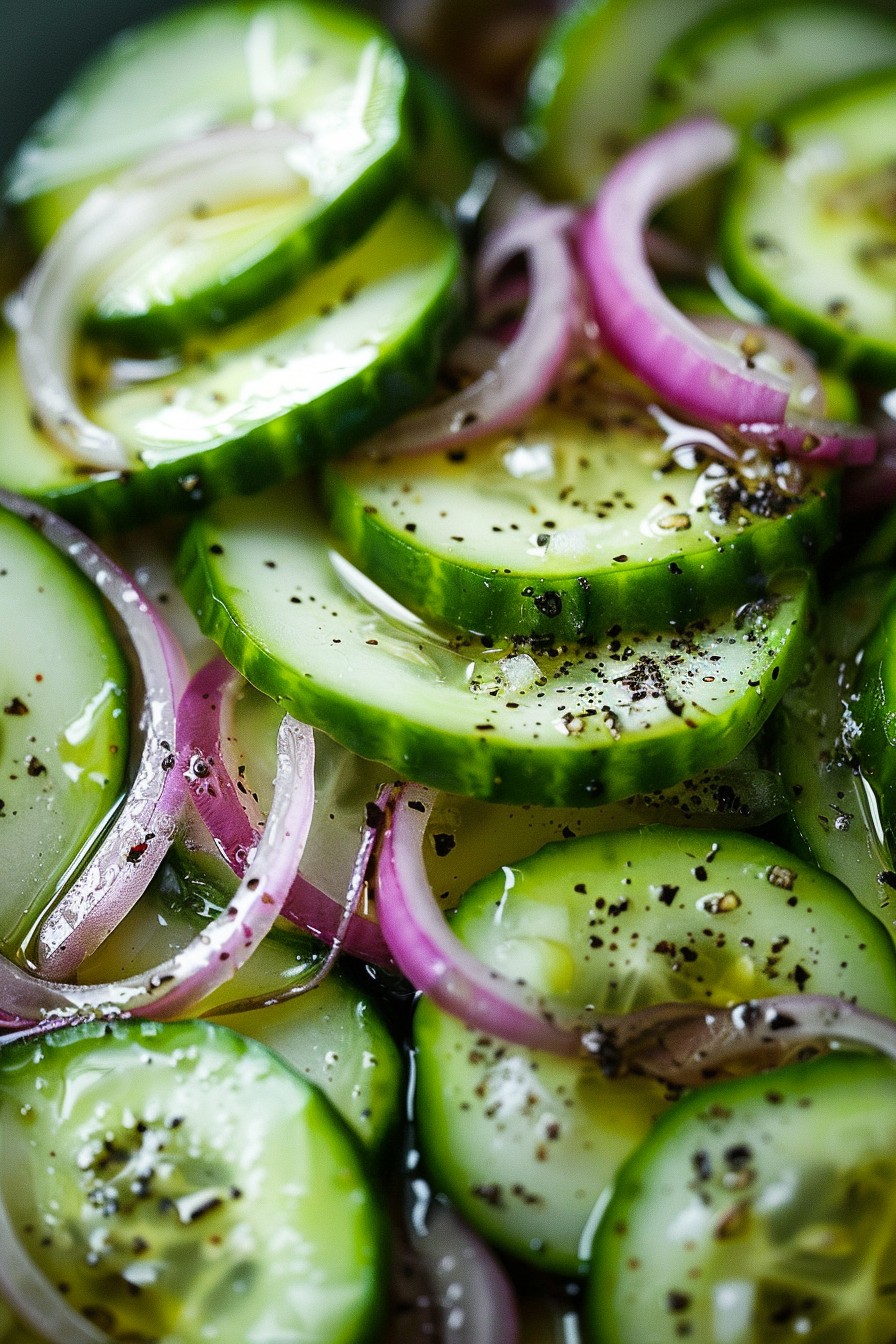
- 2 large cucumbers, thinly sliced
- 1/2 cup white vinegar
- 1/4 cup water
- 2 tbsp sugar
- 1 tsp salt
- 1/2 tsp black pepper
- 1/4 red onion, thinly sliced (optional)
Equipment Needed
- Mixing bowl
- Measuring cups and spoons
- Sharp knife
- Cutting board
Instructions
Prepare the Cucumbers
Start by washing your cucumbers thoroughly under cold water. Using a sharp knife and a cutting board, slice the cucumbers as thinly as possible for the best texture. If you’re adding red onion, slice it thinly as well. Tip: For an extra crisp salad, you can salt the cucumber slices lightly and let them sit for 10 minutes before rinsing and patting dry.
Mix the Dressing
In a mixing bowl, combine the white vinegar, water, sugar, salt, and black pepper. Whisk until the sugar and salt are completely dissolved. This creates a perfectly balanced dressing that’s tangy, sweet, and salty all at once. Tip: Adjust the sugar or vinegar to taste if you prefer a sweeter or more tangy salad.
Combine and Marinate
Add the sliced cucumbers (and red onion if using) to the bowl with the dressing. Gently toss to ensure all the slices are evenly coated. Cover the bowl and refrigerate for at least 30 minutes to allow the flavors to meld. Tip: For deeper flavor, let the salad marinate for up to 2 hours before serving.
Serve and Enjoy
Once marinated, give the salad a quick stir and serve chilled. This cucumber salad is perfect on its own or as a side to grilled meats or sandwiches. Enjoy the crisp, refreshing taste of summer in every bite.
Tips and Tricks
For those looking to elevate their cucumber salad game, consider these advanced tips. First, using a mandoline can help achieve uniformly thin cucumber slices for a more professional presentation. Second, adding fresh dill or parsley can introduce a new layer of flavor. Third, for a creamier version, a tablespoon of sour cream or Greek yogurt can be mixed into the dressing. Lastly, letting the salad sit overnight can intensify the flavors, though the cucumbers will lose some of their crispness.
Recipe Variations
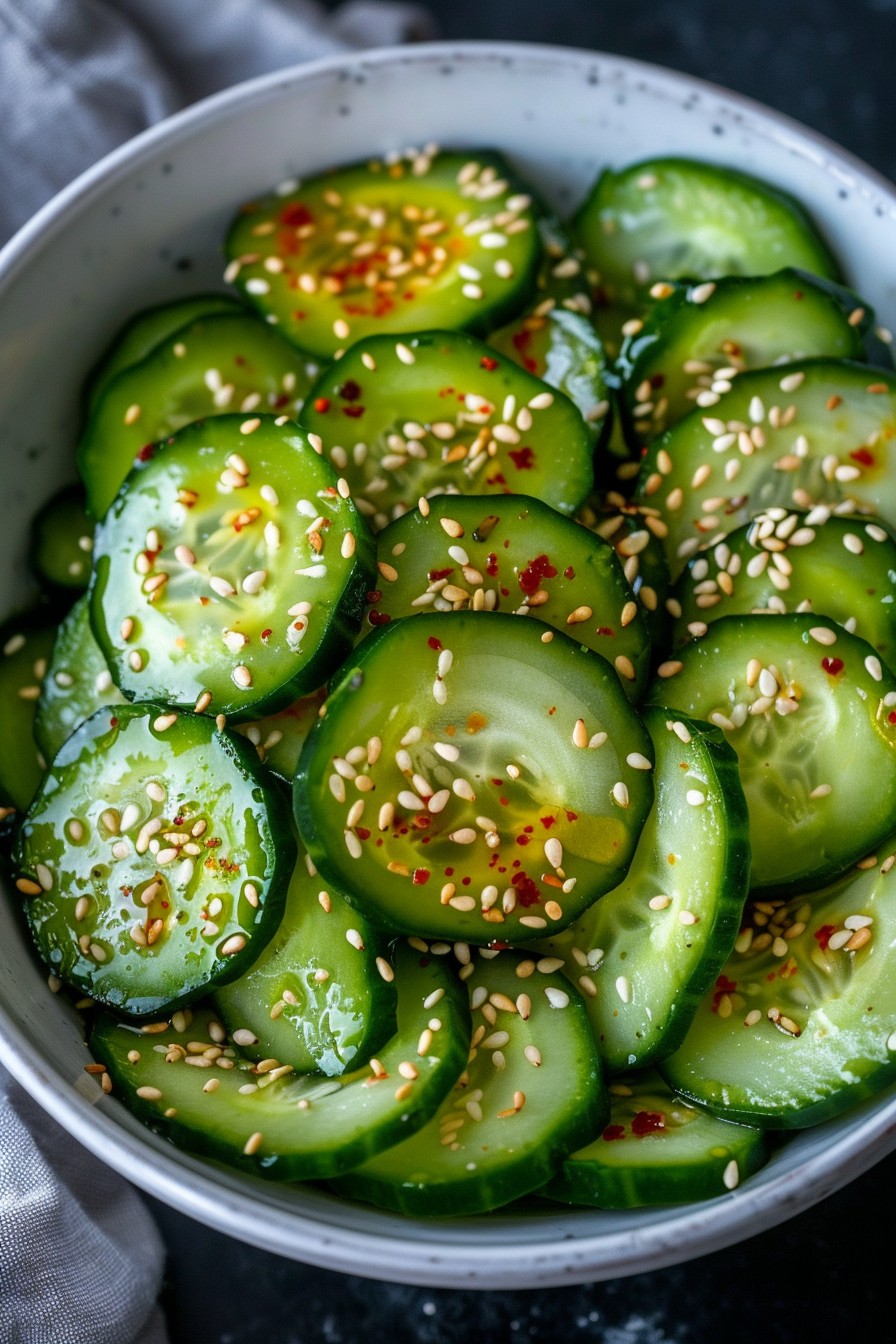
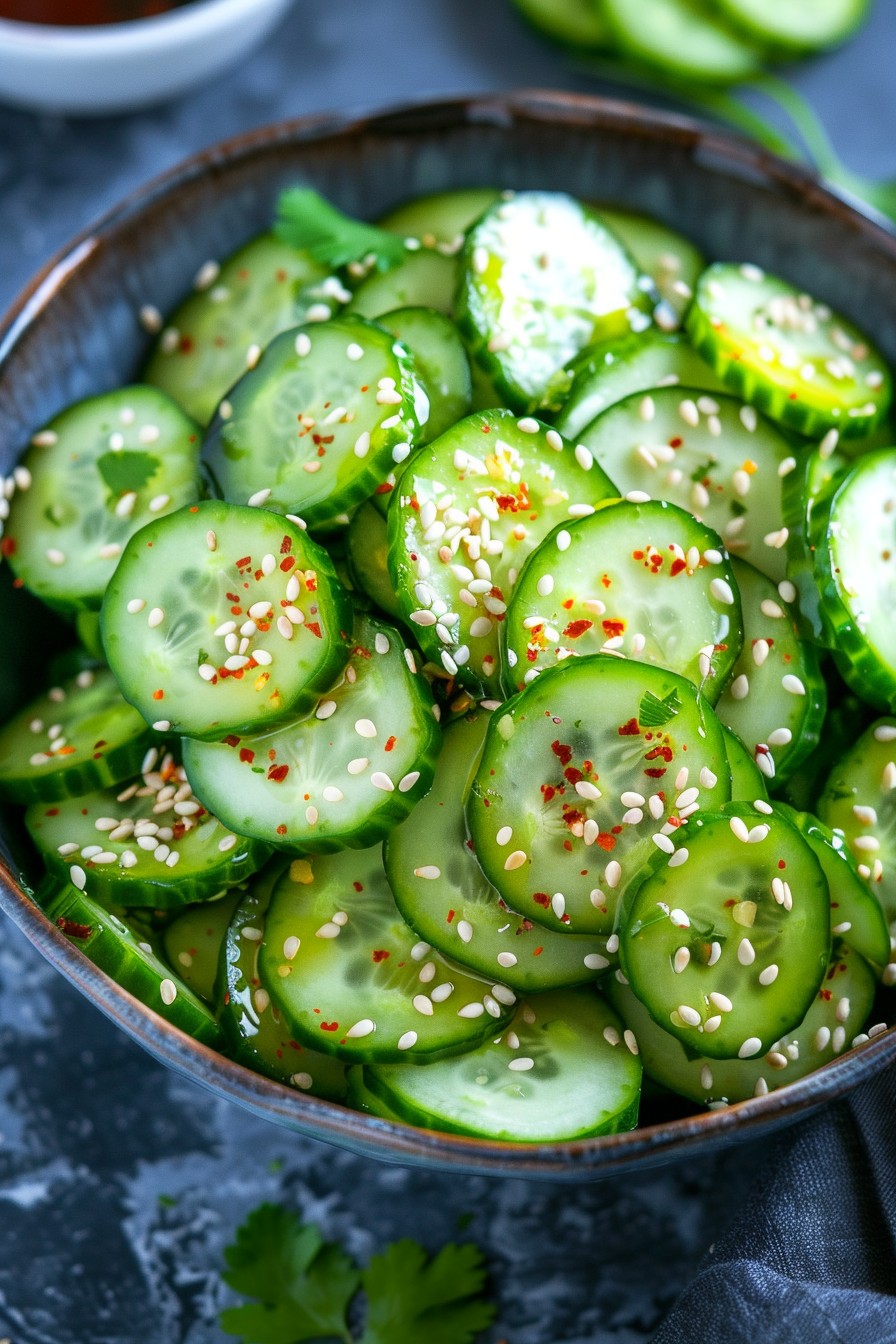
- Asian-Inspired: Add a splash of soy sauce and a teaspoon of sesame oil to the dressing, and garnish with sesame seeds.
- Spicy Kick: Include a finely chopped jalapeño or a sprinkle of red pepper flakes for some heat.
- Herb Garden: Mix in fresh herbs like dill, parsley, or cilantro for a fragrant twist.
- Creamy Version: Stir in a tablespoon of mayonnaise or Greek yogurt for a richer texture.
- Fruit Fusion: Add thinly sliced strawberries or watermelon for a sweet and savory combination.
Frequently Asked Questions
Can I use apple cider vinegar instead of white vinegar?
Absolutely! Apple cider vinegar can be a great substitute, offering a slightly sweeter and fruitier flavor profile. The salad will have a different taste, but it will still be delicious. Just keep in mind that the color might be slightly different due to the apple cider vinegar’s natural hue.
How long can I store the cucumber salad?
This cucumber salad is best enjoyed within 1-2 days of making it. After that, the cucumbers start to lose their crispness and the salad becomes less fresh. Store it in an airtight container in the refrigerator to maximize its shelf life.
Can I make this salad without sugar?
Yes, you can omit the sugar or substitute it with a sugar alternative like honey or agave syrup for a different flavor profile. The salad will be more tangy without the sugar, but some prefer it that way.
Summary
This cucumber salad with white vinegar is a crisp, refreshing, and easy-to-make dish that’s perfect for summer. With its tangy dressing and versatile nature, it’s sure to be a hit at any meal. Plus, with so many variations, you can customize it to suit any taste.