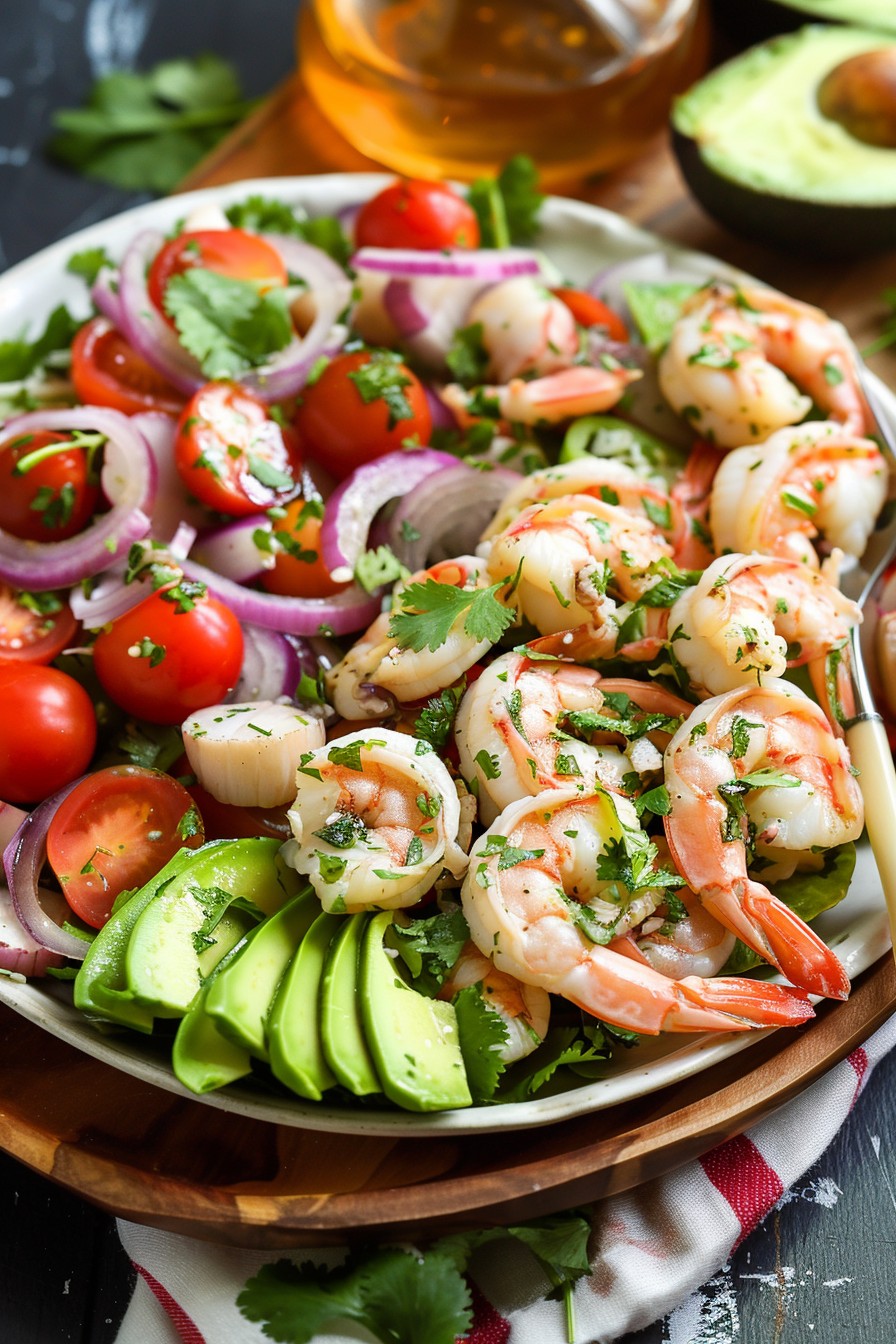
Crafting a seafood salad that’s as visually stunning as it is delicious might seem like a task reserved for the pros, but guess what? You’re about to prove that theory wrong. This jewel seafood salad is a vibrant mix of flavors and textures that’ll have your guests thinking you’ve been hiding a chef’s hat all along.
Why This Recipe Works
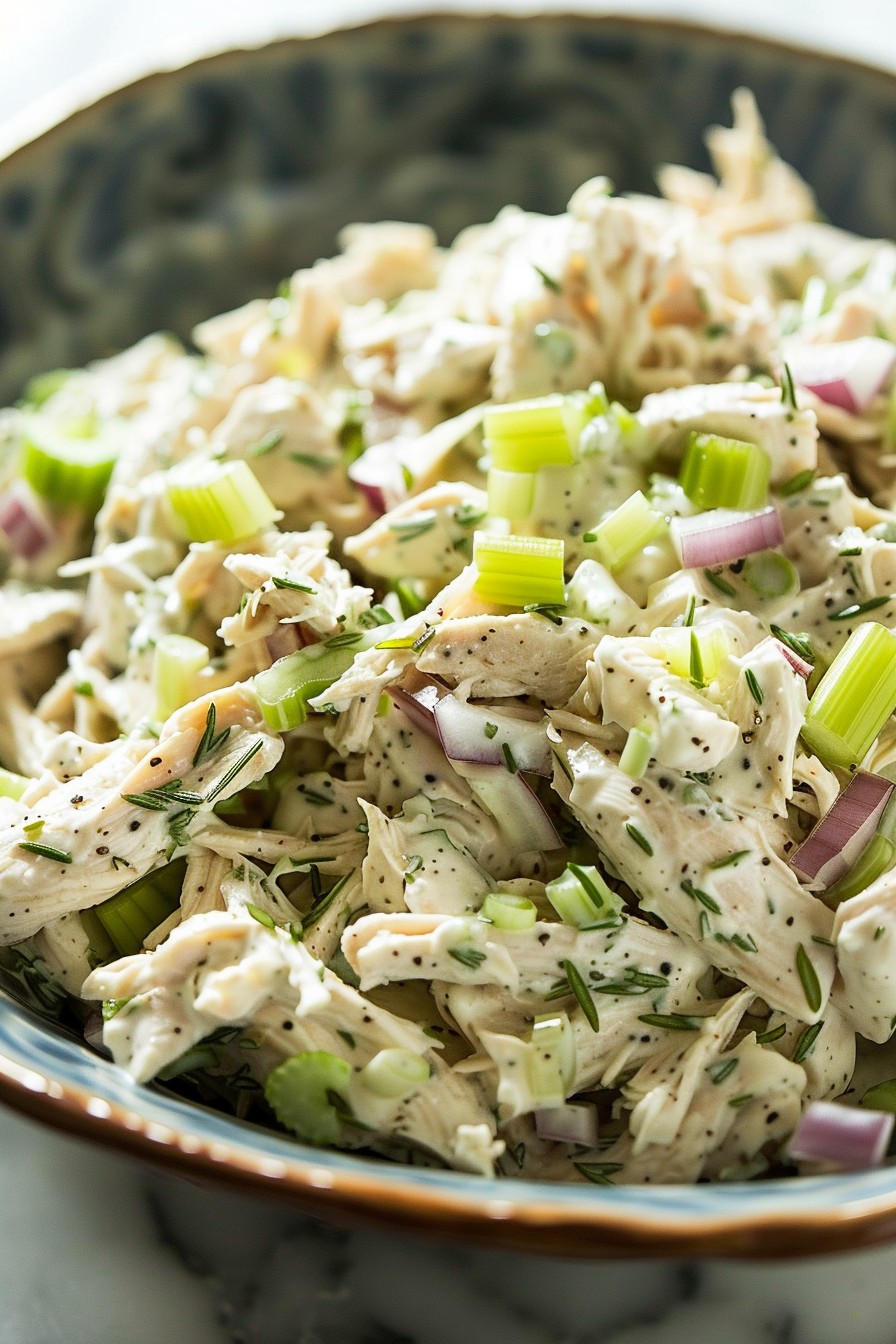
- The combination of fresh seafood and crisp vegetables offers a perfect balance of textures.
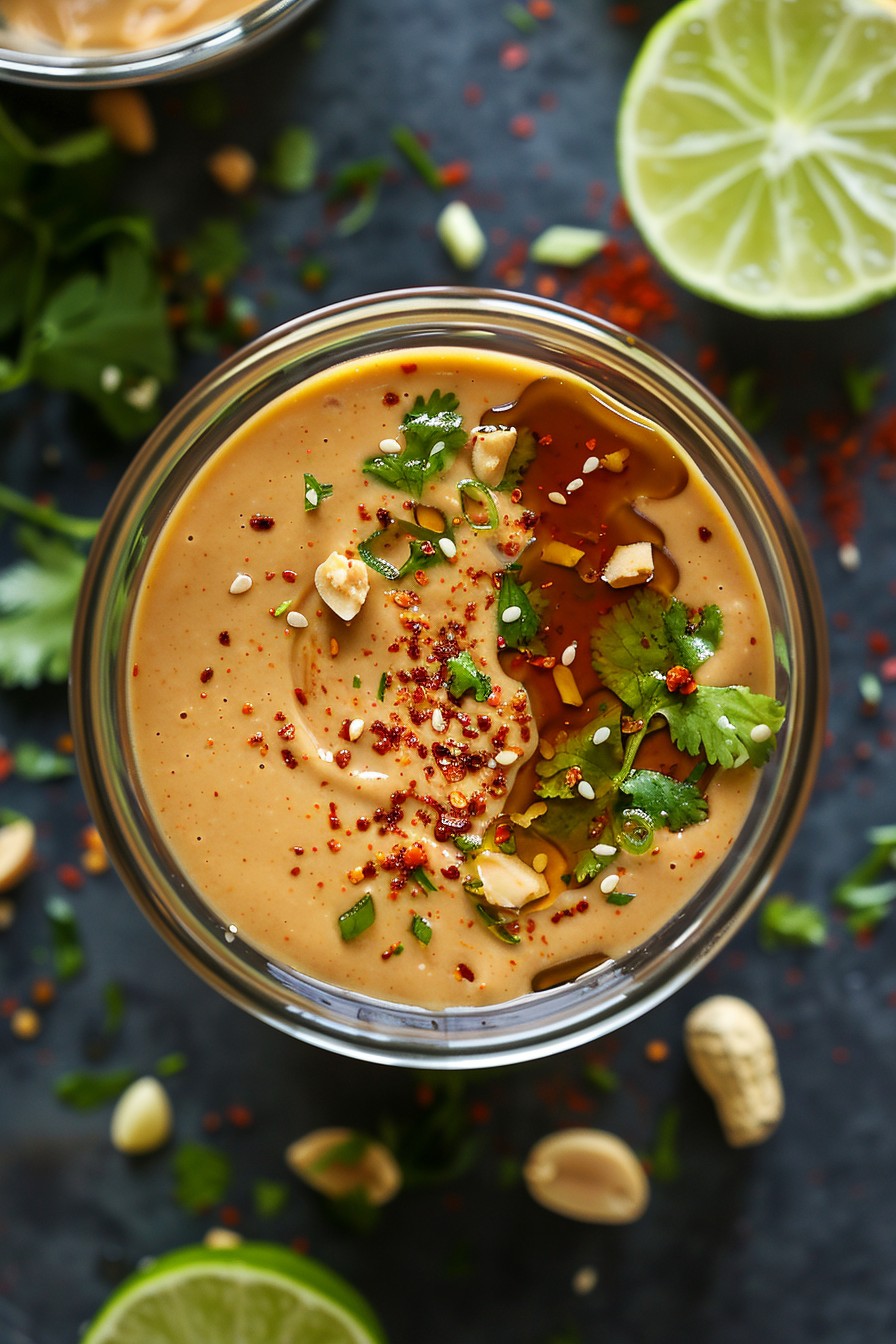
- A zesty homemade dressing elevates the natural flavors of the seafood without overpowering them.
- It’s a versatile dish that can be served as an appetizer, main course, or even a fancy sandwich filling.
- Prep time is minimal, making it ideal for last-minute gatherings.
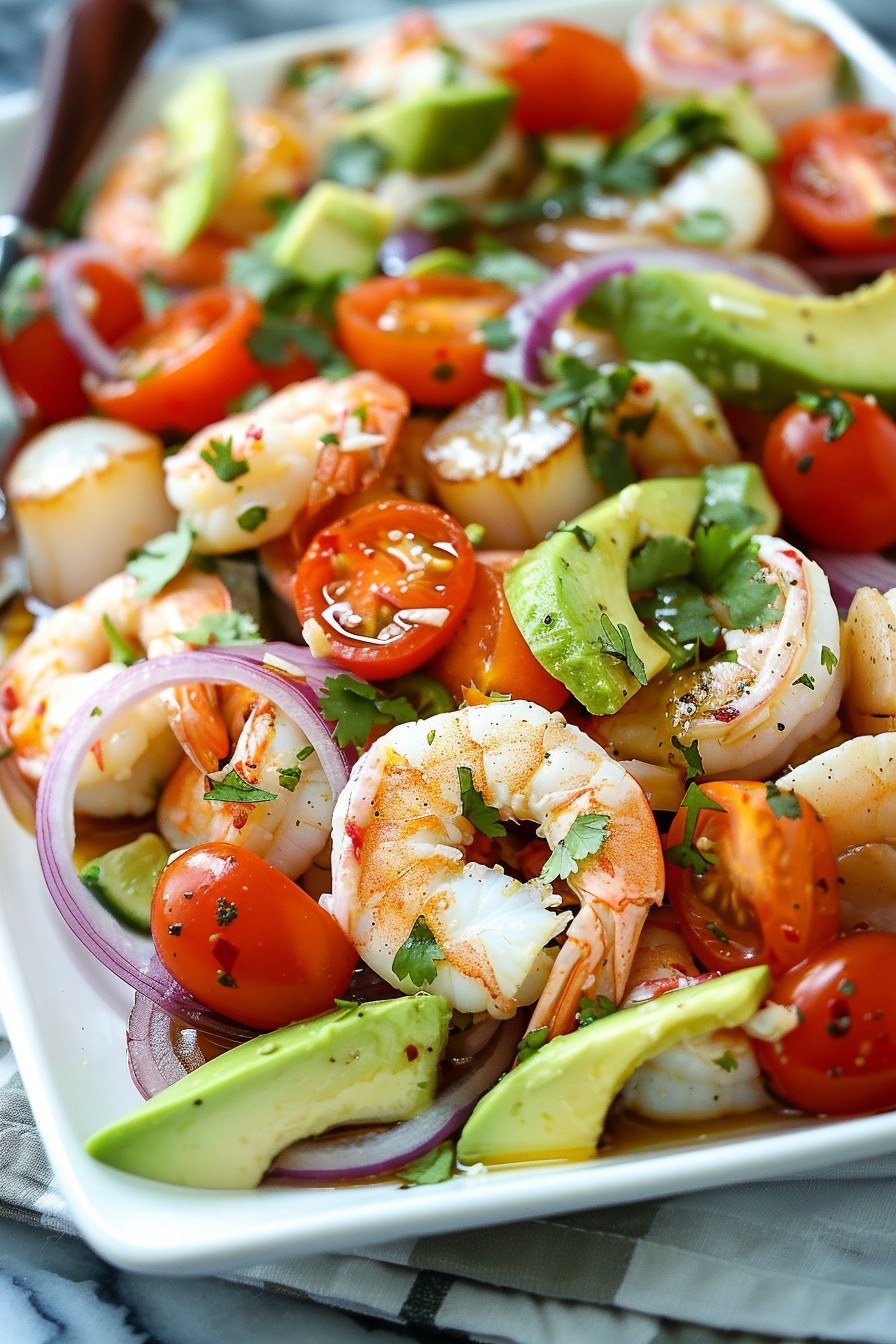
- The colorful presentation makes it a feast for the eyes as well as the palate.
Ingredients
- 1 lb mixed seafood (shrimp, scallops, and crab meat), cooked and chilled
- 1 cup cherry tomatoes, halved
- 1 avocado, diced
- 1/2 red onion, thinly sliced
- 1/4 cup fresh cilantro, chopped
- 1/4 cup olive oil
- 2 tbsp lime juice
- 1 tsp honey
- Salt and pepper to taste
Equipment Needed
- Large mixing bowl
- Small whisk or fork
- Measuring cups and spoons
- Sharp knife
- Cutting board
Instructions
Step 1: Prepare the Seafood
Start by ensuring your mixed seafood is fully cooked and chilled. If you’re using shrimp, make sure they’re peeled and deveined. For scallops, remove the side muscle if present. Crab meat should be picked over for shells. Combine all the seafood in a large mixing bowl.
Step 2: Chop the Vegetables
Halve the cherry tomatoes, dice the avocado, and thinly slice the red onion. Add these to the bowl with the seafood. The key here is uniformity in size for a harmonious bite every time.
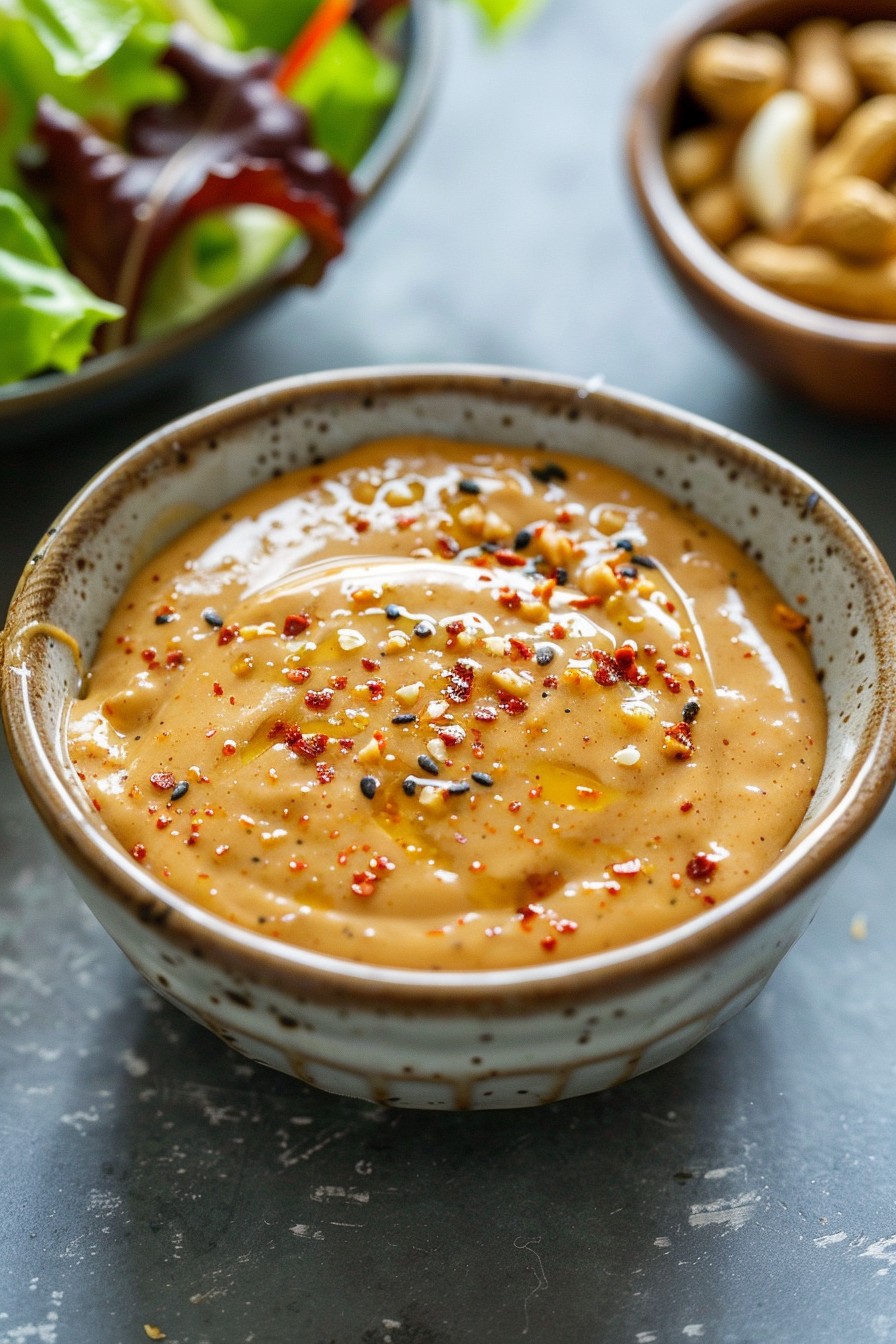
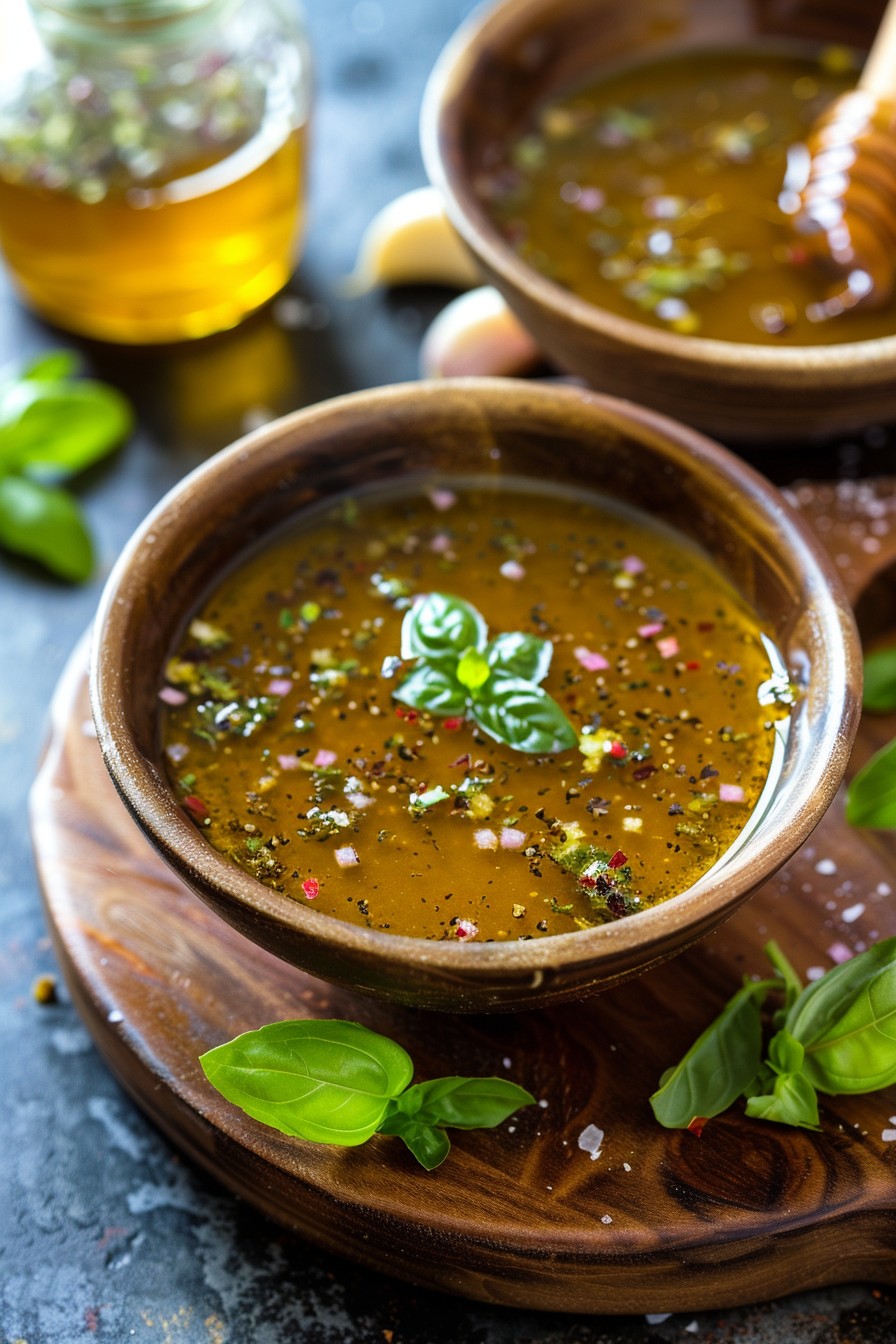
Step 3: Make the Dressing
In a small bowl, whisk together the olive oil, lime juice, honey, salt, and pepper until well combined. This dressing is the secret weapon that ties all the flavors together.
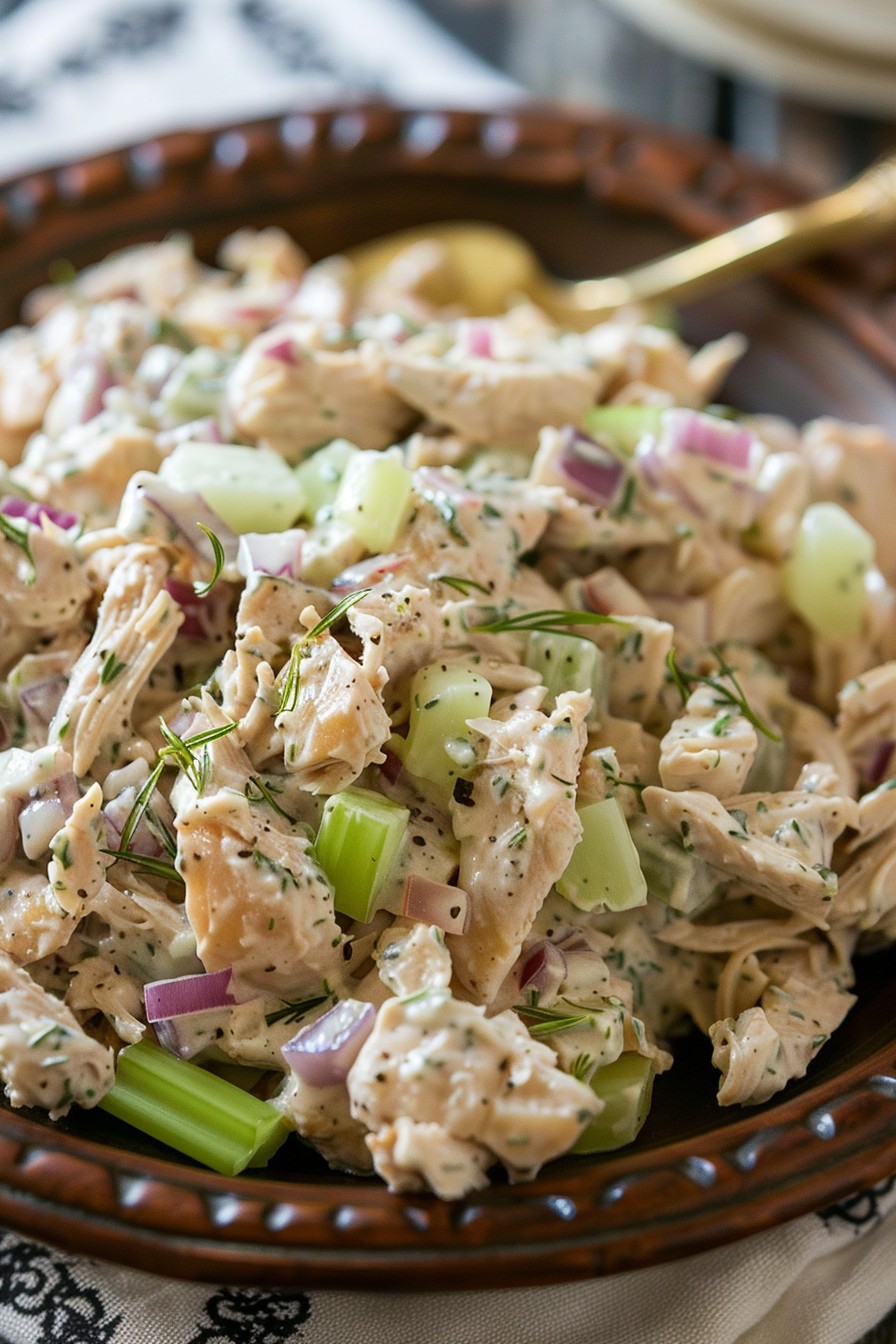
Step 4: Combine and Toss
Pour the dressing over the seafood and vegetable mixture. Gently toss everything together to ensure each piece is lightly coated with the dressing. Be careful not to overmix, especially if you’re using delicate crab meat.
Step 5: Garnish and Serve
Sprinkle the chopped cilantro over the top for a fresh, herby finish. Serve the salad chilled, either on its own, over a bed of greens, or with some crusty bread on the side.
Tips and Tricks
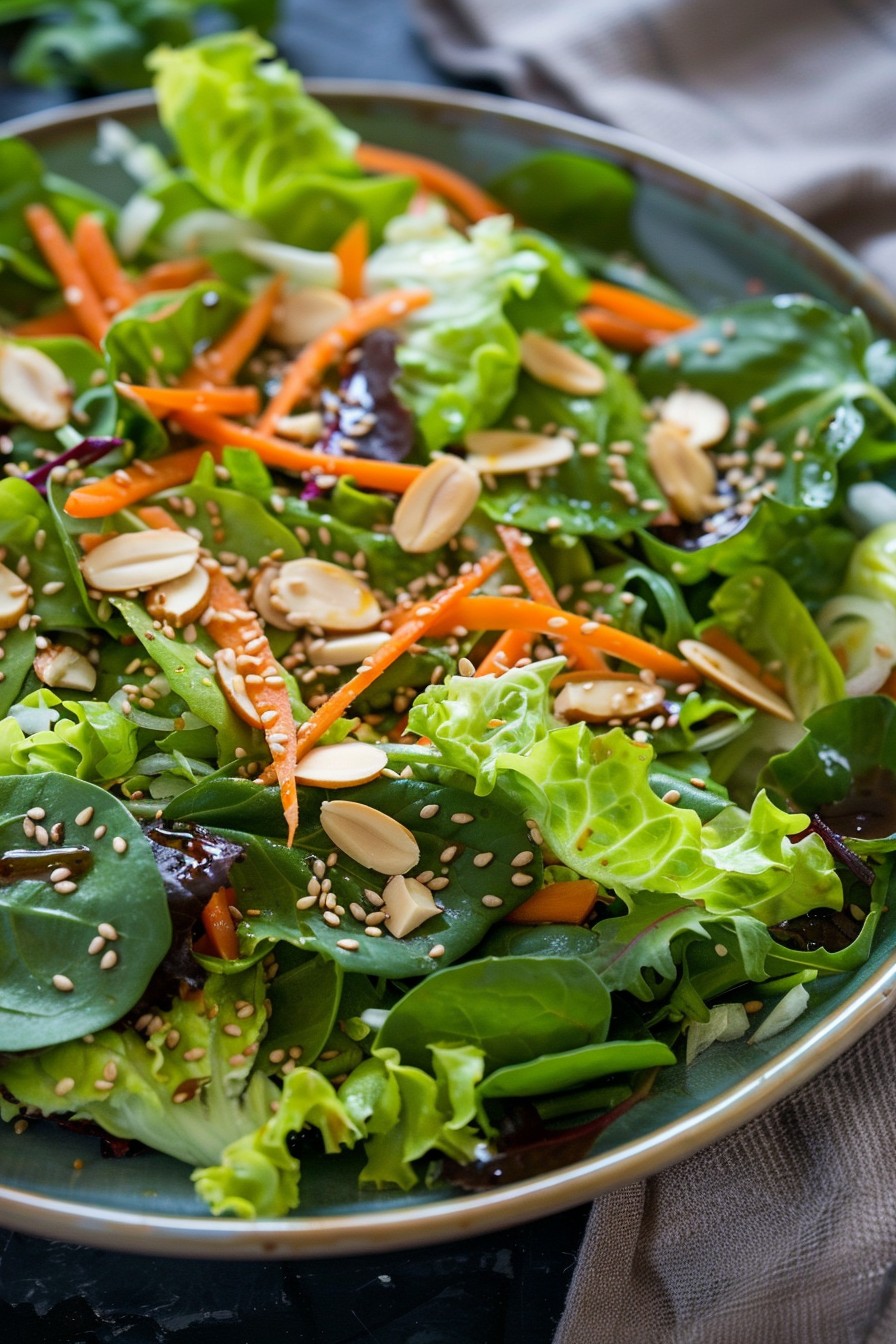
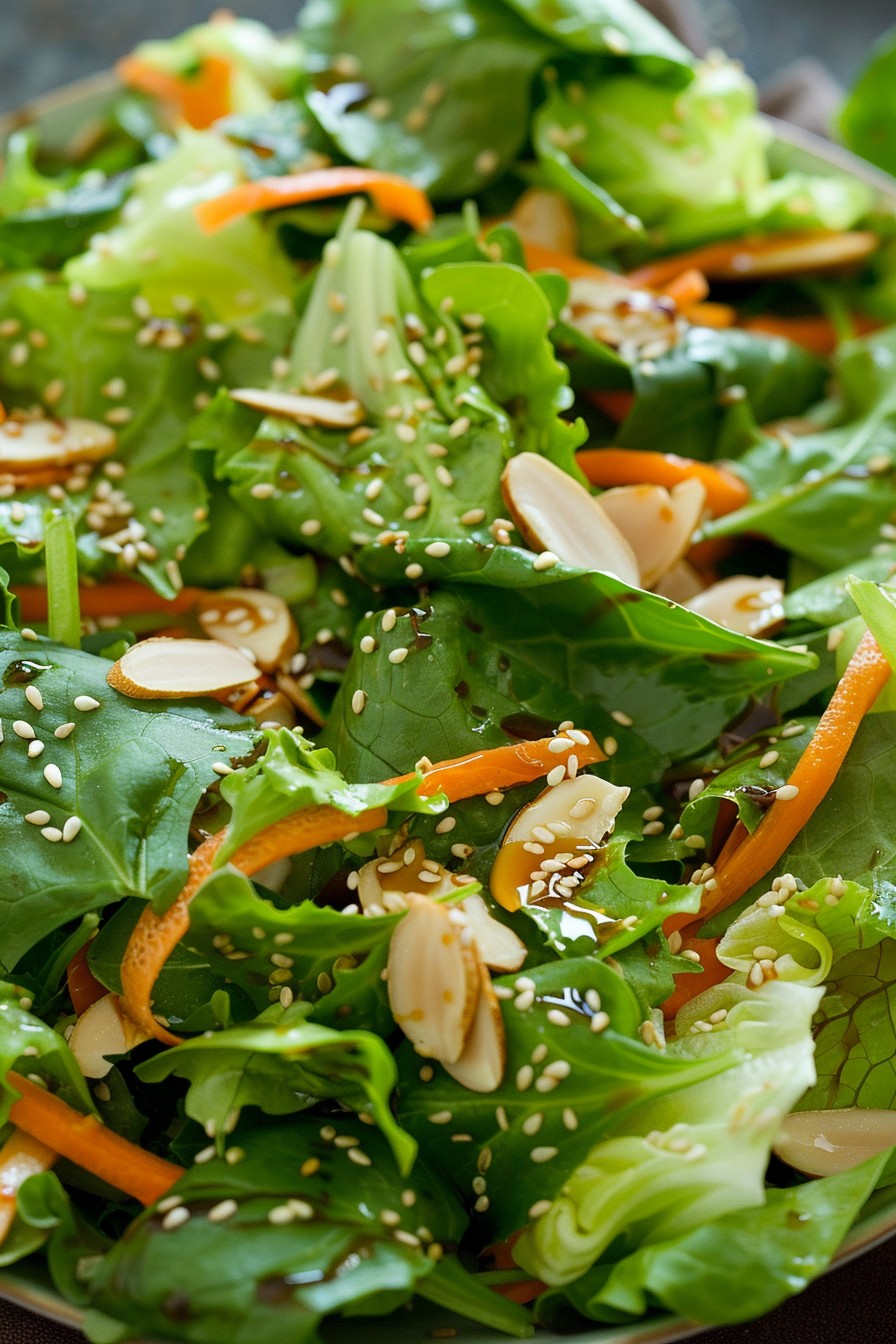
For the best texture, make sure your seafood is patted dry before mixing. If you’re not a fan of cilantro, parsley or dill make great substitutes. To add a bit of crunch, toss in some toasted slivered almonds or pepitas. If you’re preparing this salad ahead of time, wait to add the avocado until just before serving to prevent browning. For a spicier kick, add a finely chopped jalapeño to the mix.
Recipe Variations
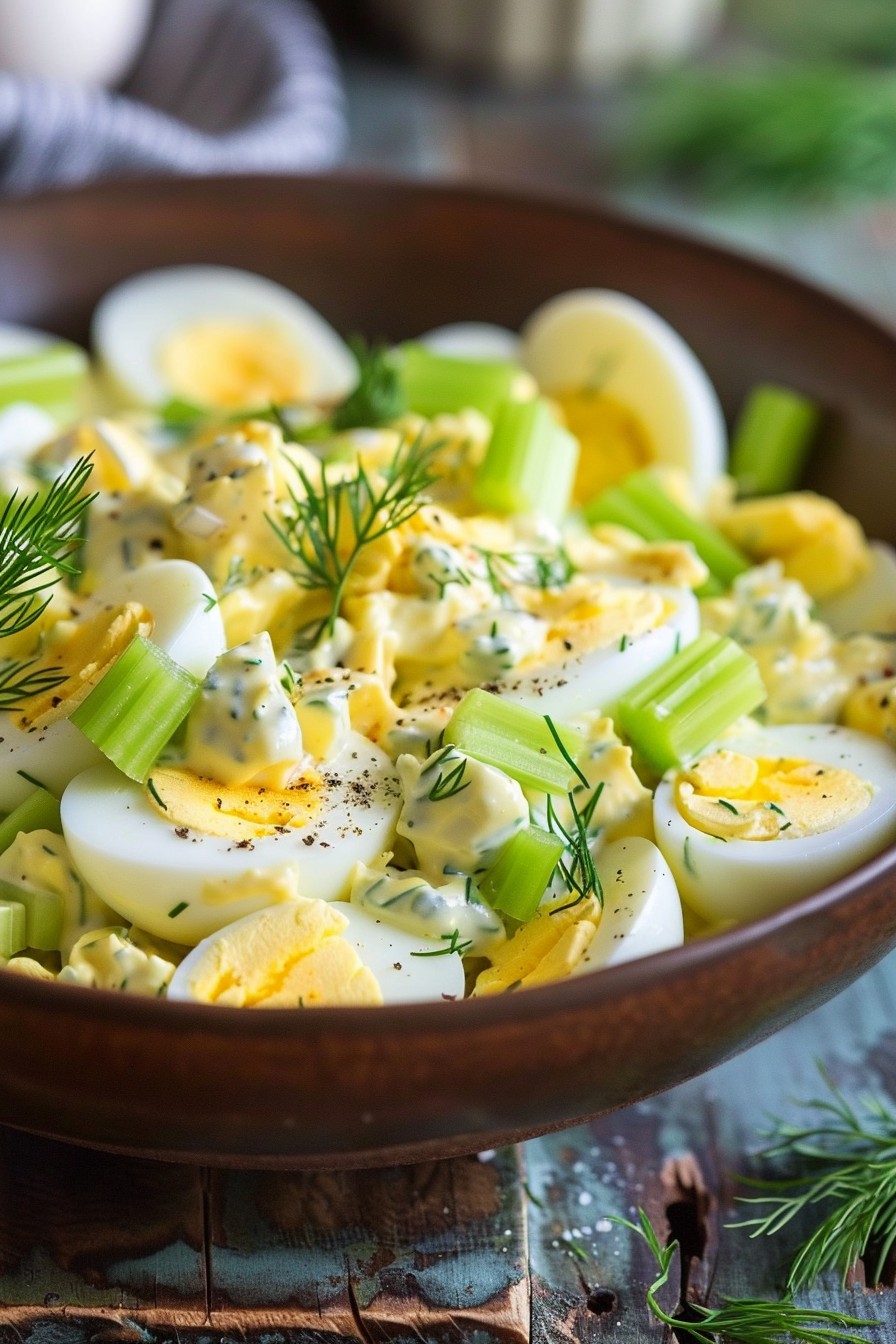
- Swap out the seafood for grilled chicken or tofu for a different protein option.
- Add mango or pineapple for a sweet contrast to the savory elements.
- Use a different dressing, such as a creamy avocado or spicy mayo, to change up the flavor profile.
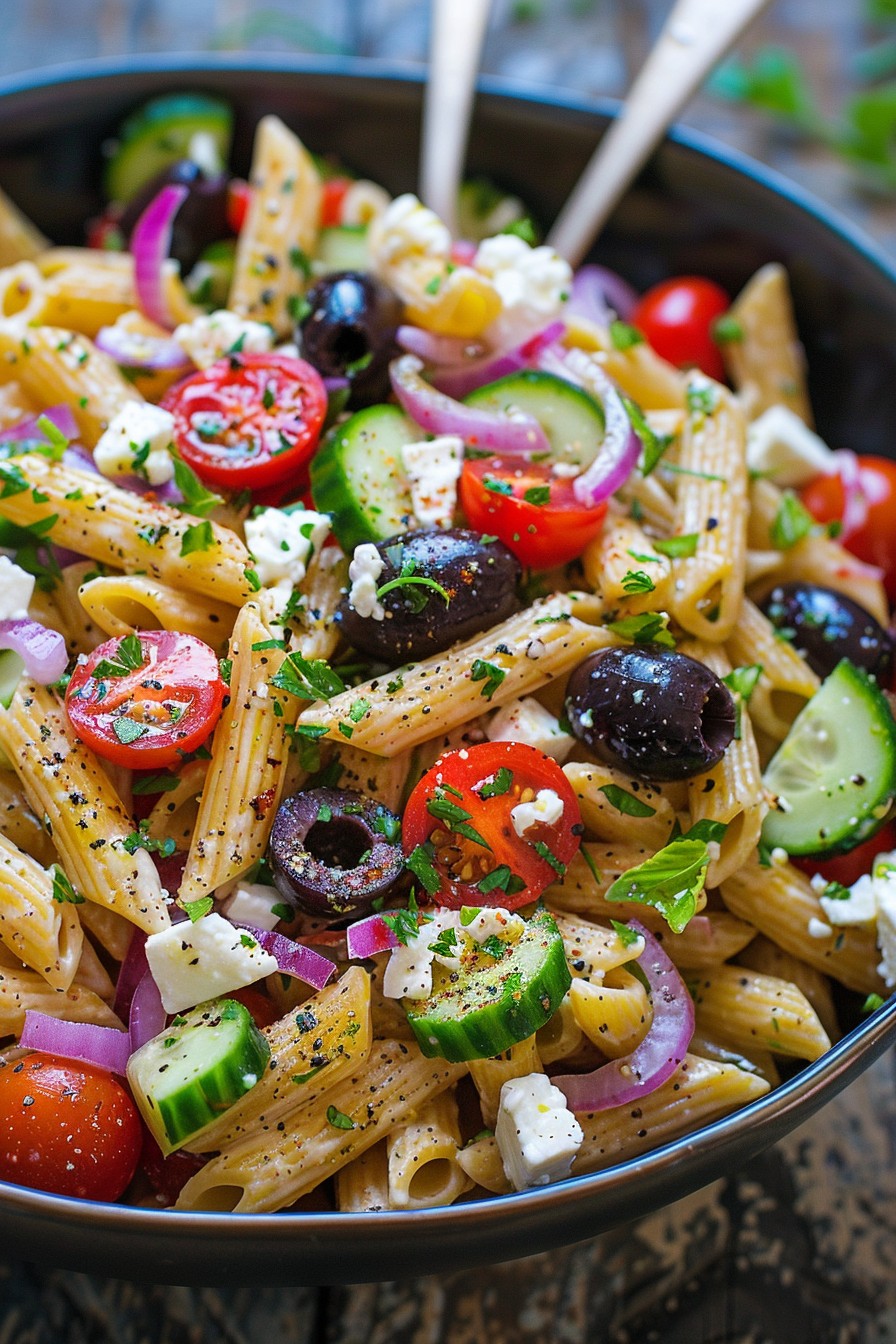
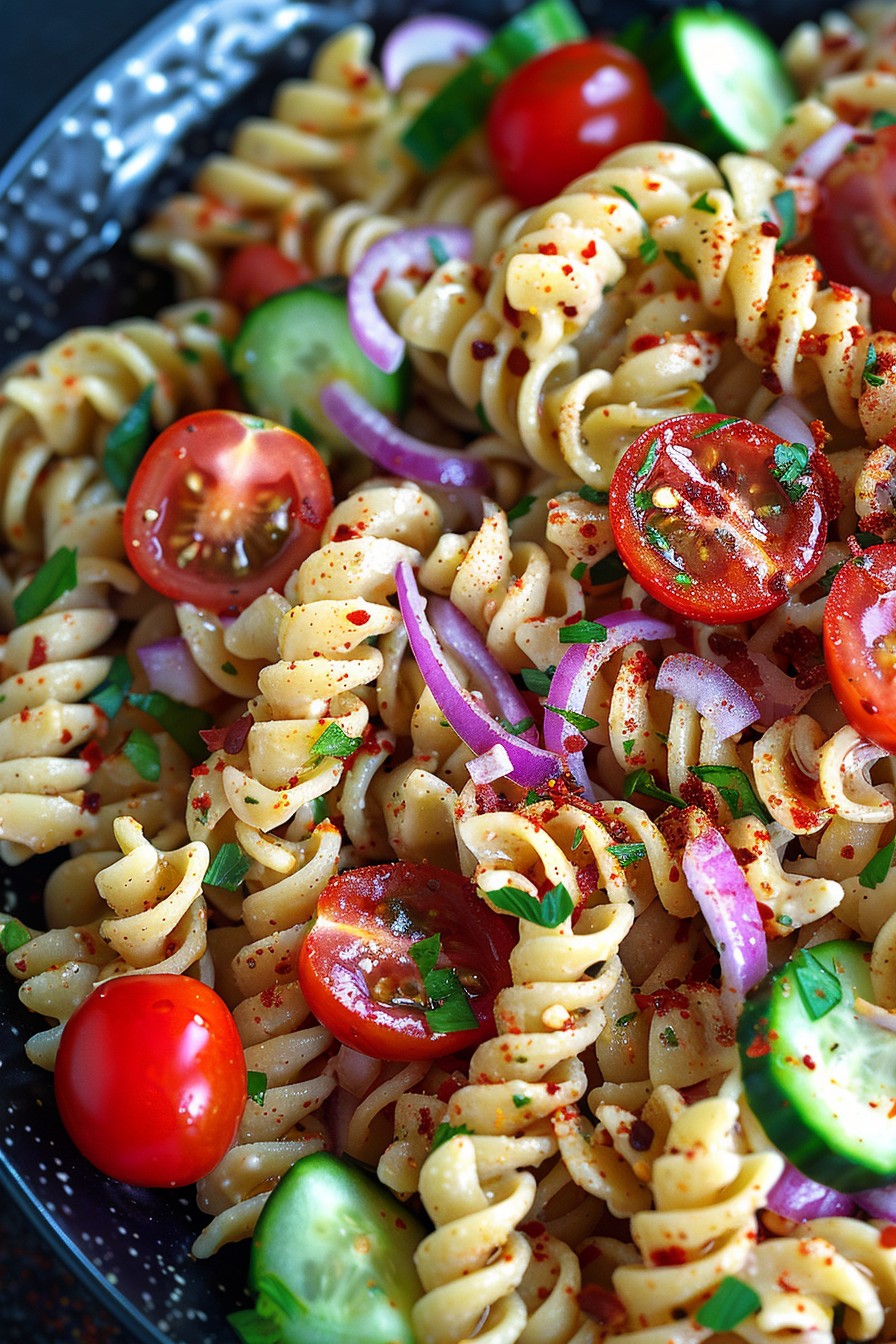
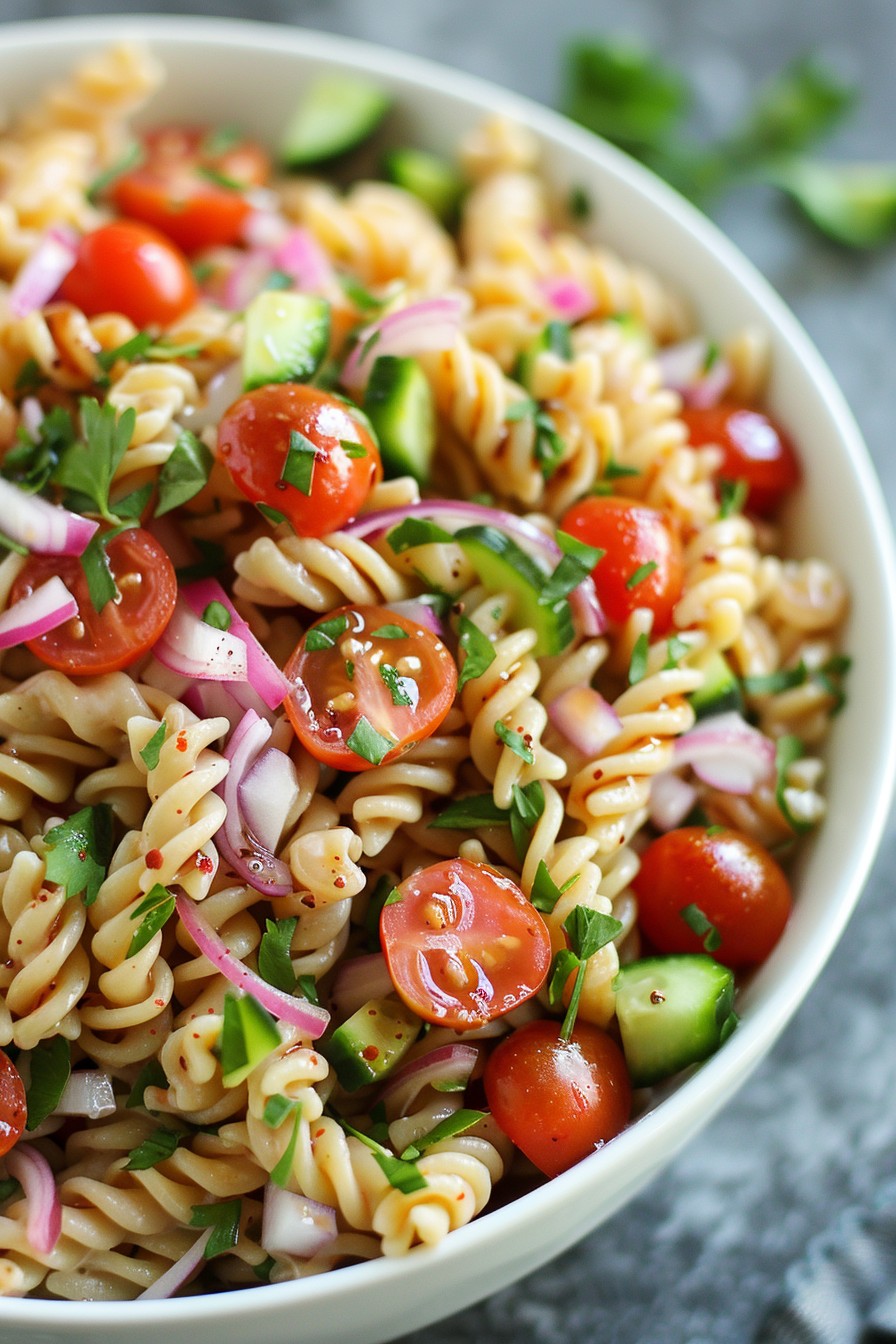
- Incorporate quinoa or couscous to turn this salad into a heartier meal.
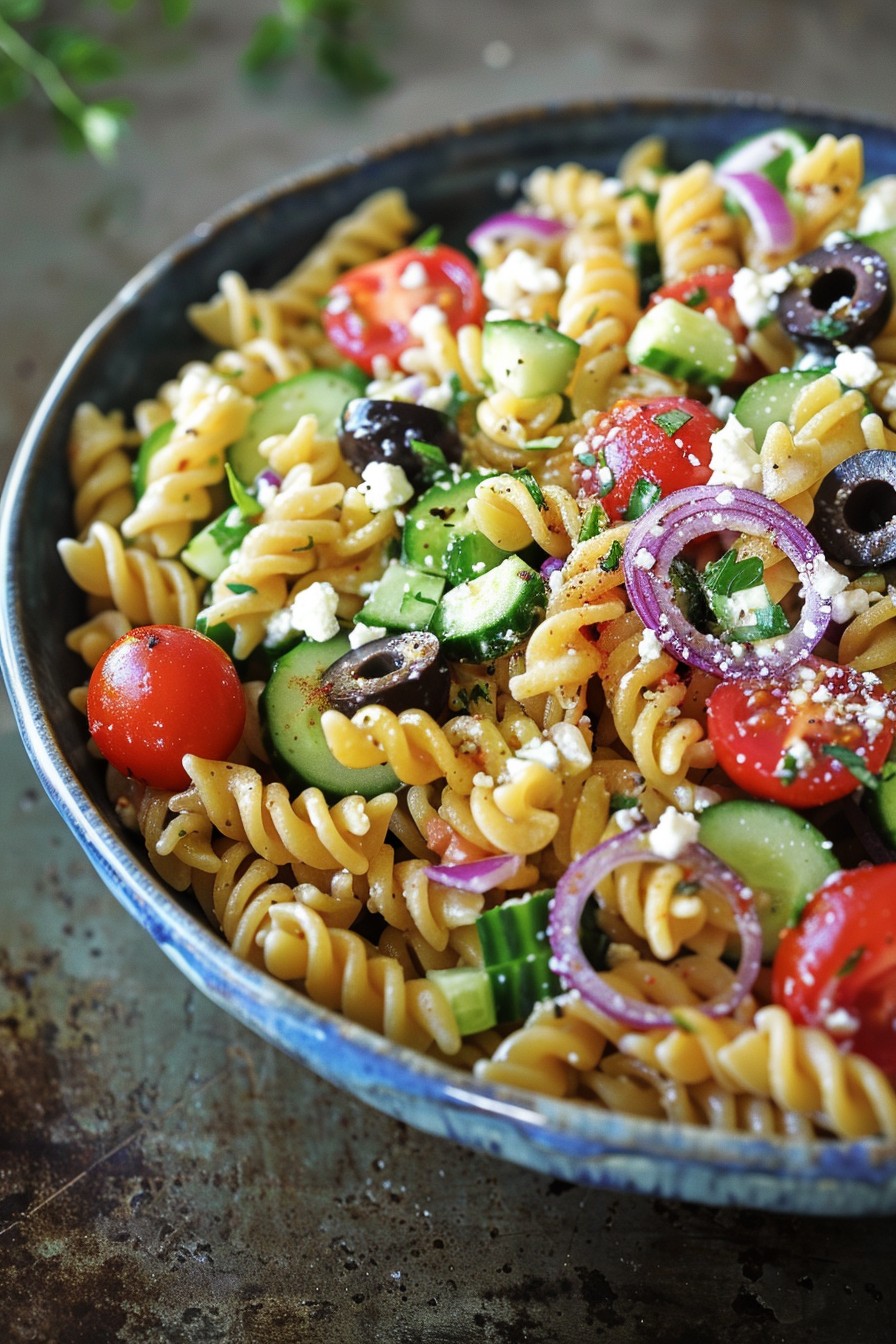
- For a Mediterranean twist, add olives and feta cheese.
Frequently Asked Questions
Can I use frozen seafood?
Absolutely! Just make sure it’s fully thawed and patted dry before using. Frozen seafood can be a great time-saver and is often just as nutritious as fresh.
How long does this salad keep?
Stored in an airtight container in the refrigerator, it should last for up to two days. However, the fresher, the better, especially when it comes to the texture of the seafood and vegetables.
Can I make this salad spicy?
Yes, feel free to add some heat with a dash of cayenne pepper, a sprinkle of red pepper flakes, or that jalapeño we mentioned earlier. Adjust to your preferred level of spiciness.
Summary
This jewel seafood salad is a testament to the beauty of simple ingredients coming together to create something extraordinary. It’s quick, versatile, and guaranteed to impress.