Blog

  • Refreshing Cucumber Mint Salad Recipe: A Summer Delight

    Refreshing Cucumber Mint Salad Recipe: A Summer Delight

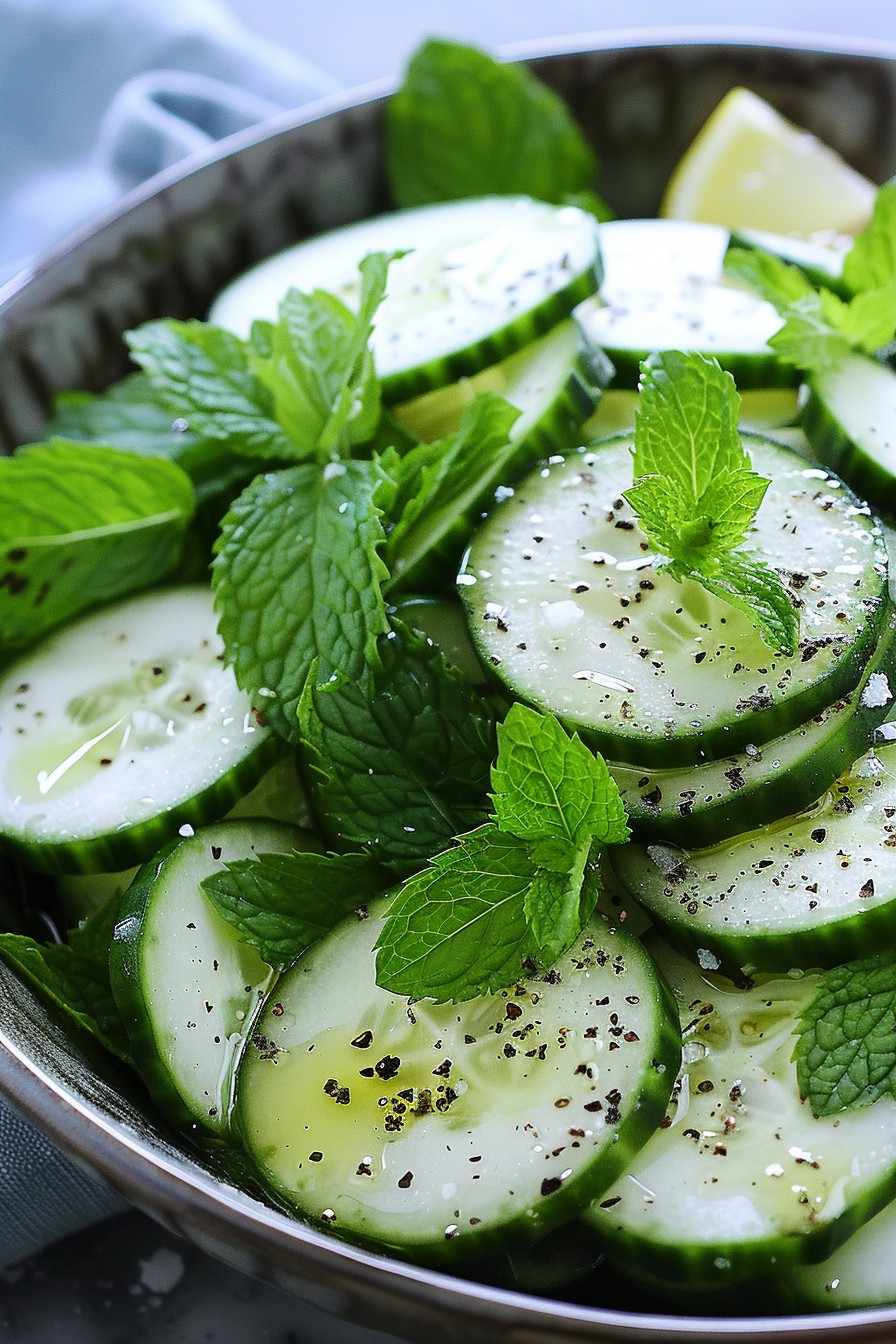
    A amazing way to beat the summer heat is with this crisp, refreshing cucumber mint salad. Perfect for picnics, BBQs, or just a light lunch, this salad is as easy to make as it is delicious. With just a few simple ingredients, you can whip up a dish that’s sure to impress.

    Why This Recipe Works

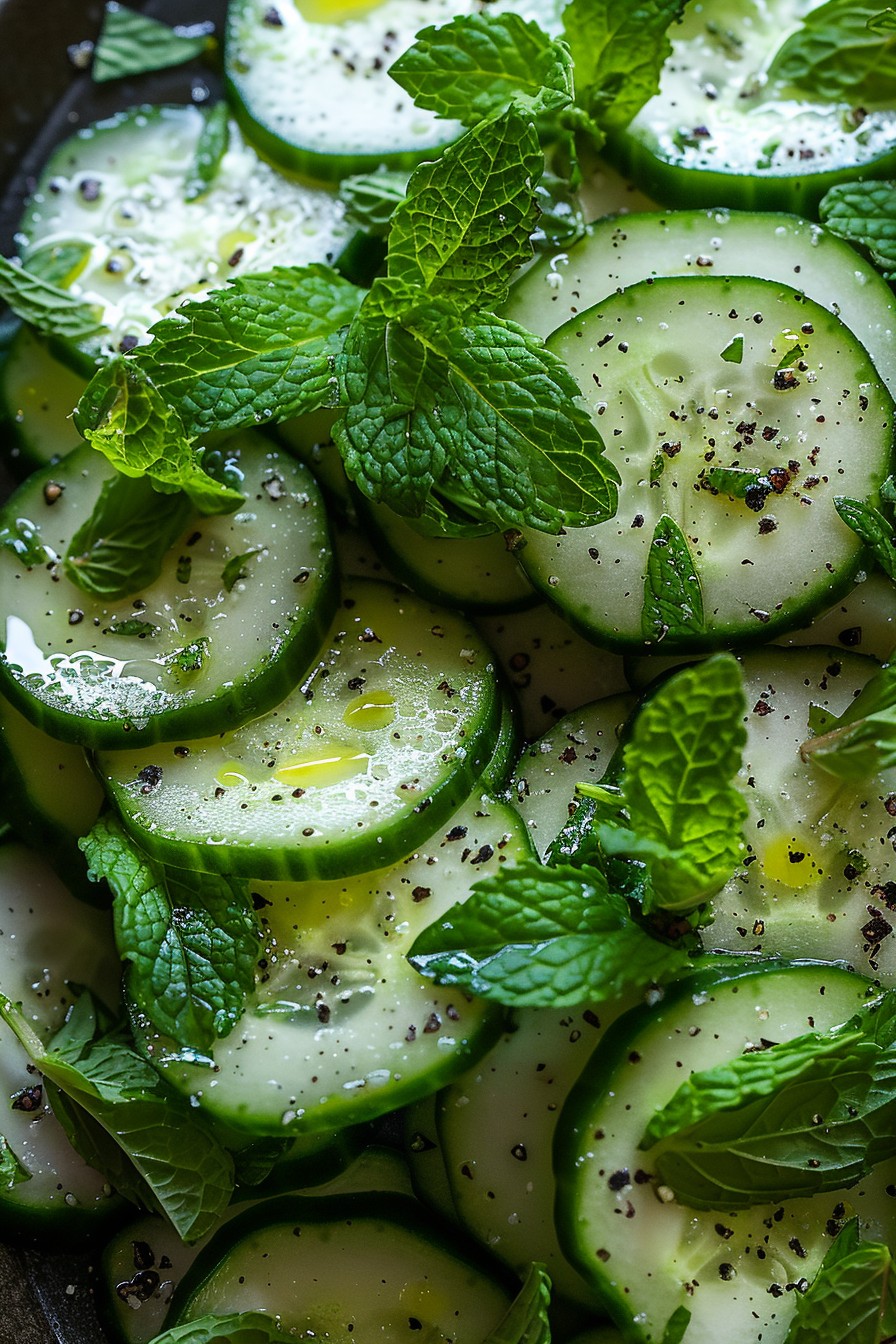
    • The combination of cool cucumbers and fresh mint offers a refreshing taste that’s perfect for hot days.
    • Simple ingredients mean you can make this salad without a trip to the grocery store.
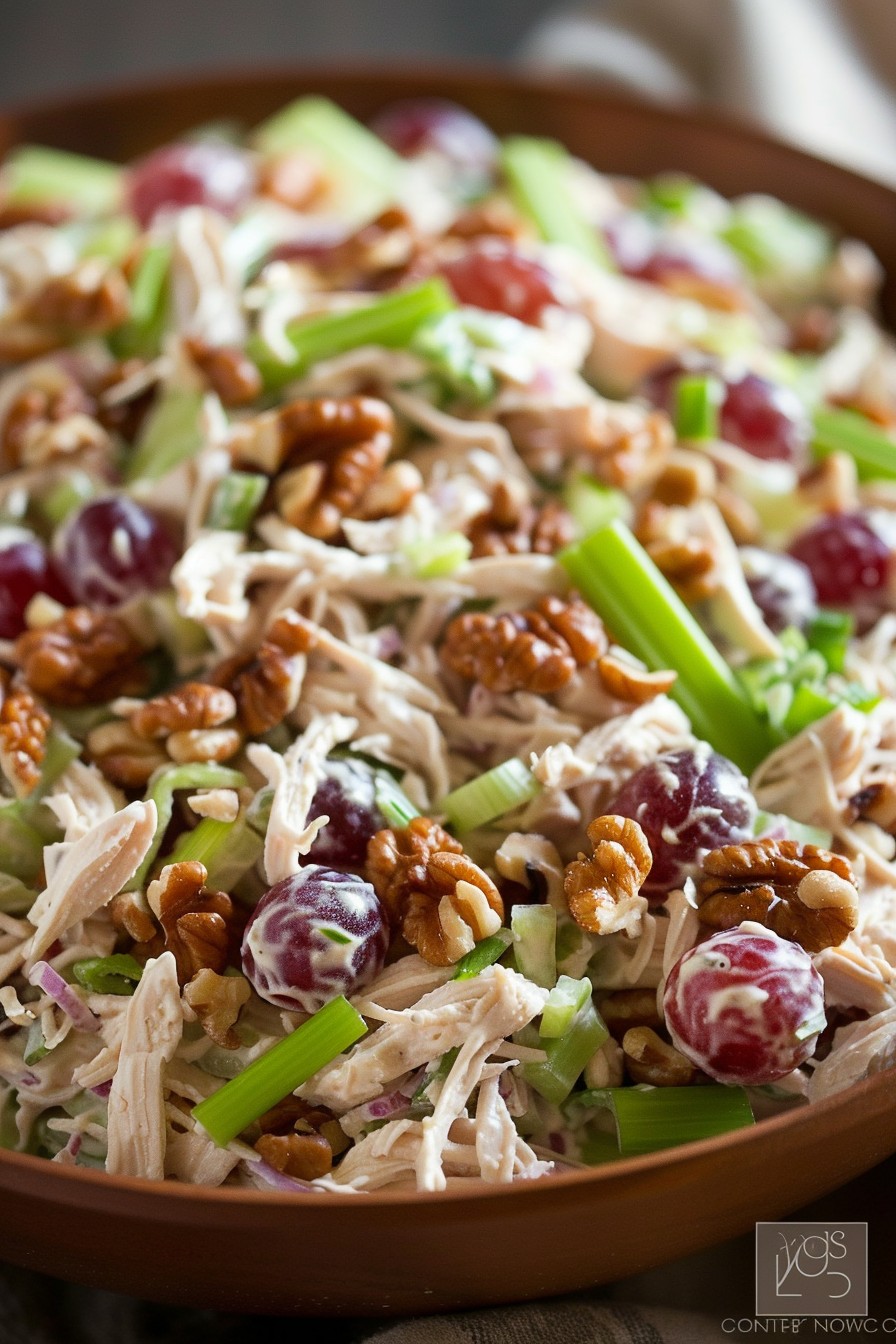
    • It’s versatile! Serve it as a side dish, or add some protein to make it a main course.
    • The salad gets better as it sits, making it a great make-ahead option for busy days.
    • It’s healthy, low in calories, and packed with hydration, thanks to the cucumbers.

    Ingredients

    • 2 large cucumbers, thinly sliced
    • 1/4 cup fresh mint leaves, chopped
    • 2 tablespoons olive oil
    • 1 tablespoon lemon juice
    • 1/2 teaspoon salt
    • 1/4 teaspoon black pepper

    Equipment Needed

    • Mixing bowl
    • Knife
    • Cutting board
    • Measuring spoons

    Instructions

    Cucumber Mint Salad Recipe

    Step 1: Prepare the Cucumbers

    Start by washing your cucumbers thoroughly under cold water. Slice them thinly, about 1/8 inch thick, for the perfect crunch in every bite. If you prefer, you can peel the cucumbers, but leaving the skin on adds color and nutrients.

    Step 2: Chop the Mint

    Take your fresh mint leaves and give them a rough chop. You want enough to sprinkle generously throughout the salad, about 1/4 cup. The mint is what gives this salad its signature refreshing flavor, so don’t skimp!

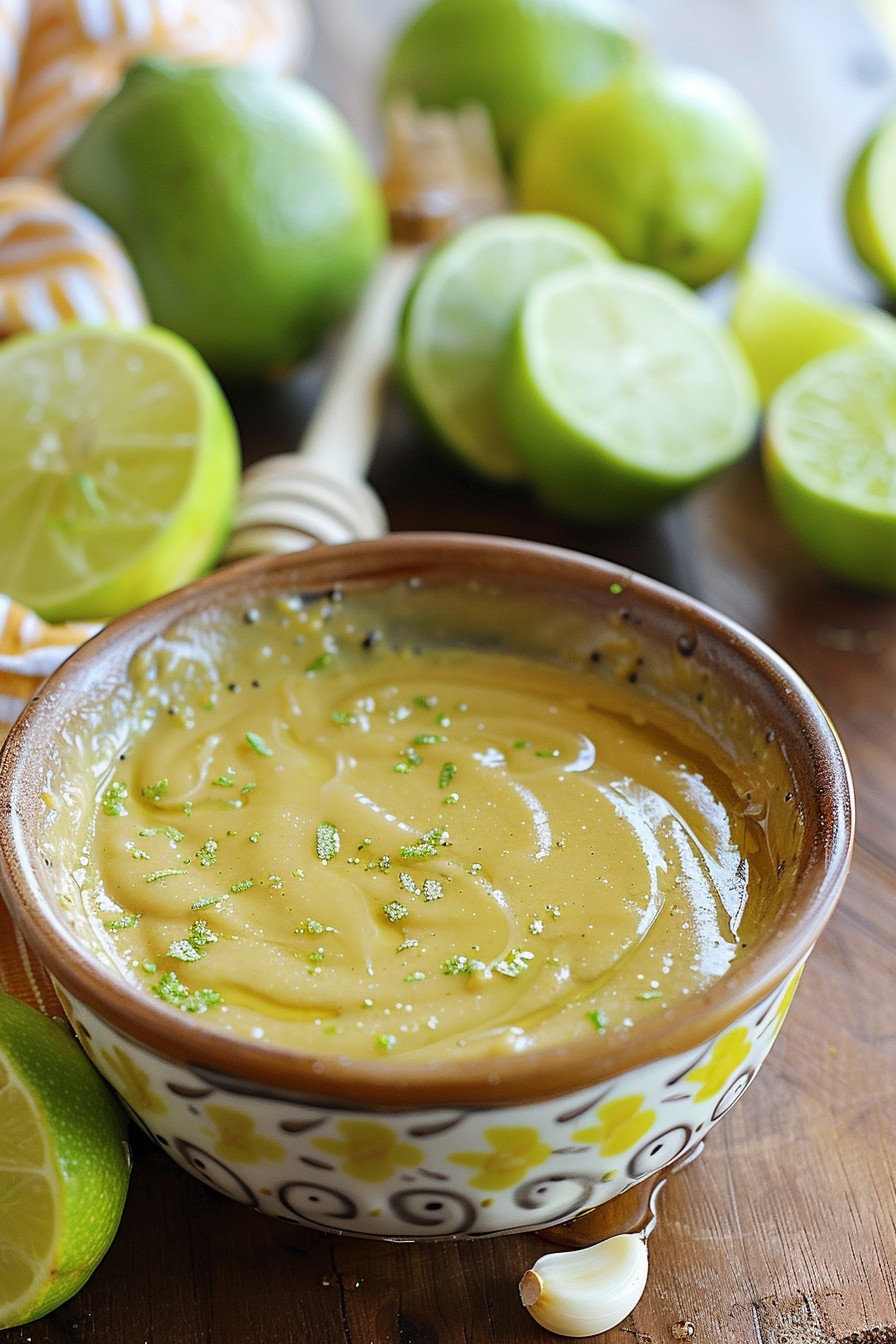
    Step 3: Mix the Dressing

    In a small bowl, whisk together the olive oil, lemon juice, salt, and black pepper. This simple dressing brings all the flavors together without overpowering the freshness of the cucumbers and mint.

    Step 4: Combine Everything

    In a large mixing bowl, combine the sliced cucumbers and chopped mint. Drizzle the dressing over the top and toss gently to coat everything evenly. Be careful not to overmix, as you want to keep the cucumbers crisp.

    Step 5: Let It Marinate

    For the best flavor, let the salad sit in the refrigerator for at least 30 minutes before serving. This allows the flavors to meld together beautifully. Serve chilled for maximum refreshment.

    Tips and Tricks

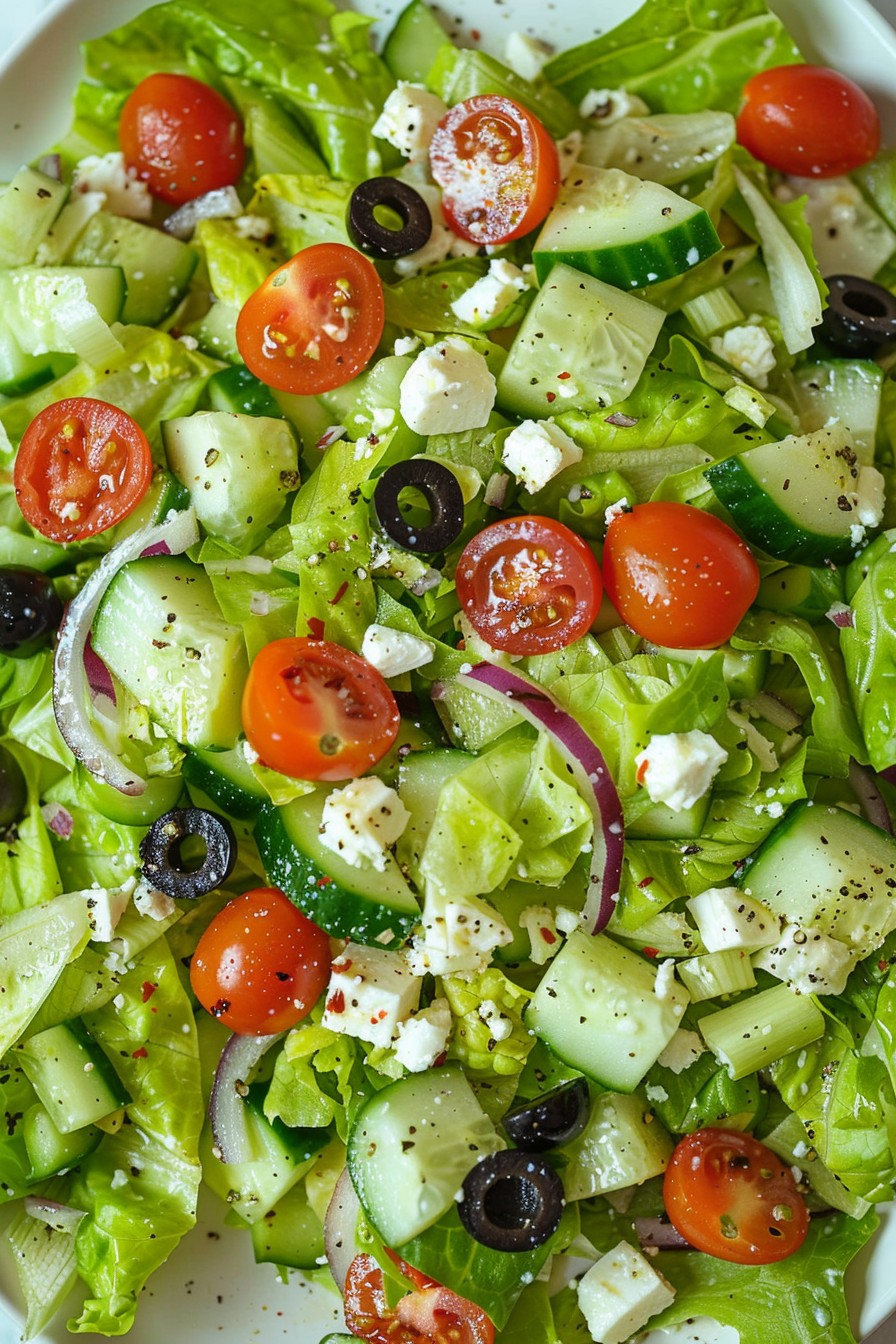
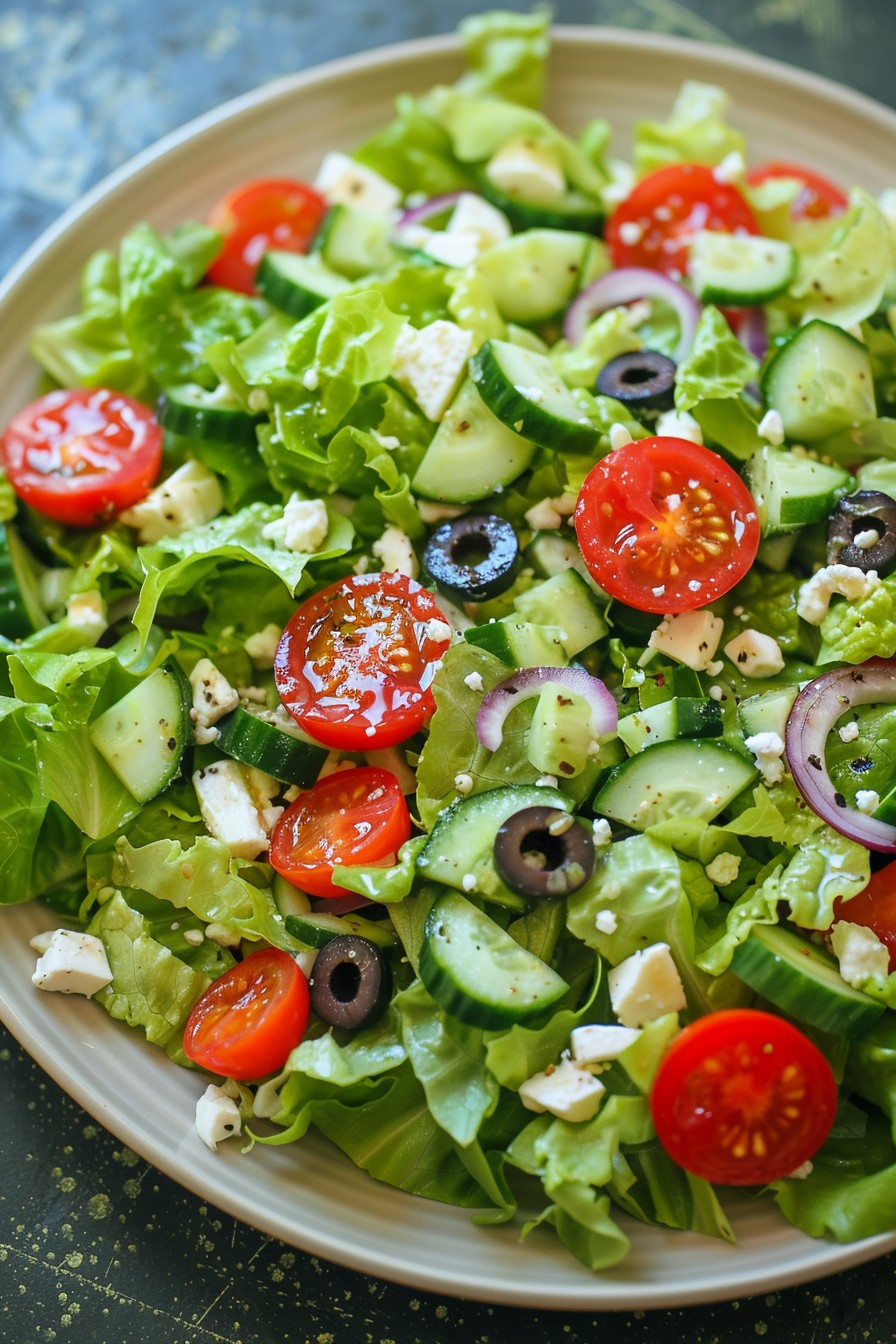
    For an extra burst of flavor, consider adding a sprinkle of feta cheese or some sliced red onions. If you’re making this salad ahead of time, wait to add the mint until just before serving to keep it vibrant and fresh. And for those who like a bit of heat, a pinch of red pepper flakes can add a nice kick.

    Recipe Variations

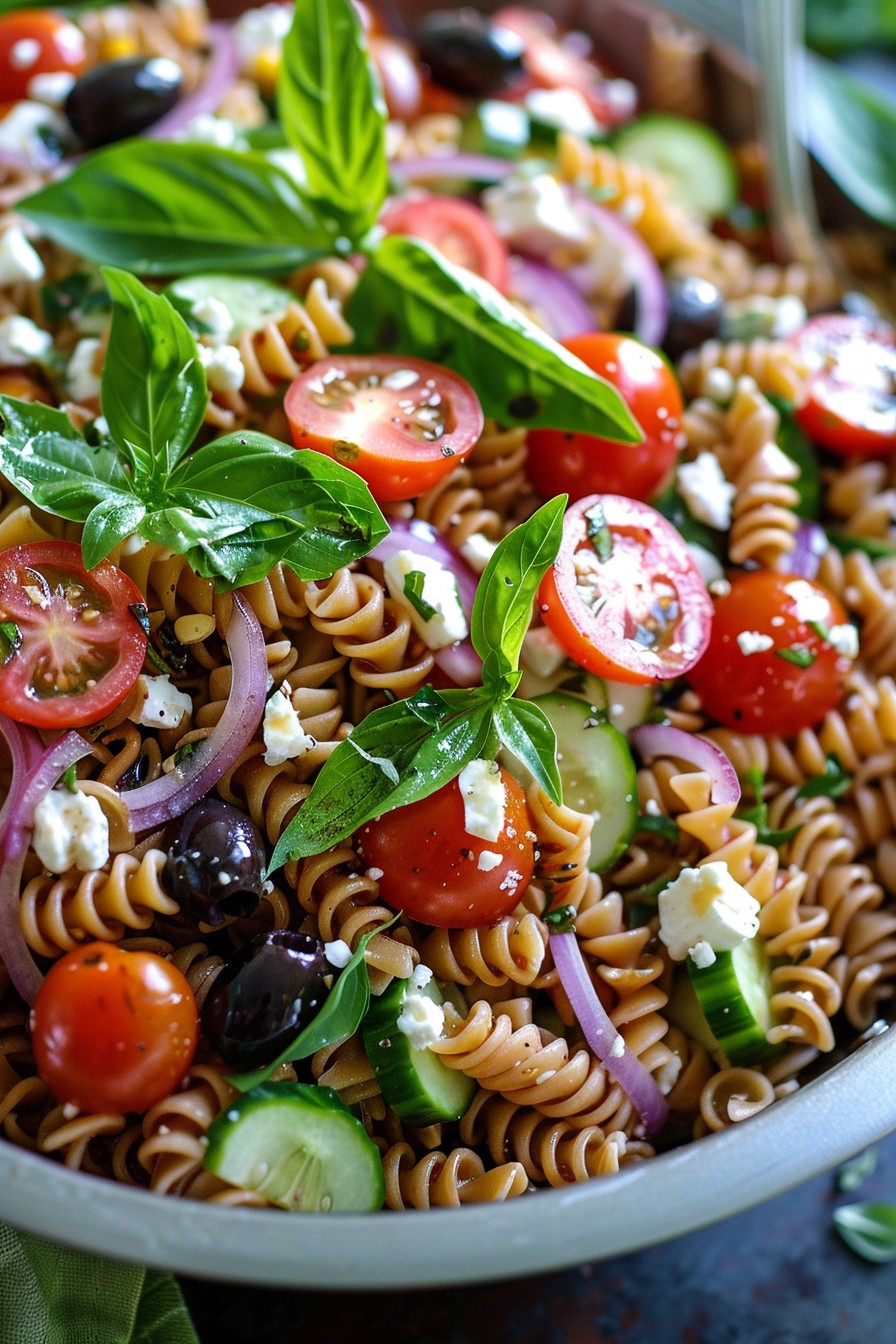
    • Add diced avocado for a creamy texture and healthy fats.
    • Include some cherry tomatoes for a pop of color and sweetness.
    • Swap the lemon juice for lime juice for a different citrusy twist.
    • Mix in some quinoa or chickpeas to turn this side dish into a hearty main course.
    • Use basil instead of mint for a different herbal flavor profile.

    Frequently Asked Questions

    Can I make this salad ahead of time?

    Absolutely! This salad actually tastes better after it’s had some time to marinate in the fridge. Just hold off on adding the mint until you’re ready to serve to keep it fresh and vibrant.

    How long will this salad keep in the fridge?

    Stored in an airtight container, this cucumber mint salad will stay fresh for up to 2 days. After that, the cucumbers may start to lose their crispness.

    Can I use dried mint instead of fresh?

    While fresh mint is preferred for its bright flavor, in a pinch, you can use dried mint. Just use about a third of the amount since dried herbs are more concentrated.

    Summary

    This cucumber mint salad is the epitome of summer freshness. Easy to make, healthy, and utterly delicious, it’s sure to become a staple in your recipe collection. Whether you’re serving it at a BBQ or enjoying it as a light lunch, it’s a dish that’s as versatile as it is tasty.

  • Steak Taco Salad Recipe: A Fiesta in a Bowl

    Steak Taco Salad Recipe: A Fiesta in a Bowl

    Welcome to a dish that combines the heartiness of steak tacos with the freshness of a salad, creating a meal that’s both satisfying and vibrant. Whether it’s Taco Tuesday or you’re just craving something deliciously different, this recipe is your ticket to flavor town.

    Why This Recipe Works

    • The marinade infuses the steak with bold flavors, ensuring every bite is packed with taste.
    • Combining warm steak with cool salad ingredients creates a delightful contrast in temperatures and textures.
    • It’s customizable, allowing everyone to tweak the toppings to their liking.
    • Perfect for meal prep, as components can be prepared ahead and assembled when ready to eat.
    • It’s a balanced meal with protein, veggies, and carbs, making it a wholesome choice.

    Ingredients

    • 1 lb flank steak, thinly sliced
    • 2 tbsp olive oil
    • 1 tbsp lime juice
    • 2 cloves garlic, minced
    • 1 tsp cumin
    • 1 tsp chili powder
    • Salt and pepper to taste
    • 4 cups mixed greens
    • 1 cup cherry tomatoes, halved
    • 1 avocado, diced
    • 1/2 cup corn kernels
    • 1/4 cup red onion, thinly sliced
    • 1/2 cup shredded cheese
    • 1/4 cup cilantro, chopped
    • 1 cup tortilla chips, crushed
    • 1/2 cup ranch dressing

    Equipment Needed

    • Grill or large skillet
    • Mixing bowls
    • Knife and cutting board
    • Measuring cups and spoons

    Instructions

    Steak Taco Salad Recipe

    Marinate the Steak

    In a mixing bowl, combine olive oil, lime juice, minced garlic, cumin, chili powder, salt, and pepper. Add the sliced flank steak, ensuring each piece is well coated. Let it marinate for at least 30 minutes, or overnight for deeper flavor.

    Cook the Steak

    Heat your grill or skillet over medium-high heat. Cook the steak for about 3-4 minutes per side, or until it reaches your desired level of doneness. Let it rest for 5 minutes before slicing into strips.

    Prepare the Salad Base

    In a large bowl, toss together the mixed greens, cherry tomatoes, avocado, corn, red onion, and cilantro. Add the crushed tortilla chips for crunch.

    Assemble the Salad

    Top the salad with the warm steak strips and shredded cheese. Drizzle with ranch dressing or your favorite dressing.

    Serve Immediately

    Enjoy your steak taco salad fresh, ensuring the warmth of the steak slightly wilts the greens for the perfect texture contrast.

    Tips and Tricks

    For an even more flavorful steak, consider marinating it overnight. The acids in the lime juice will tenderize the meat, while the spices permeate deeply. If you’re short on time, a 30-minute marinade will still yield tasty results. When cooking the steak, avoid moving it around too much to get a nice sear. Letting the steak rest after cooking ensures the juices redistribute, making it more succulent. For the salad, adding the tortilla chips last keeps them crunchy. If you’re meal prepping, keep the dressing separate until you’re ready to eat to prevent sogginess.

    Recipe Variations

    • Swap the steak for chicken or shrimp for a different protein option.
    • Use a different dressing, like cilantro lime or chipotle ranch, to change the flavor profile.
    • Add black beans or pinto beans for extra fiber and protein.
    • Include different veggies like bell peppers or cucumbers for added crunch and nutrition.
    • For a low-carb version, skip the tortilla chips or use a lettuce wrap instead of a salad base.

    Frequently Asked Questions

    Can I use a different cut of steak?

    Absolutely! While flank steak is great for its flavor and tenderness when sliced thinly, you can also use skirt steak or sirloin. Just adjust cooking times based on thickness and desired doneness.

    How can I make this recipe vegetarian?

    For a vegetarian twist, substitute the steak with grilled portobello mushrooms or tofu. Marinate them similarly for a flavorful punch, and follow the same preparation steps.

    What’s the best way to store leftovers?

    Store the components separately to maintain freshness. Keep the steak, salad greens, and dressing in individual containers in the fridge. Assemble when ready to eat to prevent sogginess.

    Summary

    This steak taco salad is a perfect blend of flavors and textures, offering a hearty yet fresh meal option. It’s versatile, easy to customize, and great for any occasion, from weeknight dinners to entertaining guests.

  • Zesty Lime Salad Dressing Recipe: A Tangy Twist for Your Greens

    Zesty Lime Salad Dressing Recipe: A Tangy Twist for Your Greens

    Just when you thought your salads couldn’t get any better, along comes this zesty lime dressing to prove you wrong. Perfect for drizzling over your favorite greens or as a marinade, this recipe is about to become your go-to for adding a burst of flavor to any dish.

    Why This Recipe Works

    • The combination of fresh lime juice and zest brings a bright, tangy flavor that elevates any salad.
    • Using honey as a natural sweetener balances the acidity of the lime, creating a harmonious flavor profile.
    • Extra virgin olive oil adds a smooth, rich texture that coats every leaf perfectly.
    • Simple ingredients come together in minutes, making it an easy upgrade for any meal.
    • Versatile enough to pair with a wide range of salads, from leafy greens to fruit salads.

    Ingredients

    • 1/2 cup fresh lime juice (about 4 limes)
    • 1 tablespoon lime zest
    • 1/4 cup honey
    • 1/2 cup extra virgin olive oil
    • 1 teaspoon Dijon mustard
    • 1 clove garlic, minced
    • Salt and pepper to taste

    Equipment Needed

    • Measuring cups and spoons
    • Juicer or reamer
    • Zester
    • Whisk
    • Mixing bowl
    • Airtight container for storage

    Instructions

    Lime Salad Dressing Recipe

    Step 1: Juice and Zest the Limes

    Start by juicing the limes until you have 1/2 cup of fresh lime juice. Then, zest one lime to get about 1 tablespoon of zest. This will ensure your dressing has that vibrant lime flavor and aroma. Tip: Roll the limes on the counter before juicing to get the most juice out of them.

    Step 2: Combine the Wet Ingredients

    In a mixing bowl, whisk together the lime juice, lime zest, honey, and Dijon mustard until well combined. The honey might resist at first, but keep whisking until it’s fully incorporated into the mixture.

    Step 3: Slowly Add the Olive Oil

    Gradually drizzle in the olive oil while continuously whisking the mixture. This slow addition helps emulsify the dressing, giving it a smooth, cohesive texture. Tip: For an even smoother dressing, you can use a blender or food processor for this step.

    Step 4: Season to Taste

    Add the minced garlic, salt, and pepper to the dressing. Whisk everything together and taste. Adjust the seasoning as needed. Remember, the flavors will meld and intensify as the dressing sits, so it’s okay if it’s a bit mild at this stage.

    Step 5: Store or Serve Immediately

    Your lime salad dressing is now ready to use! You can serve it immediately over your favorite salad or store it in an airtight container in the refrigerator for up to a week. Tip: Shake or whisk the dressing well before each use as the ingredients may separate over time.

    Tips and Tricks

    For those looking to take their lime salad dressing to the next level, consider these advanced tips. First, if you’re using the dressing as a marinade, add a splash of soy sauce for an umami depth. Second, for a creamier version, blend in a quarter of an avocado. It adds richness and a velvety texture. Third, if you find the dressing too tangy, a pinch of baking soda can neutralize some of the acidity without altering the flavor profile. Lastly, always use fresh limes for the best flavor; bottled lime juice just doesn’t compare.

    Recipe Variations

    • Spicy Lime Dressing: Add a finely chopped jalapeño or a dash of cayenne pepper for a spicy kick.
    • Creamy Lime Dressing: Mix in 2 tablespoons of Greek yogurt or mayonnaise for a creamier texture.
    • Herbed Lime Dressing: Incorporate fresh herbs like cilantro, mint, or basil for an aromatic twist.
    • Citrus Blend Dressing: Substitute half of the lime juice with orange or lemon juice for a different citrus profile.
    • Asian-Inspired Lime Dressing: Add a teaspoon of sesame oil and a tablespoon of soy sauce for an Asian flair.

    Frequently Asked Questions

    Q: Can I make this dressing without honey?
    A: Absolutely! If you’re looking for a vegan option or just prefer not to use honey, maple syrup or agave nectar are great substitutes. They’ll provide the same sweetness but with a different flavor note.

    Q: How long can I store this dressing?
    A: Stored in an airtight container in the refrigerator, this dressing will last up to a week. Just give it a good shake or whisk before using it again as the ingredients may separate over time.

    Q: Can I use bottled lime juice instead of fresh?
    A: While you can use bottled lime juice in a pinch, fresh lime juice is highly recommended for the best flavor. Bottled juice often lacks the brightness and depth of flavor that fresh lime juice provides.

    Summary

    This zesty lime salad dressing is a quick and easy way to add a burst of flavor to any salad. With its perfect balance of tangy, sweet, and savory, it’s sure to become a staple in your kitchen. Plus, with so many variations, you can customize it to suit any taste or occasion.

  • Tangy & Tasty: Vinegar Potato Salad Recipe That’ll Wow Your Taste Buds

    Tangy & Tasty: Vinegar Potato Salad Recipe That’ll Wow Your Taste Buds

    Get ready to dive into a bowl of tangy, creamy, and utterly delicious vinegar potato salad. This recipe is a game-changer for your summer picnics or any day you crave something refreshingly different.

    Why This Recipe Works

    • The vinegar adds a bright, tangy flavor that cuts through the richness of the mayonnaise, creating a perfect balance.
    • Using red potatoes gives the salad a firm texture that holds up well against the dressing, ensuring every bite is as good as the first.
    • The addition of fresh herbs brings a burst of freshness that elevates the dish from good to great.
    • This recipe is customizable, allowing you to adjust the tanginess or creaminess to suit your taste.
    • It’s a make-ahead dish, meaning the flavors have time to meld together, making it even more delicious the next day.

    Ingredients

    • 2 pounds red potatoes, washed and cut into 1-inch cubes
    • 1/2 cup mayonnaise
    • 1/4 cup apple cider vinegar
    • 1 tablespoon Dijon mustard
    • 1/2 teaspoon salt
    • 1/4 teaspoon black pepper
    • 1/4 cup finely chopped red onion
    • 2 tablespoons chopped fresh dill
    • 2 tablespoons chopped fresh parsley

    Equipment Needed

    • Large pot
    • Mixing bowl
    • Whisk
    • Knife
    • Cutting board

    Instructions

    Recipe For Potato Salad With Vinegar

    Step 1: Cook the Potatoes

    Place the cubed potatoes in a large pot and cover with cold water by about an inch. Bring to a boil over high heat, then reduce to a simmer and cook until the potatoes are just tender, about 10 minutes. You’ll know they’re ready when a fork can pierce them easily but they still hold their shape.

    Step 2: Prepare the Dressing

    While the potatoes are cooking, whisk together the mayonnaise, apple cider vinegar, Dijon mustard, salt, and pepper in a large mixing bowl. This will be the base of your dressing, so make sure it’s well combined.

    Step 3: Combine the Ingredients

    Drain the potatoes well and let them cool slightly. Add the warm potatoes to the dressing along with the red onion, dill, and parsley. Gently toss everything together until the potatoes are evenly coated with the dressing.

    Step 4: Let It Rest

    Cover the bowl with plastic wrap and refrigerate for at least 1 hour before serving. This resting time allows the flavors to meld together beautifully.

    Step 5: Serve and Enjoy

    Give the salad a gentle stir before serving to redistribute the dressing. Taste and adjust the seasoning if necessary, then serve chilled.

    Tips and Tricks

    For an extra tangy kick, you can increase the amount of apple cider vinegar to 1/3 cup. If you’re not a fan of dill, try substituting it with fresh chives or tarragon for a different flavor profile. To make this salad ahead of time, prepare it up to two days in advance; the flavors will continue to develop over time. For a creamier texture, you can add an extra 1/4 cup of mayonnaise. Lastly, if you prefer a smoother dressing, you can blend the mayonnaise, vinegar, and mustard together before mixing with the potatoes.

    Recipe Variations

    • For a healthier version, substitute Greek yogurt for half of the mayonnaise.
    • Add crunch with diced celery or chopped pickles.
    • For a smoky flavor, mix in some crumbled bacon.
    • Spice it up with a pinch of cayenne pepper or some diced jalapeños.
    • For a sweeter twist, add a tablespoon of honey to the dressing.

    Frequently Asked Questions

    Can I use a different type of vinegar?

    Absolutely! While apple cider vinegar gives a nice fruity tang, white vinegar or red wine vinegar can also work well in this recipe. Just keep in mind that the flavor profile will change slightly depending on the vinegar you choose.

    How long can I store this potato salad?

    This potato salad can be stored in an airtight container in the refrigerator for up to 3 days. After that, the texture of the potatoes may start to change, and the flavors might not be as vibrant.

    Can I make this recipe vegan?

    Yes, you can easily make this recipe vegan by using a plant-based mayonnaise. There are many great options available that will give you the same creamy texture without any dairy.

    Summary

    This vinegar potato salad is a delightful twist on the classic, offering a perfect balance of tangy and creamy flavors. It’s easy to make, customizable, and sure to be a hit at any gathering.

  • Dump Salad Recipe: The No-Fuss, All-Flavor Dish You Need

    Dump Salad Recipe: The No-Fuss, All-Flavor Dish You Need

    Never before has throwing ingredients together tasted so good! This dump salad recipe is your ticket to a delicious, hassle-free meal that’s perfect for busy weeknights or lazy weekends. It’s all about minimal prep and maximum flavor.

    Why This Recipe Works

    • It’s incredibly easy to make, requiring just a few simple steps and ingredients.
    • The combination of flavors and textures makes every bite interesting.
    • It’s versatile, allowing you to use whatever ingredients you have on hand.
    • Perfect for meal prep, as it keeps well in the fridge for days.
    • It’s a crowd-pleaser, suitable for potlucks, picnics, and family dinners alike.

    Ingredients

    • 2 cups chopped romaine lettuce
    • 1 cup cherry tomatoes, halved
    • 1/2 cup cucumber, diced
    • 1/4 cup red onion, thinly sliced
    • 1/2 cup feta cheese, crumbled
    • 1/4 cup black olives, sliced
    • 1/2 cup Italian dressing
    • Salt and pepper to taste

    Equipment Needed

    • Large mixing bowl
    • Cutting board
    • Chef’s knife
    • Measuring cups and spoons
    • Serving bowl

    Instructions

    Dump Salad Recipe

    Step 1: Prep Your Veggies

    Start by washing all your vegetables under cold running water. Pat them dry with a clean towel or use a salad spinner to remove excess moisture. Chop the romaine lettuce into bite-sized pieces, halve the cherry tomatoes, dice the cucumber, and thinly slice the red onion. Remember, uniform cuts not only look better but ensure every forkful is perfect.

    Step 2: Combine the Ingredients

    In a large mixing bowl, combine the chopped romaine lettuce, cherry tomatoes, cucumber, red onion, black olives, and crumbled feta cheese. Gently toss the ingredients together to distribute them evenly. This is where the magic starts to happen, as the colors and textures begin to mingle.

    Step 3: Dress to Impress

    Drizzle the Italian dressing over the salad, starting with half the amount. Toss the salad gently to coat the ingredients evenly. Taste and adjust the amount of dressing, salt, and pepper according to your preference. The key here is to dress the salad just enough to enhance the flavors without making it soggy.

    Step 4: Serve Immediately

    Transfer the salad to a serving bowl and enjoy immediately for the best texture and flavor. If you’re prepping ahead, keep the dressing separate and add it just before serving to keep the greens crisp.

    Tips and Tricks

    For an extra crunch, add some toasted nuts or seeds like almonds, walnuts, or sunflower seeds. If you’re not a fan of Italian dressing, try balsamic vinaigrette or a creamy ranch for a different flavor profile. To make this salad a meal, add grilled chicken, shrimp, or chickpeas for protein. Always taste as you go, especially when adding dressing and seasoning, to ensure the perfect balance of flavors.

    Recipe Variations

    • Greek Style: Swap Italian dressing for a lemon-olive oil dressing and add kalamata olives and oregano.
    • Southwestern Twist: Use a lime-cilantro dressing, add black beans, corn, and avocado.
    • Asian Inspired: Dress with sesame-ginger dressing and add mandarin oranges and sliced almonds.
    • Summer Berry: Mix in strawberries and blueberries with a poppyseed dressing.
    • Protein Power: Add grilled salmon, steak strips, or tofu for a hearty version.

    Frequently Asked Questions

    Can I make this salad ahead of time?

    Yes, you can prep the ingredients ahead of time, but keep the dressing separate until just before serving to prevent the salad from becoming soggy. Store the prepped ingredients in an airtight container in the fridge for up to 2 days.

    What’s the best way to store leftovers?

    Leftovers can be stored in an airtight container in the refrigerator for up to 2 days. Note that the greens may wilt a bit, so it’s best enjoyed fresh.

    Can I use a different type of cheese?

    Absolutely! While feta adds a nice tangy flavor, you can substitute it with goat cheese, blue cheese, or even shredded cheddar depending on your taste preferences.

    Summary

    This dump salad recipe is a testament to the beauty of simplicity. With minimal effort and maximum flavor, it’s a versatile dish that can be customized to suit any taste or occasion. Perfect for those who love good food but are short on time.

  • Fruit Salad Recipe with Nuts: A Crunchy Twist on a Classic

    Fruit Salad Recipe with Nuts: A Crunchy Twist on a Classic

    Make your taste buds dance with this delightful fruit salad recipe that adds a crunchy nutty twist to the classic. Perfect for any season, this dish is a symphony of flavors and textures that will leave you craving more.

    Why This Recipe Works

    • The combination of fresh fruits and crunchy nuts offers a perfect balance of sweetness and texture.
    • It’s incredibly versatile, allowing you to use whatever fruits are in season or your favorites.
    • The addition of a light honey-lime dressing enhances the natural flavors without overpowering them.
    • It’s a healthy, nutrient-packed option that doesn’t sacrifice taste for health benefits.
    • Quick and easy to prepare, making it perfect for last-minute gatherings or a healthy snack.

    Ingredients

    • 2 cups mixed fresh fruits (such as strawberries, blueberries, kiwi, and mango), chopped
    • 1/2 cup walnuts, roughly chopped
    • 1/4 cup almonds, sliced
    • 2 tbsp honey
    • 1 tbsp lime juice
    • 1/4 tsp vanilla extract
    • A pinch of salt

    Equipment Needed

    • Large mixing bowl
    • Small bowl for dressing
    • Whisk
    • Measuring cups and spoons
    • Knife and cutting board

    Instructions

    Fruit Salad Recipe With Nuts

    Prepare the Fruits

    Start by washing all your fruits under cold water. Pat them dry with a clean towel. Chop the strawberries, kiwi, and mango into bite-sized pieces. If using blueberries or other small berries, you can leave them whole. Place all the chopped fruits in a large mixing bowl. Tip: For an extra burst of flavor, let the fruits sit at room temperature for about 10 minutes before mixing.

    Toast the Nuts

    Preheat your oven to 350°F. Spread the walnuts and almonds on a baking sheet in a single layer. Toast them in the oven for about 5-7 minutes, or until they’re fragrant and slightly golden. Keep an eye on them to prevent burning. Let them cool before adding to the salad. Tip: Toasting the nuts enhances their flavor and adds an extra crunch.

    Make the Dressing

    In a small bowl, whisk together the honey, lime juice, vanilla extract, and a pinch of salt until well combined. The dressing should be smooth and slightly thick. Taste and adjust the sweetness or acidity according to your preference.

    Combine Everything

    Add the cooled, toasted nuts to the bowl with the fruits. Drizzle the dressing over the top. Gently toss everything together until the fruits and nuts are evenly coated with the dressing. Be careful not to mash the fruits.

    Serve and Enjoy

    Transfer the fruit salad to a serving dish or individual bowls. Serve immediately, or refrigerate for up to an hour before serving to let the flavors meld together. Tip: For an extra touch, garnish with a few whole nuts or a drizzle of honey before serving.

    Tips and Tricks

    For the best fruit salad, choose fruits that are ripe but still firm to avoid a mushy texture. If you’re preparing the salad ahead of time, add the nuts and dressing just before serving to maintain their crunch. Experiment with different nuts like pecans or pistachios for variety. To make it more decadent, a sprinkle of coconut flakes or a dollop of Greek yogurt can be amazing additions. Remember, the key to a great fruit salad is balancing the flavors and textures to suit your taste.

    Recipe Variations

    • For a tropical twist, use pineapple, papaya, and coconut flakes along with macadamia nuts.
    • Add a creamy element by mixing in some Greek yogurt or whipped cream for a dessert-like version.
    • Incorporate some greens like spinach or arugula to turn it into a fruit and nut salad with a savory edge.
    • Use different dressings such as a balsamic reduction or a citrus poppy seed dressing for a unique flavor profile.
    • For a festive version, add pomegranate seeds and mint leaves during the holiday season.

    Frequently Asked Questions

    Can I use frozen fruits?

    Yes, you can use frozen fruits if fresh ones aren’t available. Just make sure to thaw and drain them well to prevent the salad from becoming too watery. Frozen fruits are a great option for making this recipe year-round.

    How long does this fruit salad last in the fridge?

    This fruit salad is best enjoyed fresh but can be stored in an airtight container in the refrigerator for up to 2 days. The nuts may lose some of their crunch over time, so you might want to add them fresh when serving leftovers.

    Can I make this recipe nut-free?

    Absolutely! If you’re allergic to nuts or prefer not to use them, you can omit them altogether or substitute with seeds like sunflower or pumpkin seeds for a similar crunch.

    Summary

    This fruit salad with nuts is a refreshing, crunchy, and sweet treat that’s perfect for any occasion. Easy to make and customizable, it’s a healthy dish that doesn’t skimp on flavor. Whether you’re looking for a quick snack or a side dish for your next gathering, this recipe is sure to impress.

  • Chicken Salad with Nuts and Grapes Recipe: A Crunchy, Juicy Delight

    Chicken Salad with Nuts and Grapes Recipe: A Crunchy, Juicy Delight

    Feeling peckish and in need of something that’s both refreshing and satisfying? This chicken salad with nuts and grapes is your ticket to flavor town, offering a perfect blend of textures and tastes that’ll make your taste buds dance.

    Why This Recipe Works

    • The combination of crunchy nuts and juicy grapes adds a delightful contrast to the tender chicken.
    • It’s a versatile dish that can be served as a sandwich filler, on a bed of greens, or straight out of the bowl.
    • With simple ingredients and minimal prep time, it’s perfect for busy weekdays or last-minute gatherings.
    • The creamy dressing ties all the flavors together without overpowering them.
    • It’s a great way to use up leftover chicken, reducing food waste.

    Ingredients

    • 2 cups cooked chicken, shredded or diced
    • 1/2 cup mayonnaise
    • 1/4 cup sour cream
    • 1 tbsp lemon juice
    • 1/2 tsp salt
    • 1/4 tsp black pepper
    • 1/2 cup red grapes, halved
    • 1/2 cup walnuts, roughly chopped
    • 2 stalks celery, diced
    • 2 green onions, thinly sliced

    Equipment Needed

    • Large mixing bowl
    • Measuring cups and spoons
    • Knife and cutting board
    • Mixing spoon

    Instructions

    Chicken Salad With Nuts And Grapes Recipe

    Step 1: Prepare the Dressing

    In your large mixing bowl, whisk together the mayonnaise, sour cream, lemon juice, salt, and black pepper until smooth. This creamy base will coat every ingredient beautifully, ensuring each bite is as flavorful as the last. Tip: For a lighter version, you can substitute Greek yogurt for the sour cream.

    Step 2: Add the Chicken

    Add the shredded or diced chicken to the bowl with the dressing. Gently fold the chicken into the dressing until it’s evenly coated. This step ensures that the chicken absorbs all the creamy goodness, making it the star of the salad.

    Step 3: Incorporate the Fruits and Nuts

    Now, toss in the halved grapes, chopped walnuts, diced celery, and sliced green onions. The grapes add a burst of sweetness, the walnuts bring a crunchy texture, and the celery and green onions offer a fresh, crisp contrast. Mix everything gently to avoid crushing the grapes.

    Step 4: Chill Before Serving

    Cover the bowl with plastic wrap and refrigerate the salad for at least 30 minutes before serving. This chilling time allows the flavors to meld together beautifully. Tip: For the best flavor, let it chill for up to 2 hours.

    Step 5: Serve and Enjoy

    Once chilled, give the salad a quick stir, then serve it on a bed of lettuce, between slices of your favorite bread, or as is. It’s now ready to delight your palate with every crunchy, juicy bite.

    Tips and Tricks

    For an extra crunch, toast the walnuts in a dry skillet over medium heat for about 5 minutes before adding them to the salad. This enhances their flavor and adds another layer of texture. If you’re not a fan of walnuts, pecans or almonds make great substitutes. To make the salad ahead of time, you can prepare all the ingredients and store them separately in the fridge, then combine them an hour before serving to keep everything fresh and crisp. For a more colorful presentation, use a mix of red and green grapes. And if you’re serving this at a party, consider offering small lettuce cups for guests to scoop the salad into, making for a fun and interactive serving option.

    Recipe Variations

    • Swap the grapes for diced apples or pears for a different kind of sweetness and crunch.
    • Use grilled chicken instead of boiled or roasted for a smokier flavor.
    • Add a tablespoon of curry powder to the dressing for an exotic twist.
    • Include dried cranberries or cherries instead of grapes for a chewier texture and tart flavor.
    • For a nut-free version, substitute the walnuts with sunflower seeds or pumpkin seeds.

    Frequently Asked Questions

    Can I use yogurt instead of mayonnaise?

    Absolutely! Greek yogurt is a fantastic substitute for mayonnaise if you’re looking for a healthier option. It provides a similar creamy texture but with less fat and more protein. Just keep in mind that the flavor will be slightly tangier, so you might want to adjust the seasoning accordingly.

    How long can I store this chicken salad?

    This chicken salad can be stored in an airtight container in the refrigerator for up to 3 days. However, the nuts may start to lose their crunch over time, so if you’re planning to make it ahead, consider adding them just before serving.

    Can I freeze this salad?

    Freezing is not recommended for this chicken salad, as the mayonnaise or yogurt-based dressing can separate and become watery upon thawing, and the grapes and celery will lose their texture. It’s best enjoyed fresh or within a few days of making it.

    Summary

    This chicken salad with nuts and grapes is a perfect blend of textures and flavors, easy to make, and versatile enough for any occasion. Whether you’re looking for a quick lunch or a crowd-pleasing dish, this recipe won’t disappoint.

  • Iceberg Wedge Salad Recipe: A Crispy, Creamy Delight

    Iceberg Wedge Salad Recipe: A Crispy, Creamy Delight

    Dive into the classic American salad that’s as fun to make as it is to eat. This Iceberg Wedge Salad combines crisp lettuce, rich dressing, and crunchy toppings for a dish that’s both refreshing and indulgent.

    Why This Recipe Works

    • The contrast between the cold, crisp iceberg lettuce and the creamy, tangy dressing is irresistible.
    • Customizable toppings mean everyone can make their perfect bite.
    • It’s a quick and easy recipe that looks impressive on any table.

    Ingredients

    • 1 head iceberg lettuce, cut into 4 wedges
    • 1/2 cup mayonnaise
    • 1/4 cup sour cream
    • 2 tbsp buttermilk
    • 1/2 tsp garlic powder
    • 1/2 tsp onion powder
    • Salt and pepper to taste
    • 4 slices cooked bacon, crumbled
    • 1/4 cup cherry tomatoes, halved
    • 2 tbsp chives, finely chopped
    • 1/4 cup blue cheese crumbles

    Equipment Needed

    • Sharp knife
    • Cutting board
    • Mixing bowl
    • Whisk
    • Measuring cups and spoons

    Instructions

    Iceberg Wedge Salad Recipe

    Prepare the Dressing

    In a mixing bowl, whisk together mayonnaise, sour cream, buttermilk, garlic powder, onion powder, salt, and pepper until smooth. Taste and adjust seasoning as needed. Tip: For a thinner dressing, add a little more buttermilk until you reach your desired consistency.

    Cut the Lettuce

    Remove any outer leaves from the iceberg lettuce that look wilted or damaged. Cut the head into 4 equal wedges, ensuring each wedge has a bit of the core to hold it together. Tip: Rinse the wedges under cold water and pat dry with paper towels for extra crispiness.

    Assemble the Salad

    Place each lettuce wedge on a plate. Drizzle generously with the dressing, then sprinkle with bacon crumbles, cherry tomatoes, chives, and blue cheese crumbles. Tip: For a neater presentation, you can serve the dressing on the side.

    Tips and Tricks

    For the best texture, keep your iceberg lettuce chilled until just before serving. If you’re not a fan of blue cheese, try substituting with feta or omitting it altogether. To make this salad a meal, add grilled chicken or shrimp on top. For a lighter version, use Greek yogurt in place of sour cream in the dressing. Always taste your dressing before adding it to the salad to ensure it’s perfectly seasoned.

    Recipe Variations

    • Swap the blue cheese for goat cheese and add sliced strawberries for a sweet twist.
    • Use a ranch dressing instead of the homemade one for a quicker version.
    • Add avocado slices and a sprinkle of chili flakes for a California-inspired take.
    • Top with grilled corn and black beans for a Southwestern flair.
    • For a vegetarian version, omit the bacon and add roasted chickpeas for crunch.

    Frequently Asked Questions

    Can I make the dressing ahead of time?

    Absolutely! The dressing can be made up to 3 days in advance and stored in the refrigerator. Just give it a good stir before using to recombine any separated ingredients.

    How do I prevent the lettuce from browning?

    Keeping the lettuce cold is key. Also, avoid cutting it too far in advance. If you must prep ahead, store the wedges in a container lined with paper towels to absorb excess moisture.

    Can I use a different type of lettuce?

    While iceberg is traditional for its crisp texture, you can experiment with romaine or butter lettuce. Just note that the eating experience will be different without that signature crunch.

    Summary

    This Iceberg Wedge Salad is a timeless dish that’s both simple to prepare and a joy to eat. With its crisp lettuce, creamy dressing, and customizable toppings, it’s sure to be a hit at any meal.

  • Whole Grain Pasta Salad Recipe: A Wholesome Delight

    Whole Grain Pasta Salad Recipe: A Wholesome Delight

    Kickstart your summer with this vibrant whole grain pasta salad that’s as nutritious as it is delicious. Perfect for picnics, potlucks, or a quick weekday lunch, this recipe is a crowd-pleaser that doesn’t skimp on flavor or health benefits.

    Why This Recipe Works

    • Whole grain pasta offers a hearty base packed with fiber, keeping you full longer and supporting digestive health.
    • The colorful array of vegetables not only adds a crunch but also a spectrum of vitamins and minerals.
    • A homemade vinaigrette dressing elevates the dish with a tangy and herby flavor profile, far surpassing any store-bought alternatives.
    • This recipe is incredibly versatile, allowing for endless variations based on seasonal produce or personal preferences.
    • It’s a make-ahead meal that tastes even better the next day, making it perfect for meal prep.

    Ingredients

    • 8 oz whole grain pasta (penne or fusilli work great)
    • 1 cup cherry tomatoes, halved
    • 1 cucumber, diced
    • 1/2 red onion, thinly sliced
    • 1/4 cup black olives, sliced
    • 1/4 cup feta cheese, crumbled
    • 2 tbsp olive oil
    • 1 tbsp balsamic vinegar
    • 1 tsp Dijon mustard
    • 1 garlic clove, minced
    • Salt and pepper to taste
    • Fresh basil leaves, chopped (for garnish)

    Equipment Needed

    • Large pot
    • Colander
    • Large mixing bowl
    • Whisk
    • Measuring cups and spoons
    • Knife and cutting board

    Instructions

    Whole Grain Pasta Salad Recipe

    Step 1: Cook the Pasta to Perfection

    Bring a large pot of salted water to a rolling boil. Add the whole grain pasta and cook according to package instructions, usually about 8-10 minutes, until al dente. Drain the pasta in a colander and rinse under cold water to stop the cooking process. This ensures your pasta salad has the perfect texture.

    Step 2: Prepare the Vegetables

    While the pasta cooks, halve the cherry tomatoes, dice the cucumber, and thinly slice the red onion. The key here is uniformity in size for even distribution of flavors and textures throughout the salad.

    Step 3: Whisk Together the Dressing

    In a small bowl, whisk together olive oil, balsamic vinegar, Dijon mustard, minced garlic, salt, and pepper. This simple yet flavorful dressing will coat every ingredient beautifully, tying the salad together.

    Step 4: Combine All Ingredients

    In a large mixing bowl, combine the cooled pasta, prepared vegetables, black olives, and crumbled feta cheese. Drizzle the dressing over the top and toss gently to ensure everything is evenly coated. A gentle toss prevents the pasta from breaking and keeps the vegetables intact.

    Step 5: Garnish and Serve

    Sprinkle chopped fresh basil leaves over the top for a pop of color and freshness. Serve immediately, or for even better flavor, cover and refrigerate for at least an hour before serving. This allows the flavors to meld together beautifully.

    Tips and Tricks

    For an extra protein boost, consider adding grilled chicken, chickpeas, or hard-boiled eggs to the salad. If you’re preparing this salad ahead of time, hold off on adding the dressing until just before serving to keep the pasta from absorbing too much liquid and becoming soggy. Toasting the whole grain pasta lightly before boiling can add an extra layer of nutty flavor to the dish. Finally, always taste and adjust the seasoning before serving, as refrigeration can dull flavors over time.

    Recipe Variations

    • Mediterranean Twist: Add artichoke hearts, sun-dried tomatoes, and kalamata olives for a Mediterranean flair.
    • Protein-Packed: Incorporate grilled shrimp or salmon for a seafood variation that’s rich in omega-3 fatty acids.
    • Vegan Delight: Skip the feta cheese or use a vegan alternative, and add avocado for creaminess.
    • Winter Version: Use roasted root vegetables like sweet potatoes and beets for a hearty winter salad.
    • Spicy Kick: Add diced jalapeños or a sprinkle of red pepper flakes for those who like it hot.

    Frequently Asked Questions

    Can I use a different type of pasta?

    Absolutely! While whole grain pasta is recommended for its health benefits, feel free to use any pasta you have on hand. Just keep in mind that cooking times may vary depending on the type of pasta used.

    How long does this pasta salad last in the fridge?

    Stored in an airtight container, this pasta salad will keep for up to 3 days in the refrigerator. The flavors continue to develop, making it even more delicious the next day.

    Can I make this recipe gluten-free?

    Yes, simply substitute the whole grain pasta with your favorite gluten-free pasta. Be sure to check the cooking instructions as gluten-free pasta often has a different texture and cooking time.

    Summary

    This whole grain pasta salad is a nutritious, flavorful, and versatile dish that’s perfect for any occasion. With its combination of hearty pasta, fresh vegetables, and a tangy homemade dressing, it’s sure to become a staple in your recipe collection.

  • Puerto Rican Macaroni Salad Recipe: A Creamy, Dreamy Side Dish

    Puerto Rican Macaroni Salad Recipe: A Creamy, Dreamy Side Dish

    Kick off your culinary adventure with this Puerto Rican Macaroni Salad recipe, a dish that’s as vibrant and lively as the island itself. Perfect for picnics, potlucks, or just because, this salad is a creamy, dreamy side that’ll have everyone asking for seconds.

    Why This Recipe Works

    • The combination of creamy mayonnaise and tangy mustard creates a dressing that’s rich yet balanced.
    • Adding a variety of textures with crisp vegetables and tender pasta ensures every bite is interesting.
    • The use of adobo seasoning gives it an authentic Puerto Rican flavor that stands out.
    • It’s incredibly versatile, easily adapted to include your favorite ingredients or whatever you have on hand.
    • This salad tastes even better the next day, making it a great make-ahead option for busy schedules.

    Ingredients

    • 1 lb elbow macaroni, cooked al dente
    • 1 cup mayonnaise
    • 2 tbsp yellow mustard
    • 1 tsp adobo seasoning
    • 1/2 cup diced red bell pepper
    • 1/2 cup diced green bell pepper
    • 1/2 cup diced onion
    • 1/2 cup diced carrots
    • 1/2 cup frozen peas, thawed
    • Salt and pepper to taste

    Equipment Needed

    • Large pot for boiling pasta
    • Colander
    • Large mixing bowl
    • Measuring cups and spoons
    • Knife and cutting board
    • Mixing spoon

    Instructions

    Puerto Rican Macaroni Salad Recipe

    Step 1: Cook the Macaroni

    Bring a large pot of salted water to a boil. Add the elbow macaroni and cook according to package instructions until al dente, usually about 8 minutes. Drain in a colander and rinse under cold water to stop the cooking process. Tip: Adding a splash of olive oil to the boiling water can prevent the pasta from sticking together.

    Step 2: Prepare the Vegetables

    While the pasta cooks, dice the red and green bell peppers, onion, and carrots into small, uniform pieces. The smaller the dice, the better they’ll distribute throughout the salad. Thaw the frozen peas by running them under warm water, then drain well.

    Step 3: Make the Dressing

    In a large mixing bowl, whisk together the mayonnaise, yellow mustard, and adobo seasoning until smooth. This is the base of your dressing, so make sure it’s well combined. Tip: For a lighter version, you can substitute half of the mayonnaise with Greek yogurt.

    Step 4: Combine Everything

    Add the cooled macaroni, diced vegetables, and peas to the bowl with the dressing. Gently fold everything together until the pasta and vegetables are evenly coated with the dressing. Season with salt and pepper to taste. Tip: Letting the salad chill in the fridge for at least an hour before serving allows the flavors to meld beautifully.

    Step 5: Serve and Enjoy

    Give the salad a final stir before serving to redistribute the dressing. Serve chilled as a side dish at your next gathering or enjoy it as a hearty lunch. This salad keeps well in the refrigerator for up to 3 days, making it a great option for meal prep.

    Tips and Tricks

    For an extra kick of flavor, consider adding a tablespoon of apple cider vinegar to the dressing. It’ll brighten up the whole dish. If you’re not a fan of peas, try substituting with corn or leaving them out altogether. To make this salad more substantial, add diced cooked chicken or ham. Always taste and adjust the seasoning before serving, as the flavors can settle over time. For a smoother texture, you can pulse half of the salad in a food processor before mixing it back in.

    Recipe Variations

    • For a spicy twist, add diced jalapeños or a dash of hot sauce to the dressing.
    • Swap out the elbow macaroni for shells or rotini for a different texture.
    • Include hard-boiled eggs for added protein and richness.
    • Use a mix of mayonnaise and sour cream for a tangier dressing.
    • Add chopped olives or pickles for a briny contrast to the creamy dressing.

    Frequently Asked Questions

    Can I make this salad ahead of time?

    Absolutely! In fact, this salad tastes even better after it’s had time to chill in the fridge for a few hours or overnight. The flavors have more time to meld together, making it more delicious. Just be sure to give it a good stir before serving to redistribute the dressing.

    How long does this salad keep in the fridge?

    This Puerto Rican Macaroni Salad will stay fresh in the refrigerator for up to 3 days when stored in an airtight container. After that, the pasta may start to soften too much, and the vegetables can lose their crunch.

    Can I use a different type of pasta?

    Yes, you can use any small pasta shape you prefer or have on hand. Just keep in mind that cooking times may vary, so adjust accordingly to ensure your pasta is al dente.

    Summary

    This Puerto Rican Macaroni Salad is a creamy, flavorful side dish that’s perfect for any occasion. With its vibrant colors and delicious taste, it’s sure to be a hit. Plus, it’s easy to customize with your favorite ingredients or whatever you have in the fridge. Give it a try and bring a taste of Puerto Rico to your table!