Blog

  • Crunchy & Cool: The Ultimate Cold Broccoli Salad Recipe

    Crunchy & Cool: The Ultimate Cold Broccoli Salad Recipe

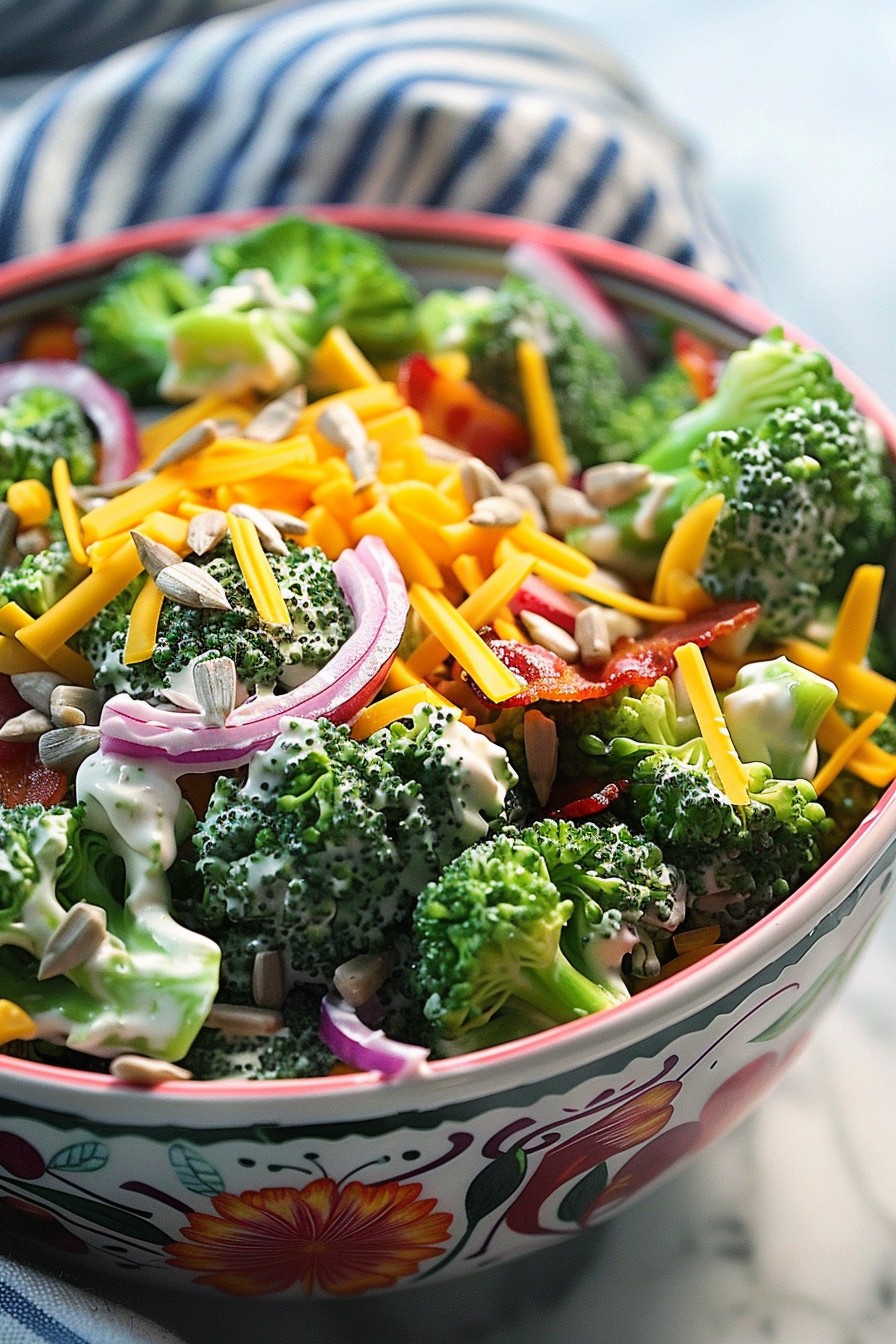
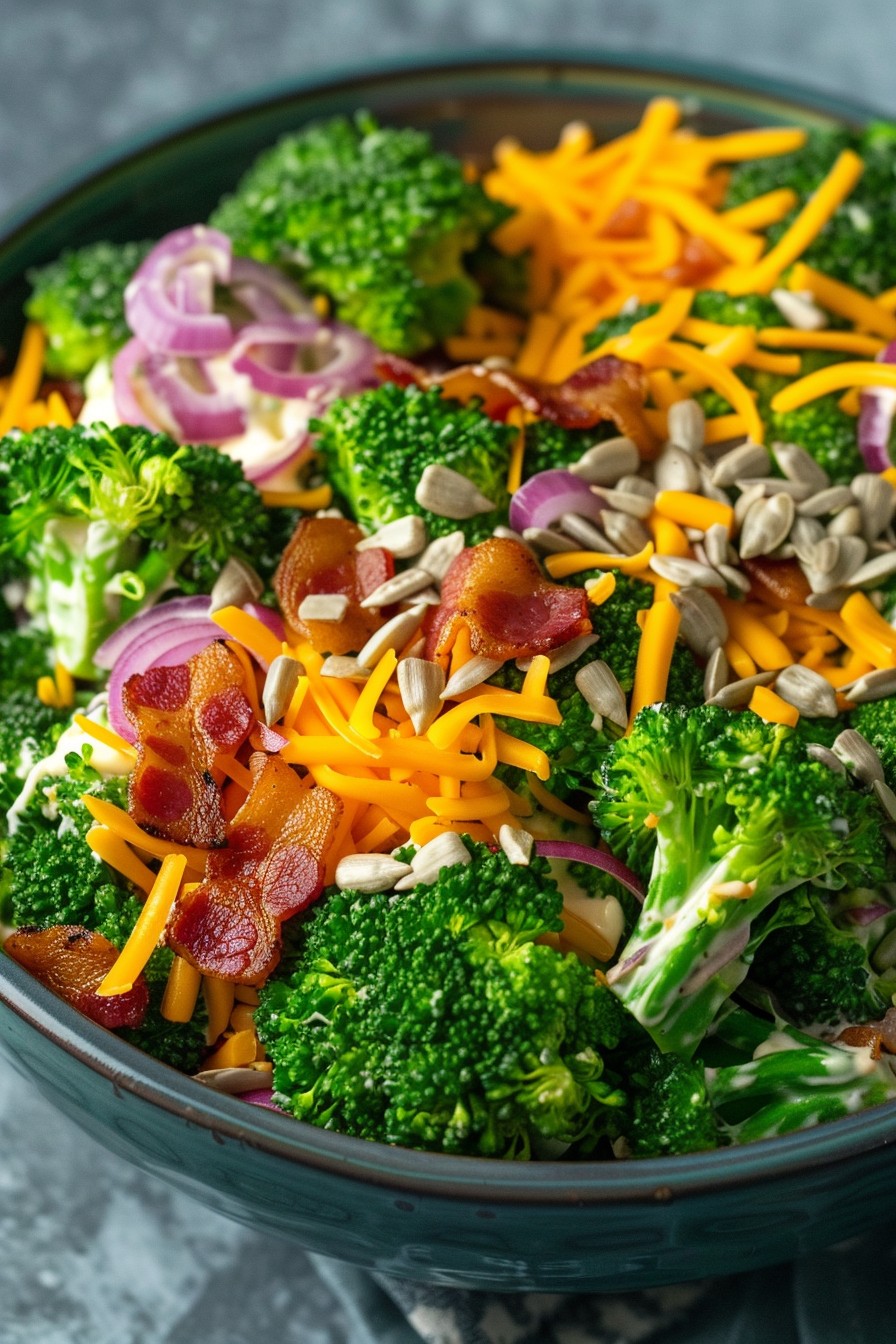
    Oh, the joys of a cold broccoli salad on a warm day! This recipe is your ticket to a refreshing, crunchy, and utterly delicious side dish that’s perfect for picnics, potlucks, or just because. Packed with flavors and textures, it’s a crowd-pleaser that’s as easy to make as it is to love.

    Why This Recipe Works

    • The combination of raw broccoli with a creamy, tangy dressing creates a perfect balance of flavors.
    • Adding crispy bacon and sharp cheddar cheese introduces a savory depth that’s irresistible.
    • Sunflower seeds bring a delightful crunch, elevating the texture profile.
    • It’s a make-ahead dish, meaning the flavors meld and improve over time.
    • Versatile and customizable, you can tweak it to suit your taste or dietary needs.

    Ingredients

    • 4 cups broccoli florets, chopped into bite-sized pieces
    • 1/2 cup mayonnaise
    • 2 tablespoons apple cider vinegar
    • 1 tablespoon sugar
    • 1/2 teaspoon salt
    • 1/4 teaspoon black pepper
    • 1/2 cup shredded sharp cheddar cheese
    • 1/4 cup red onion, finely diced
    • 1/4 cup sunflower seeds
    • 6 slices bacon, cooked and crumbled

    Equipment Needed

    • Large mixing bowl
    • Whisk
    • Measuring cups and spoons
    • Knife and cutting board
    • Skillet (for bacon)

    Instructions

    Cold Broccoli Salad Recipe

    Step 1: Prep Your Broccoli

    Start by washing your broccoli florets under cold water. Pat them dry with a clean towel or paper towels to remove excess moisture. Chop the florets into bite-sized pieces, ensuring they’re small enough to eat comfortably but large enough to retain a satisfying crunch. Place the chopped broccoli in a large mixing bowl. Tip: For extra crispiness, you can chill the broccoli in the fridge for about 30 minutes before mixing.

    Step 2: Make the Dressing

    In a small bowl, whisk together the mayonnaise, apple cider vinegar, sugar, salt, and black pepper until smooth. The sugar helps balance the vinegar’s acidity, creating a dressing that’s tangy yet sweet. Adjust the seasoning to your taste, keeping in mind that the flavors will intensify as the salad chills. Tip: For a lighter version, you can substitute half of the mayonnaise with Greek yogurt.

    Step 3: Combine the Ingredients

    Pour the dressing over the broccoli in the large mixing bowl. Add the shredded cheddar cheese, diced red onion, sunflower seeds, and crumbled bacon. Gently toss everything together until the broccoli is evenly coated with the dressing and the other ingredients are well distributed. Tip: If you’re not a fan of raw onion, you can soak the diced pieces in cold water for 10 minutes to mellow their flavor.

    Step 4: Chill Before Serving

    Cover the bowl with plastic wrap or transfer the salad to an airtight container. Refrigerate for at least 1 hour before serving. This resting period allows the flavors to meld together and the broccoli to slightly soften, making the salad even more delicious. For best results, chill for 2-4 hours.

    Tips and Tricks

    For those looking to take their cold broccoli salad to the next level, consider these advanced tips. First, toasting the sunflower seeds in a dry skillet over medium heat for 2-3 minutes can enhance their nutty flavor. Second, if you’re preparing this salad for a crowd, doubling the recipe is easy, but remember to mix in the bacon and sunflower seeds just before serving to maintain their crunch. Lastly, for a vegetarian version, omit the bacon and add smoked almonds for a similar depth of flavor.

    Recipe Variations

    • Swap the cheddar cheese for feta or goat cheese for a different flavor profile.
    • Add dried cranberries or raisins for a sweet contrast to the savory elements.
    • Include chopped apples or grapes for a fruity twist.
    • Use kale or Brussels sprouts instead of broccoli for a different green base.
    • For a spicy kick, add a pinch of cayenne pepper or diced jalapeños to the dressing.

    Frequently Asked Questions

    Can I make this salad ahead of time?

    Absolutely! In fact, making it a day in advance allows the flavors to develop more fully. Just hold off on adding the bacon and sunflower seeds until you’re ready to serve to keep them crispy.

    How long does the salad last in the fridge?

    Stored in an airtight container, the salad will keep for up to 3 days. However, it’s best enjoyed within the first 24-48 hours for optimal texture and freshness.

    Can I use frozen broccoli?

    While you can use thawed frozen broccoli, the texture will be softer than with fresh. For the best crunch and flavor, fresh broccoli is recommended.

    Summary

    This cold broccoli salad is a refreshing, crunchy, and flavorful dish perfect for any occasion. Easy to make and customizable, it’s sure to become a favorite in your recipe collection.
  • King Crab Salad Recipe: A Luxurious Twist on a Classic

    King Crab Salad Recipe: A Luxurious Twist on a Classic

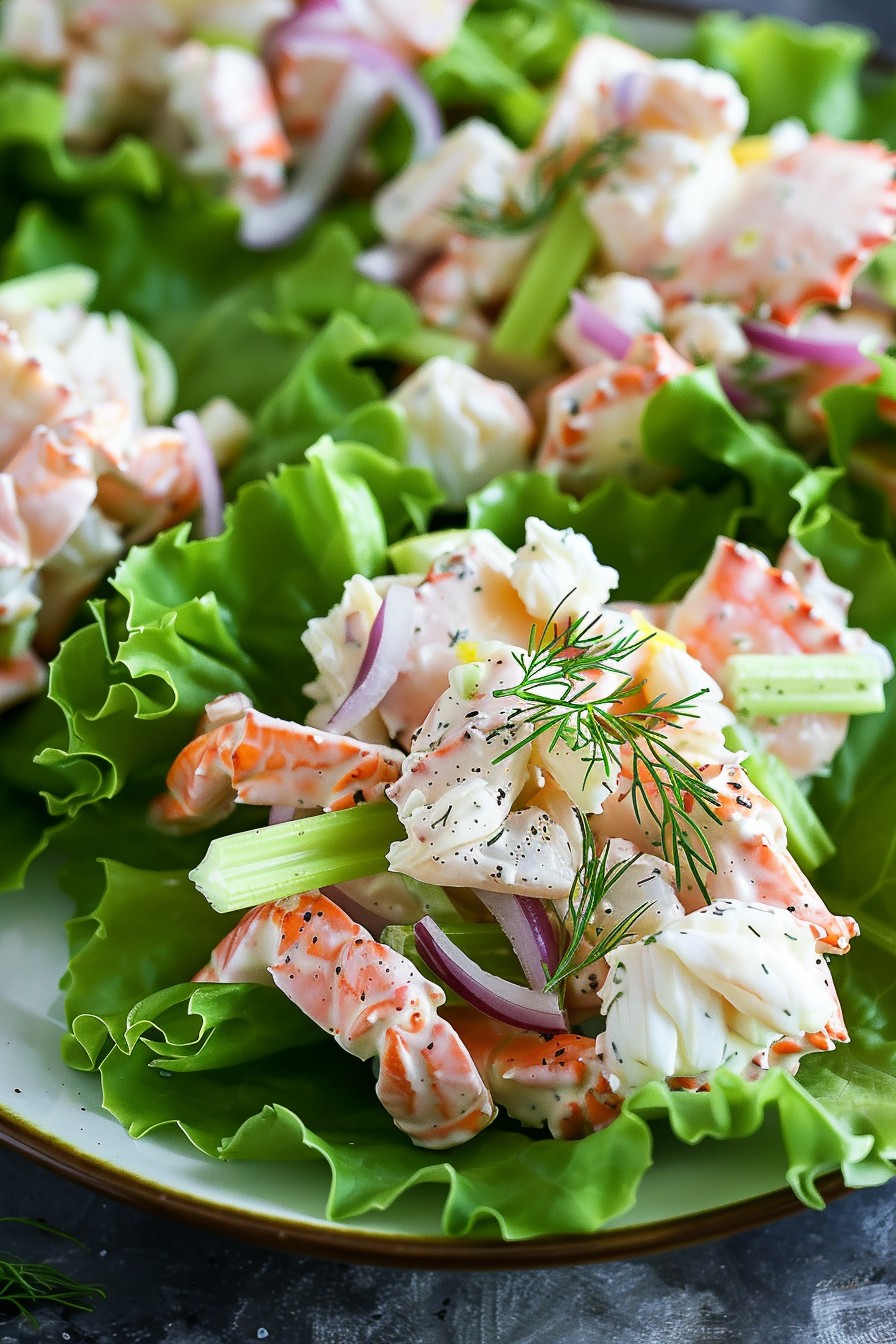
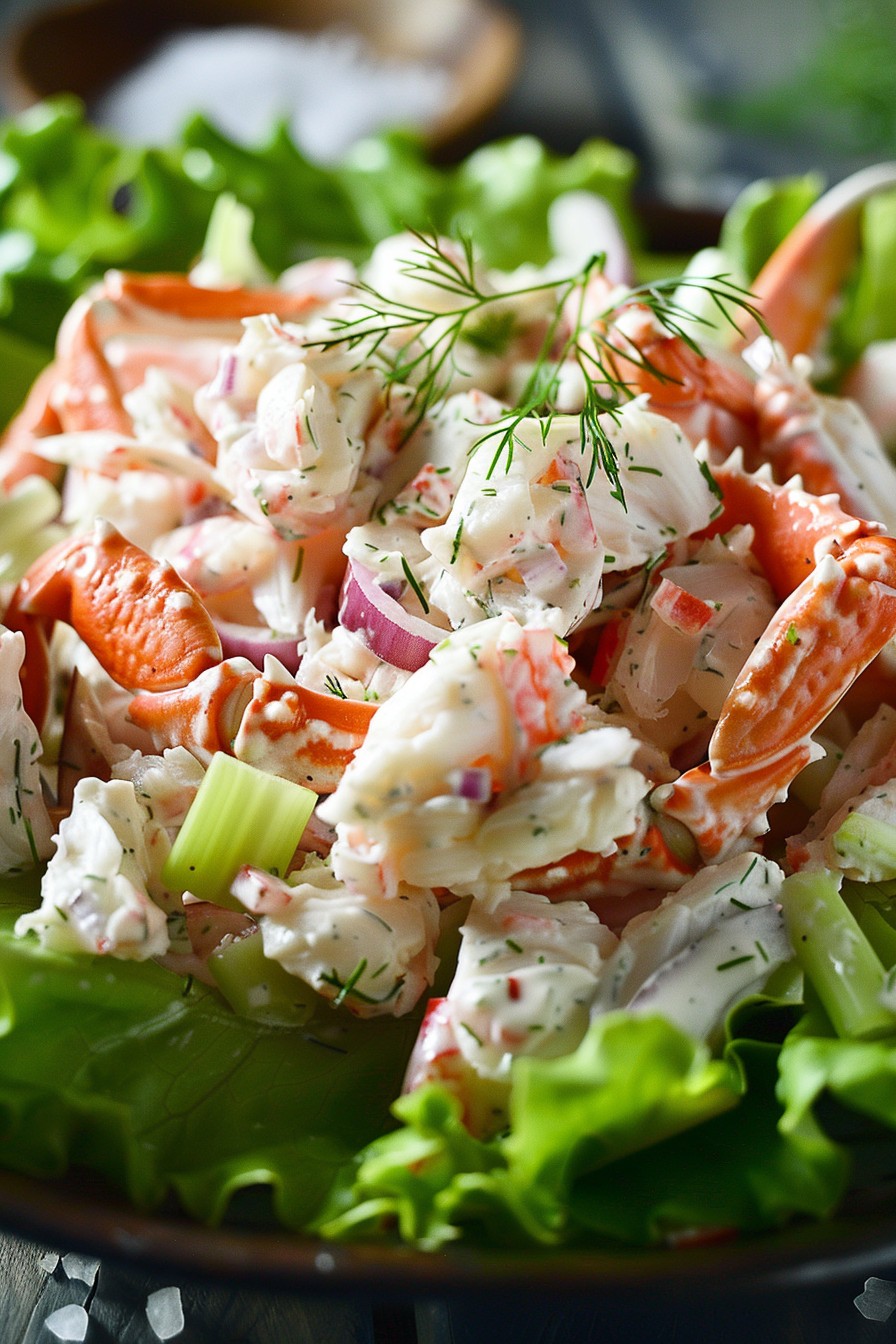
    Some say the king crab is the crown jewel of the sea, and this salad is here to prove it. Combining succulent crab meat with crisp vegetables and a zesty dressing, this dish is a showstopper that’s surprisingly simple to make.

    Why This Recipe Works

    • The sweetness of king crab meat pairs perfectly with the tangy dressing, creating a balance of flavors that’s hard to resist.
    • Using fresh, high-quality ingredients ensures every bite is packed with flavor and texture.
    • This recipe is versatile, allowing for various substitutions and additions to suit any palate.
    • It’s a quick and easy dish to prepare, making it perfect for last-minute gatherings or a fancy weeknight dinner.

    Ingredients

    • 1 pound king crab meat, cooked and shelled
    • 1/2 cup mayonnaise
    • 2 tablespoons lemon juice
    • 1 teaspoon Dijon mustard
    • 1/4 cup celery, finely diced
    • 1/4 cup red onion, finely diced
    • Salt and pepper to taste
    • 1 tablespoon fresh dill, chopped
    • Lettuce leaves for serving

    Equipment Needed

    • Mixing bowl
    • Whisk
    • Measuring cups and spoons
    • Knife and cutting board

    Instructions

    King Crab Salad Recipe

    Prepare the Dressing

    In a mixing bowl, whisk together the mayonnaise, lemon juice, and Dijon mustard until smooth. This creates a creamy base that will coat the crab meat beautifully. Tip: For an extra zing, add a pinch of cayenne pepper to the dressing.

    Combine the Ingredients

    Gently fold the king crab meat, celery, red onion, and fresh dill into the dressing. Be careful not to break up the crab meat too much. The goal is to keep those lovely chunks intact for texture. Season with salt and pepper to taste.

    Chill Before Serving

    Cover the bowl with plastic wrap and refrigerate the salad for at least 30 minutes. This allows the flavors to meld together beautifully. Tip: If you’re in a hurry, you can serve it immediately, but the flavors won’t be as developed.

    Serve and Enjoy

    Arrange lettuce leaves on a platter and spoon the crab salad on top. Garnish with additional dill if desired. This dish is best enjoyed cold, making it a perfect summer meal or appetizer.

    Tips and Tricks

    For the best results, use fresh king crab meat if possible. However, high-quality canned or frozen crab meat can also work in a pinch. Always check for any remaining shell fragments before mixing. To elevate the dish, consider adding avocado slices or a sprinkle of paprika for color and flavor. If you’re serving this at a party, consider presenting it in small lettuce cups for easy, elegant serving.

    Recipe Variations

    • Add diced avocado for a creamy texture and rich flavor.
    • Swap the mayonnaise for Greek yogurt for a lighter version.
    • Incorporate diced mango or pineapple for a sweet and savory twist.
    • Use lime juice instead of lemon for a different citrus note.
    • Add a dash of hot sauce or Sriracha for a spicy kick.

    Frequently Asked Questions

    Can I use imitation crab meat?

    While imitation crab meat is more affordable, it won’t provide the same luxurious taste and texture as real king crab meat. If you’re on a budget, consider using lump crab meat as a middle ground.

    How long can I store the salad?

    This salad is best enjoyed within 24 hours of preparation. Store it in an airtight container in the refrigerator to maintain freshness.

    Can I make this salad ahead of time?

    Yes, you can prepare the salad up to a day in advance. Just be sure to keep it refrigerated until you’re ready to serve.

    Summary

    This king crab salad is a delightful blend of sweet crab meat, crisp vegetables, and a tangy dressing. It’s easy to make, versatile, and perfect for any occasion. Whether you’re hosting a dinner party or looking for a quick and elegant meal, this recipe is sure to impress.

  • Pesto Bowtie Pasta Salad Recipe: A Flavor Fiesta in Every Bite

    Pesto Bowtie Pasta Salad Recipe: A Flavor Fiesta in Every Bite

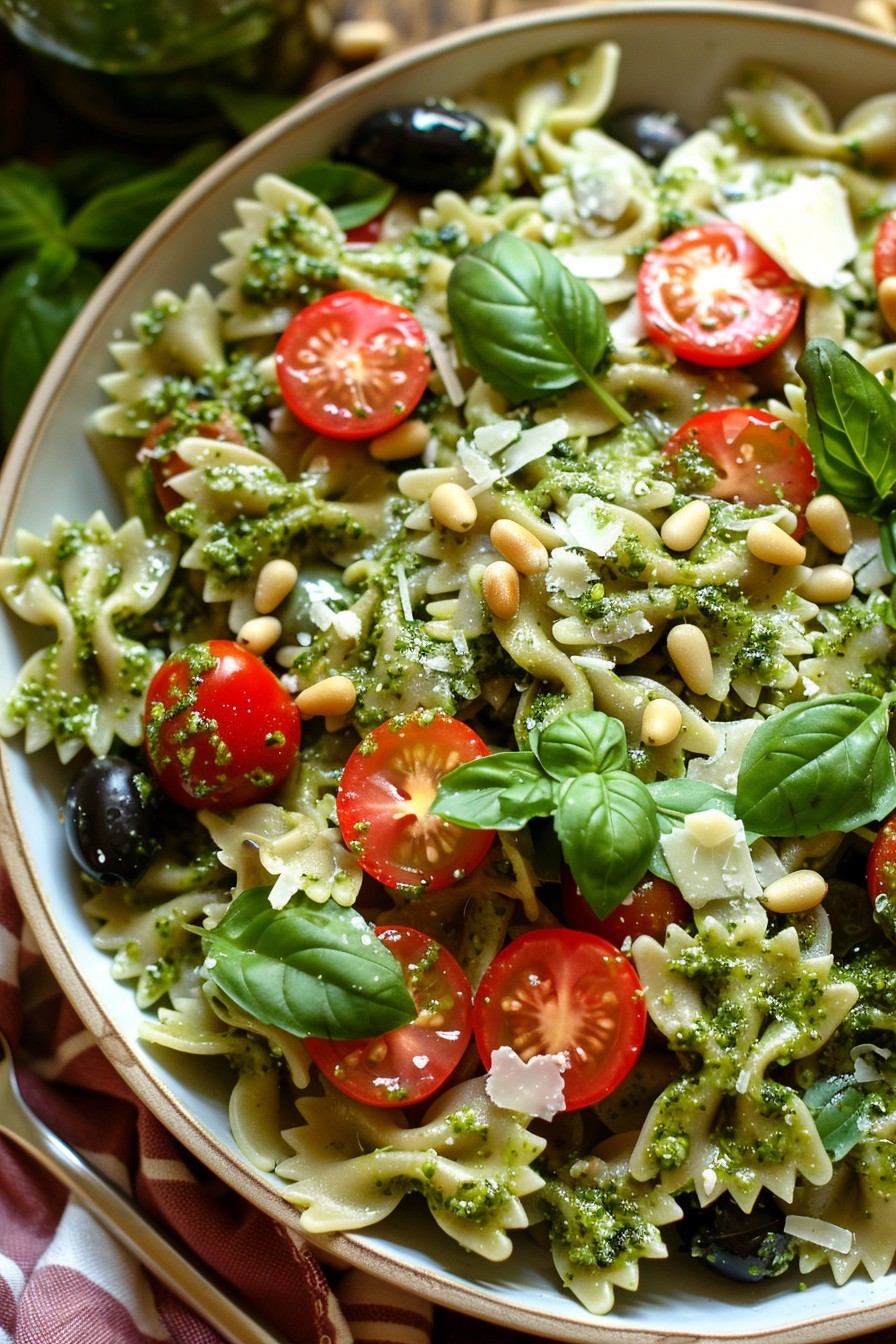
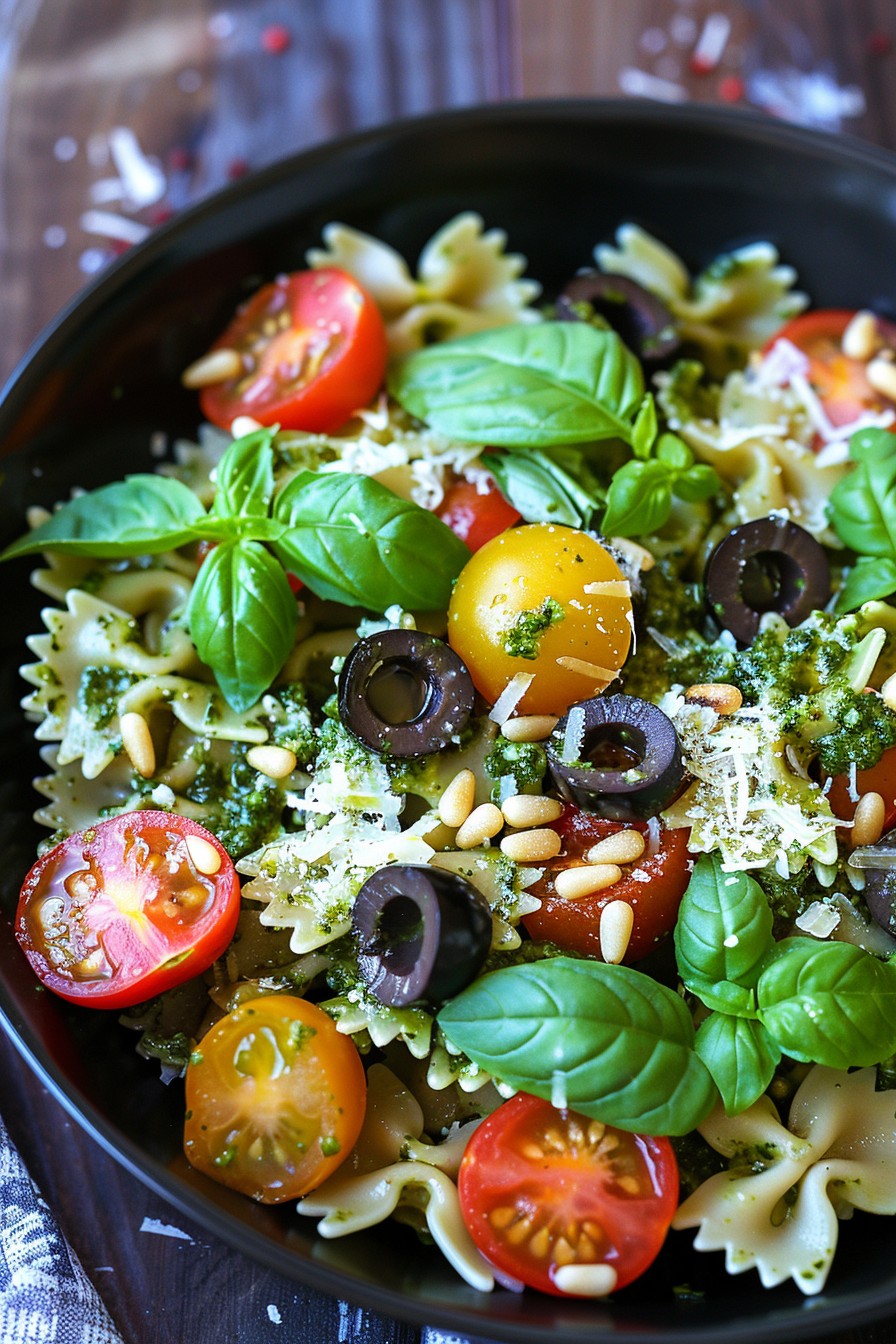
    Mmm, nothing says summer like a fresh, vibrant pasta salad that’s as fun to look at as it is to eat. This pesto bowtie pasta salad is your ticket to a flavor-packed side dish or a hearty main that’ll have everyone asking for seconds. Let’s dive into why this recipe is a must-try and how you can whip it up in no time.

    Why This Recipe Works

    • The combination of homemade pesto and bowtie pasta creates a dish that’s bursting with fresh, herby flavors and a delightful texture.
    • It’s incredibly versatile, serving as a perfect side dish for BBQs or a standalone meal for those lazy summer nights.
    • Prep is a breeze, making it ideal for last-minute gatherings or meal prep for the week.
    • The colorful veggies not only add a crunch but also make the dish visually appealing.
    • It’s a crowd-pleaser that caters to both vegetarians and meat-lovers alike, with easy options to customize.

    Ingredients

    • 12 oz bowtie pasta
    • 2 cups fresh basil leaves
    • 1/2 cup grated Parmesan cheese
    • 1/3 cup pine nuts
    • 2 garlic cloves
    • 1/2 cup olive oil
    • 1 cup cherry tomatoes, halved
    • 1/2 cup black olives, sliced
    • 1/4 tsp salt
    • 1/4 tsp black pepper

    Equipment Needed

    • Large pot
    • Colander
    • Food processor
    • Large mixing bowl
    • Measuring cups and spoons

    Instructions

    Pesto Bowtie Pasta Salad Recipe

    Step 1: Cook the Pasta to Perfection

    Bring a large pot of salted water to a rolling boil. Add the bowtie pasta and cook according to package instructions until al dente, usually about 11 minutes. Drain the pasta in a colander and rinse under cold water to stop the cooking process. This ensures your pasta salad stays fresh and doesn’t become mushy.

    Step 2: Whip Up the Pesto

    In a food processor, combine the basil leaves, Parmesan cheese, pine nuts, and garlic cloves. Pulse until finely chopped. With the processor running, slowly drizzle in the olive oil until the mixture is smooth and well combined. Season with salt and pepper to taste. This homemade pesto is the star of the show, so don’t skimp on the freshness!

    Step 3: Combine and Toss

    In a large mixing bowl, combine the cooled pasta, pesto, cherry tomatoes, and black olives. Gently toss until everything is evenly coated with the pesto. The key here is to be gentle to keep the pasta and veggies intact while ensuring every bite is flavorful.

    Step 4: Chill and Serve

    Cover the bowl with plastic wrap and refrigerate for at least 30 minutes before serving. This allows the flavors to meld together beautifully. Serve chilled for a refreshing dish that’s perfect for any occasion.

    Tips and Tricks

    For an extra nutty flavor, toast the pine nuts in a dry skillet over medium heat for a few minutes before adding them to the food processor. If you’re short on time, store-bought pesto works in a pinch, but homemade really takes this dish to the next level. To make this dish vegan, simply omit the Parmesan cheese or use a vegan alternative. For added protein, toss in some grilled chicken or chickpeas. Always taste and adjust the seasoning before serving, as the flavors can settle while chilling.

    Recipe Variations

    • Add grilled vegetables like zucchini or bell peppers for an extra smoky flavor.
    • Swap the bowtie pasta for penne or fusilli if you prefer a different shape.
    • Incorporate sun-dried tomatoes for a tangy twist.
    • Use arugula instead of basil for a peppery pesto variation.
    • Add a squeeze of lemon juice for a bright, citrusy finish.

    Frequently Asked Questions

    Can I make this pasta salad ahead of time?

    Absolutely! This pasta salad actually tastes better after it’s had time to chill and the flavors have melded together. You can make it up to 24 hours in advance, just be sure to give it a good stir before serving.

    How long does this pasta salad last in the fridge?

    Stored in an airtight container, this pasta salad will keep for up to 3 days in the refrigerator. The pesto may darken over time due to oxidation, but it’s still perfectly safe to eat.

    Can I freeze this pasta salad?

    Freezing is not recommended as the texture of the pasta and vegetables will change upon thawing, resulting in a less desirable consistency. It’s best enjoyed fresh or within a few days of making.

    Summary

    This pesto bowtie pasta salad is a vibrant, flavorful dish that’s perfect for any summer gathering. With its fresh ingredients and easy preparation, it’s sure to become a staple in your recipe collection. Enjoy the burst of flavors and the compliments that are bound to come your way!
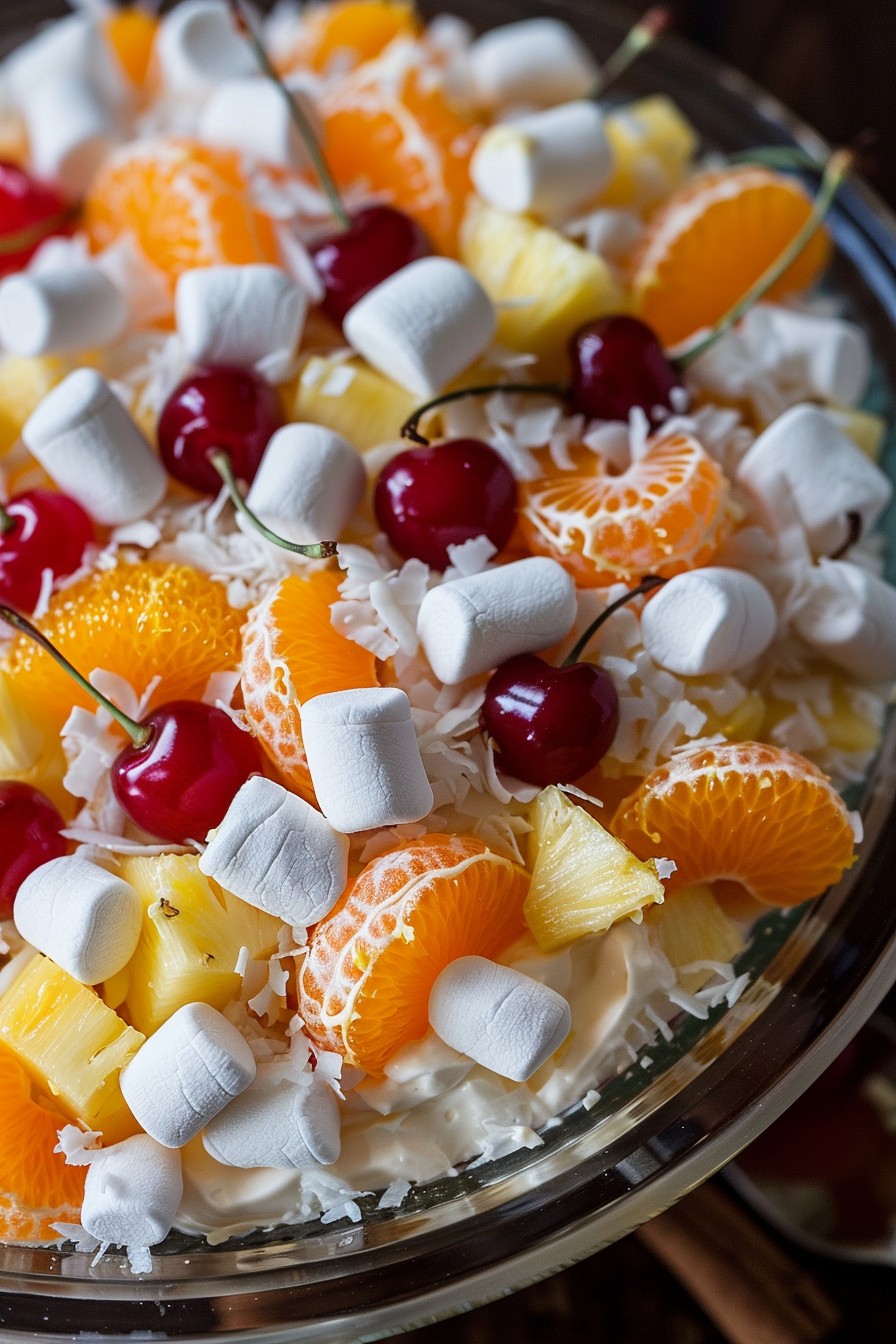
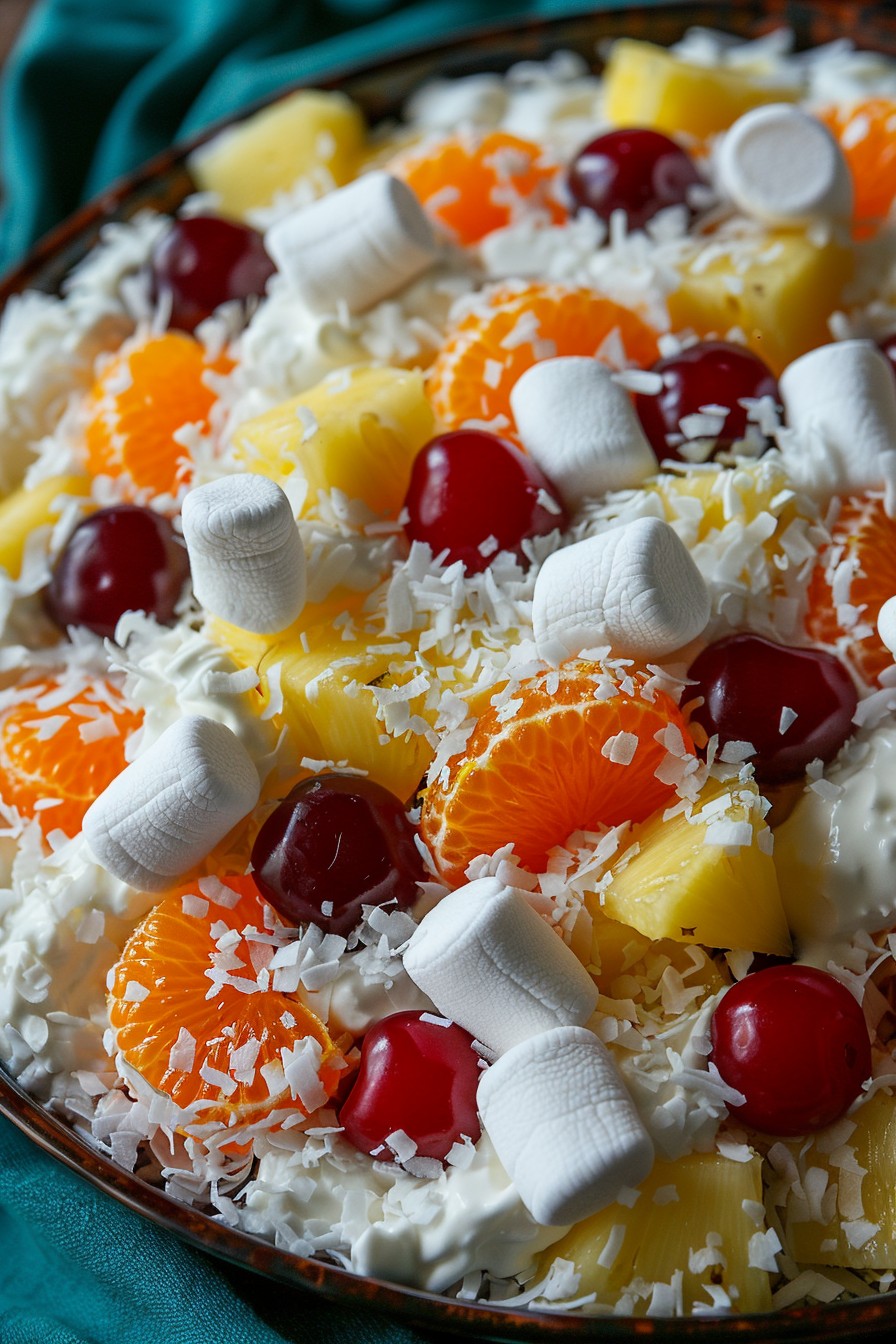
  • Old Fashioned Ambrosia Fruit Salad Recipe: A Nostalgic Delight

    Old Fashioned Ambrosia Fruit Salad Recipe: A Nostalgic Delight

    Delight in the creamy, fruity goodness of this old fashioned ambrosia fruit salad. Perfect for picnics, potlucks, or just because, this recipe brings back the classic flavors we all love with a twist that makes it irresistibly delicious.

    Why This Recipe Works

    • The combination of citrus and sweet fruits creates a perfect balance of flavors.
    • Adding a creamy element with sour cream and whipped topping gives it a luxurious texture.
    • It’s incredibly versatile, allowing for substitutions based on seasonal availability or personal preference.
    • This salad can be made ahead of time, making it a convenient option for busy hosts.
    • It’s a crowd-pleaser that appeals to both kids and adults alike.

    Ingredients

    • 2 cups of pineapple chunks, drained
    • 2 cups of mandarin oranges, drained
    • 1 cup of maraschino cherries, halved
    • 1 cup of shredded sweetened coconut
    • 1/2 cup of sour cream
    • 1/2 cup of whipped topping
    • 1/4 cup of mini marshmallows

    Equipment Needed

    • Large mixing bowl
    • Rubber spatula
    • Measuring cups and spoons

    Instructions

    Old Fashioned Ambrosia Fruit Salad Recipe

    Step 1: Prepare Your Fruits

    Start by ensuring all your fruits are drained well to prevent the salad from becoming too watery. Combine the pineapple chunks, mandarin oranges, and maraschino cherries in a large mixing bowl. Tip: For an extra burst of flavor, consider adding a tablespoon of the maraschino cherry juice to the mix.

    Step 2: Add the Creamy Components

    Gently fold in the sour cream and whipped topping until all the fruits are evenly coated. The key here is to be gentle to keep the fruits intact. Tip: For a lighter version, you can substitute Greek yogurt for the sour cream.

    Step 3: Incorporate the Coconut and Marshmallows

    Sprinkle the shredded coconut and mini marshmallows over the top of the fruit mixture. Then, fold them in until they’re evenly distributed throughout the salad. Tip: Toasting the coconut beforehand can add a delightful crunch and depth of flavor.

    Step 4: Chill Before Serving

    Cover the bowl with plastic wrap and refrigerate the salad for at least an hour before serving. This allows the flavors to meld together beautifully. Tip: For best results, let it chill overnight.

    Tips and Tricks

    For those looking to elevate their ambrosia salad, consider these advanced tips. First, experiment with different fruit combinations based on what’s in season. Second, adding a splash of citrus juice can brighten the flavors. Third, for a more decadent version, mix in some cream cheese with the sour cream. Lastly, garnishing with fresh mint or a sprinkle of cinnamon can add a fresh or warm note, respectively.

    Recipe Variations

    • Swap out the mandarin oranges for fresh orange segments for a fresher taste.
    • Add diced apples or pears for a crunchy texture.
    • Include nuts like pecans or walnuts for added crunch and protein.
    • Use coconut yogurt instead of sour cream for a dairy-free version.
    • Mix in some banana slices for extra sweetness, but add them just before serving to prevent browning.

    Frequently Asked Questions

    Can I make this salad ahead of time?

    Absolutely! This salad actually tastes better after it’s had time to chill and the flavors have melded together. Just be sure to add any ingredients that might brown or get soggy, like bananas or nuts, right before serving.

    How long does ambrosia salad last in the fridge?

    When stored properly in an airtight container, ambrosia salad can last up to 3 days in the refrigerator. However, it’s best enjoyed within the first 24 to 48 hours for optimal texture and flavor.

    Can I freeze ambrosia salad?

    Freezing is not recommended as the texture of the fruits and creamy components will change upon thawing, resulting in a less desirable consistency.

    Summary

    This old fashioned ambrosia fruit salad is a creamy, fruity, and utterly delicious dish that’s perfect for any occasion. With its simple preparation and versatile nature, it’s sure to become a go-to recipe in your collection.

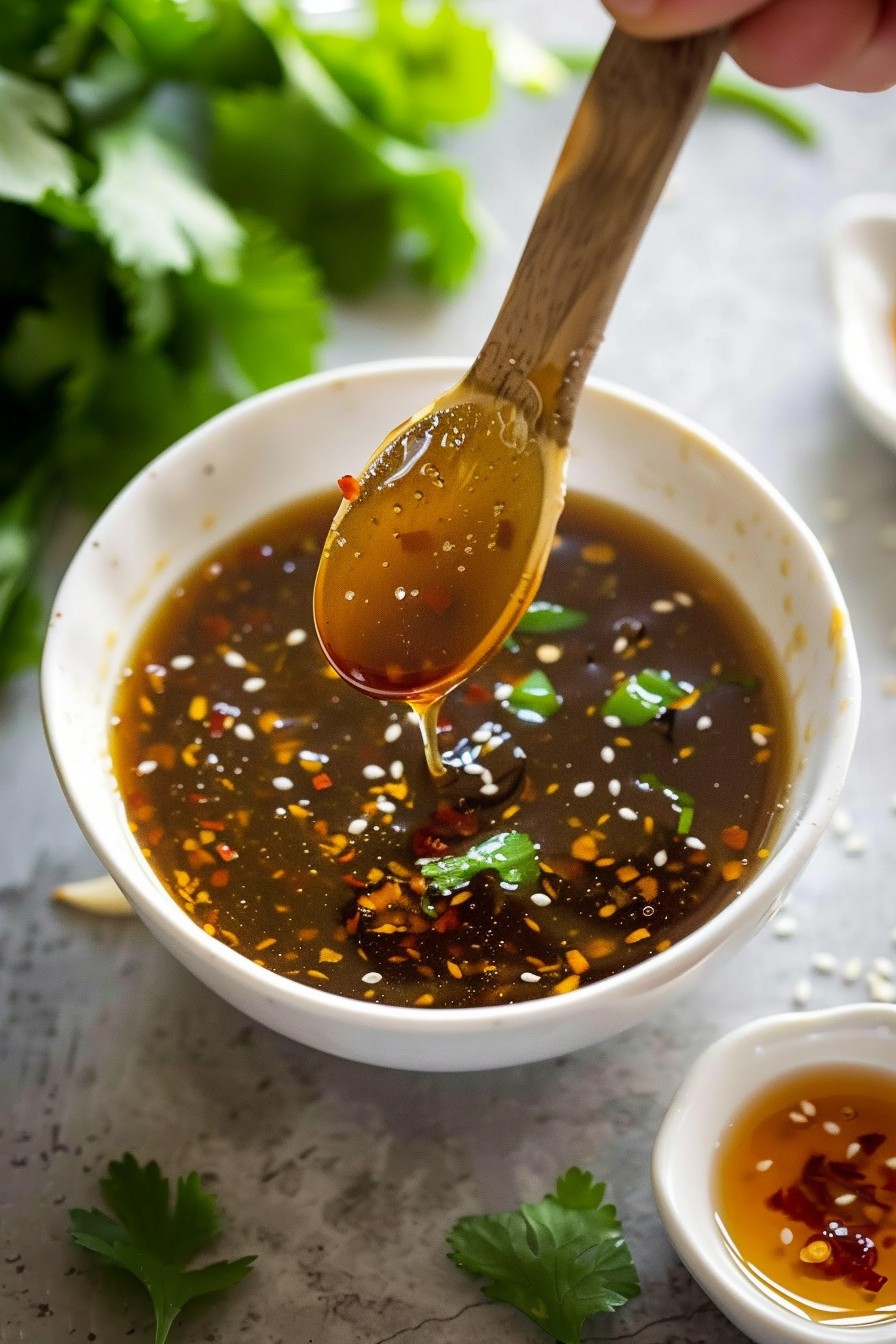
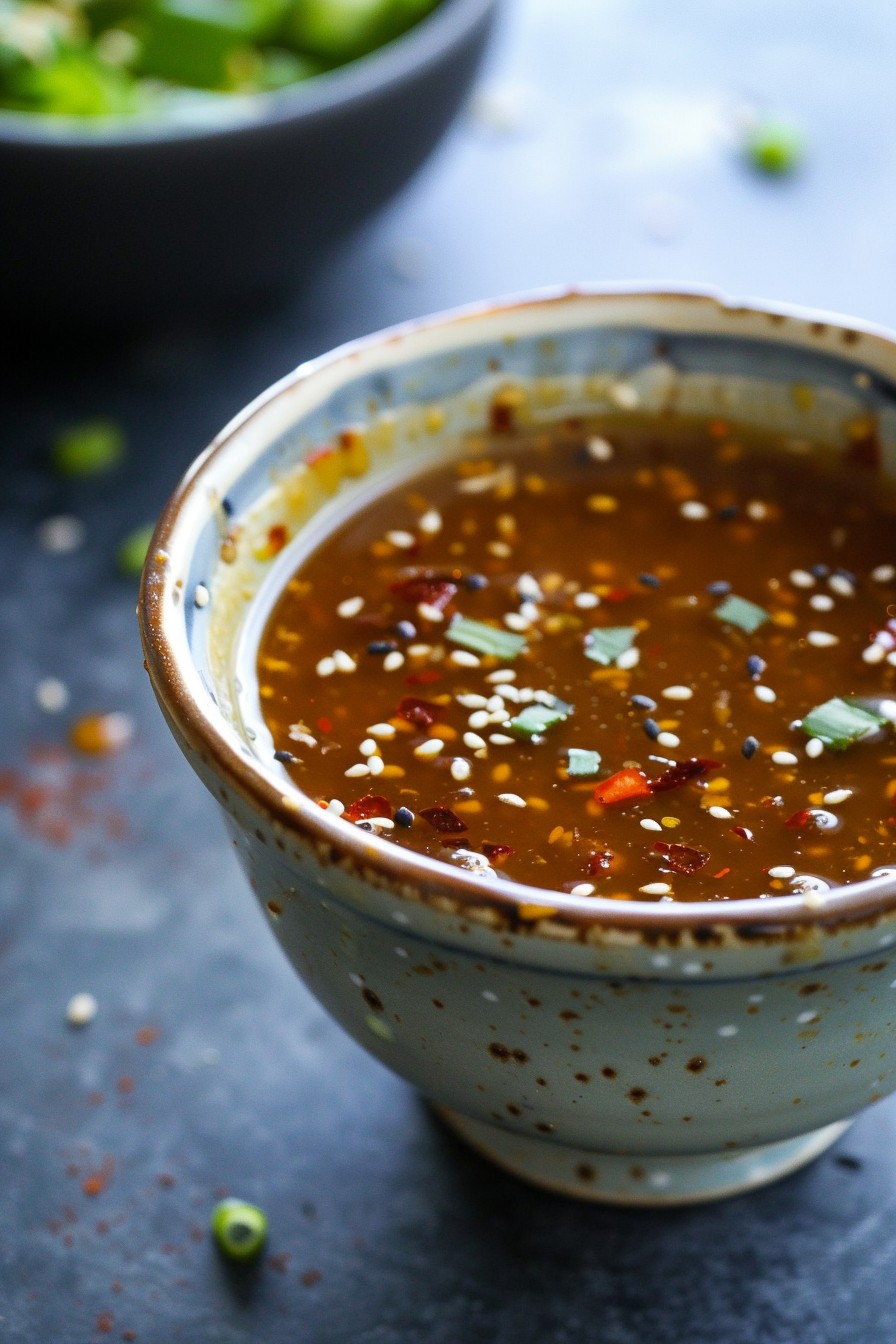
  • Ginger Soy Salad Dressing Recipe: A Zesty Twist to Your Greens

    Ginger Soy Salad Dressing Recipe: A Zesty Twist to Your Greens

    Let’s face it, salads can be boring, but not with this ginger soy dressing that packs a punch of flavor. Perfect for those who love a bit of zest and tang in their meals. This recipe is quick, easy, and will elevate your salad game to the next level.

    Why This Recipe Works

    • The combination of ginger and soy sauce creates a perfect balance of spicy and savory flavors.
    • It’s incredibly versatile and can be used on more than just salads—think marinades or dipping sauces.
    • With no cooking required, it’s a fuss-free recipe that comes together in minutes.
    • The ingredients are simple and likely already in your pantry.
    • It’s a healthier alternative to store-bought dressings that are often loaded with preservatives.

    Ingredients

    • 1/4 cup soy sauce (low sodium recommended)
    • 2 tablespoons rice vinegar
    • 1 tablespoon honey (or maple syrup for a vegan option)
    • 1 tablespoon fresh ginger, grated
    • 1 garlic clove, minced
    • 1/4 cup olive oil
    • 1 teaspoon sesame oil
    • 1/2 teaspoon red pepper flakes (optional for heat)

    Equipment Needed

    • Measuring cups and spoons
    • Small mixing bowl
    • Whisk
    • Grater (for ginger)
    • Garlic press (optional)

    Instructions

    Ginger Soy Salad Dressing Recipe

    Step 1: Combine the Wet Ingredients

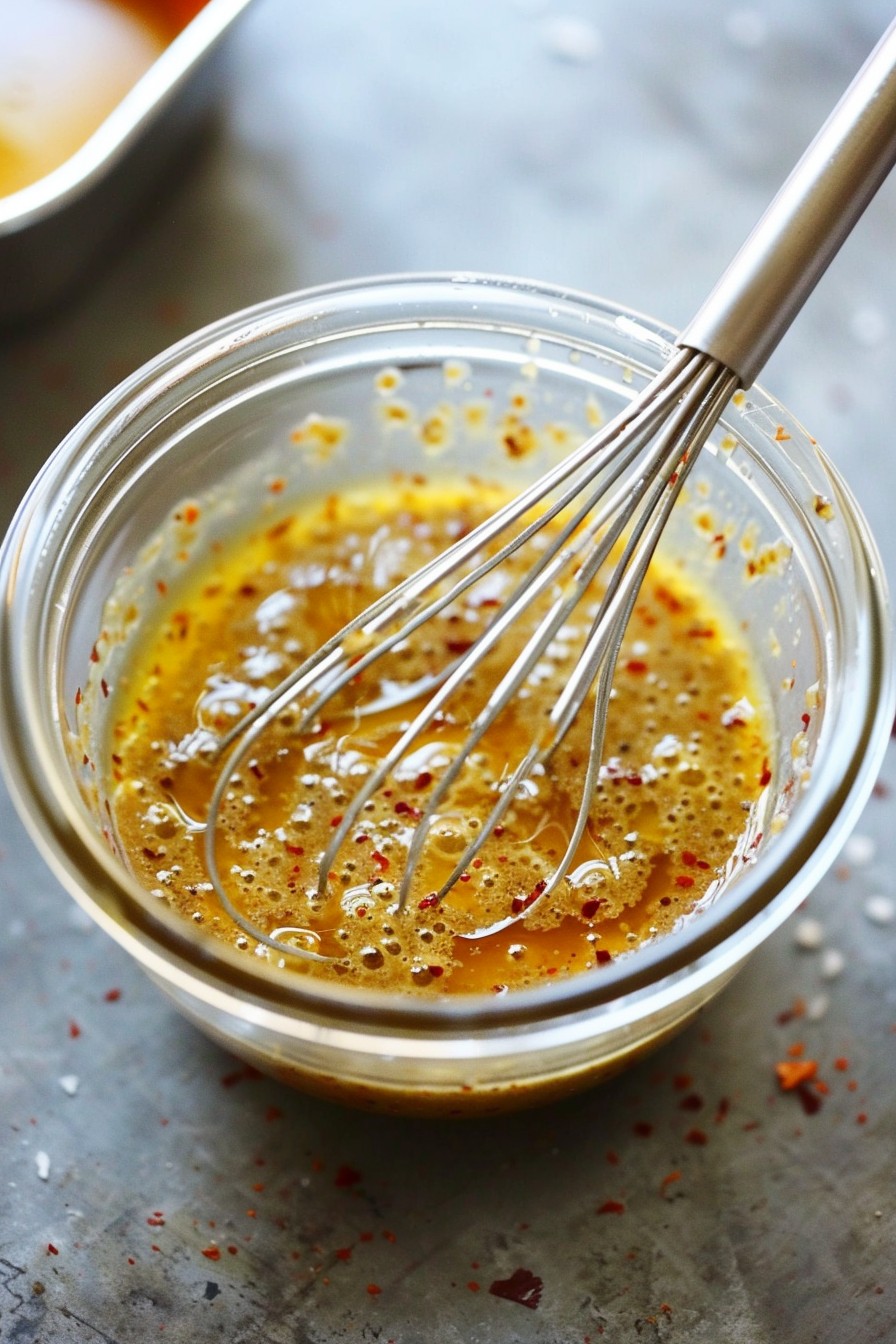
    In a small mixing bowl, whisk together the soy sauce, rice vinegar, and honey until the honey is fully dissolved. This forms the base of your dressing, ensuring a smooth consistency. Tip: If your honey is too thick, warm it slightly for easier mixing.

    Step 2: Add the Aromatics

    Grate the fresh ginger and mince the garlic clove, then add them to the bowl. The fresher these ingredients, the more vibrant your dressing will taste. Whisk everything together to distribute the flavors evenly.

    Step 3: Incorporate the Oils

    Slowly drizzle in the olive oil while continuously whisking to emulsify the dressing. Add the sesame oil last for that nutty finish. Tip: For a thicker dressing, you can adjust the amount of olive oil to your liking.

    Step 4: Season to Taste

    If you like a bit of heat, now’s the time to add those red pepper flakes. Give the dressing a taste and adjust any ingredients as needed. Remember, the flavors will meld and intensify as it sits.

    Step 5: Serve or Store

    Your ginger soy salad dressing is ready to use immediately, or you can store it in an airtight container in the refrigerator for up to a week. Tip: Shake well before each use as the ingredients may separate over time.

    Tips and Tricks

    For an even smoother dressing, consider blending all the ingredients together in a blender or food processor. This is especially helpful if you’re not a fan of the texture of grated ginger. If you’re watching your sodium intake, opt for low-sodium soy sauce or tamari. Toasting the sesame oil before adding it can deepen the flavor profile, but be careful not to burn it. For a sweeter dressing, increase the honey or add a splash of orange juice. Experiment with adding a teaspoon of miso paste for an umami boost.

    Recipe Variations

    • For a creamier version, mix in a tablespoon of mayonnaise or Greek yogurt.
    • Add a tablespoon of peanut butter for a Thai-inspired twist.
    • Incorporate citrus zest, like lime or orange, for a fresh, tangy flavor.
    • Swap out the olive oil for avocado oil for a different fatty acid profile.
    • Use tamari instead of soy sauce for a gluten-free option.

    Frequently Asked Questions

    Can I make this dressing ahead of time?

    Absolutely! This dressing actually benefits from being made ahead as it allows the flavors to meld together. Just store it in an airtight container in the fridge and give it a good shake before using. It’ll keep well for up to a week.

    Is there a substitute for rice vinegar?

    Yes, if you don’t have rice vinegar on hand, apple cider vinegar or white wine vinegar can be used as substitutes. Keep in mind that these vinegars have a stronger flavor, so you might want to start with a smaller amount and adjust to taste.

    How can I make this dressing less spicy?

    Simply omit the red pepper flakes if you’re sensitive to heat. The ginger provides a natural warmth that’s more subtle, so you’ll still get a nice flavor without the spice.

    Summary

    This ginger soy salad dressing is a game-changer for anyone looking to add some excitement to their salads. With its perfect balance of flavors and easy preparation, it’s sure to become a staple in your kitchen. Plus, it’s versatile enough to use in a variety of dishes beyond just salads.

  • Original Miracle Whip Potato Salad Recipe: A Creamy Dream Come True

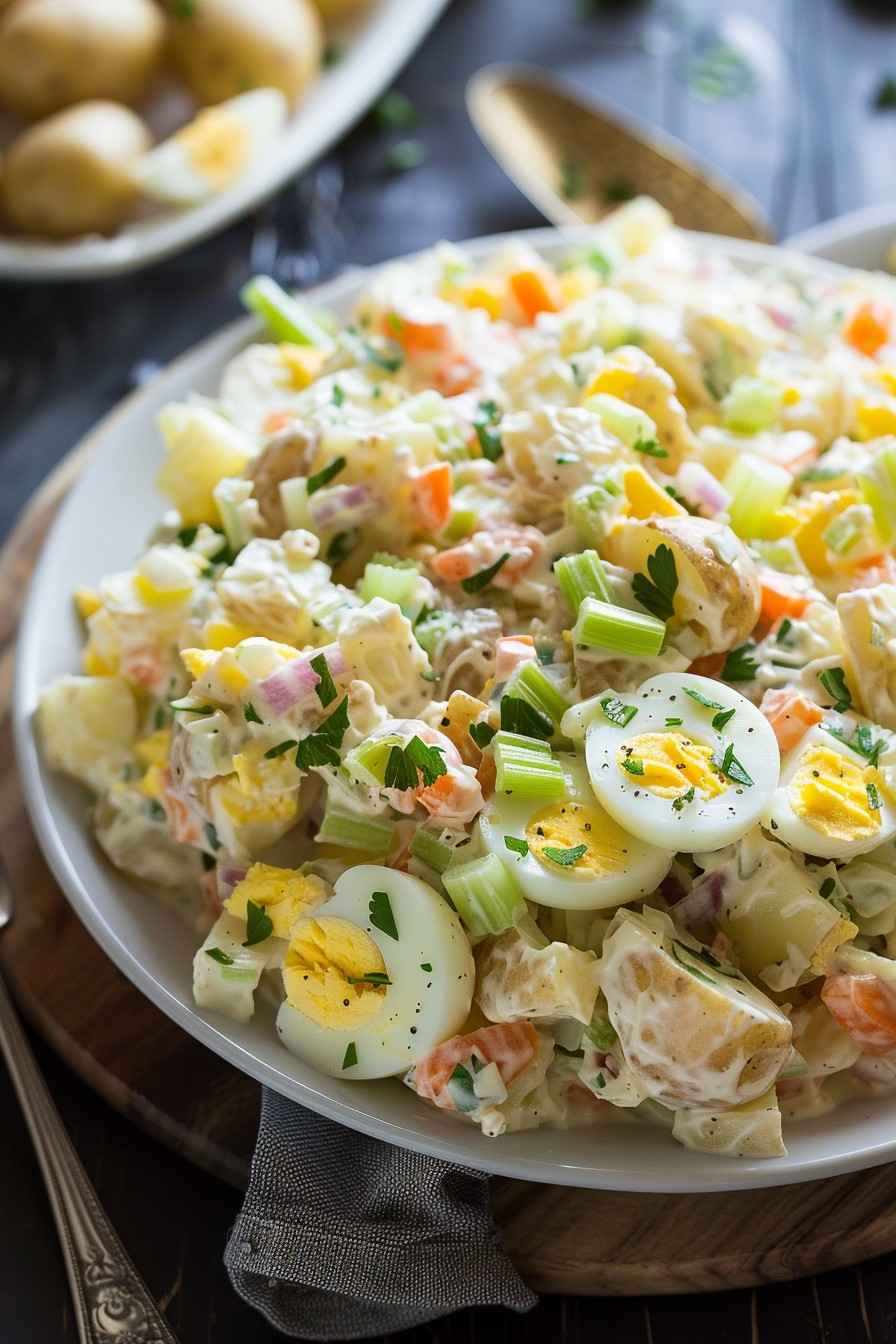
    Original Miracle Whip Potato Salad Recipe: A Creamy Dream Come True

    Welcome to a twist on the classic potato salad that’ll have your taste buds dancing. With Miracle Whip adding that signature tang and creaminess, this dish is a picnic staple that never fails to impress. Let’s dive into making this crowd-pleaser that’s as easy as it is delicious.

    Why This Recipe Works

    • The combination of creamy Miracle Whip and crisp vegetables creates a perfect balance of textures.
    • It’s versatile enough to serve as a side dish or a main course for those who love their salads hearty.
    • The recipe is forgiving, allowing for adjustments based on personal taste preferences.
    • It’s a make-ahead dish, meaning less stress when hosting gatherings.
    • The tangy flavor of Miracle Whip elevates the humble potato to new heights.

    Ingredients

    • 3 pounds of russet potatoes, peeled and cubed
    • 1 cup of Miracle Whip
    • 1/2 cup of diced celery
    • 1/4 cup of diced onion
    • 2 tablespoons of sweet pickle relish
    • 1 teaspoon of mustard
    • 1 teaspoon of salt
    • 1/2 teaspoon of black pepper
    • 2 hard-boiled eggs, chopped

    Equipment Needed

    • Large pot
    • Mixing bowls
    • Knife and cutting board
    • Measuring cups and spoons
    • Potato masher (optional)

    Instructions

    Original Miracle Whip Potato Salad Recipe

    Step 1: Cook the Potatoes

    Start by placing your peeled and cubed potatoes in a large pot. Cover them with cold water, ensuring there’s about an inch of water above the potatoes. Bring to a boil over high heat, then reduce to a simmer. Cook for about 10-15 minutes, or until the potatoes are fork-tender. Tip: Don’t overcook them, or you’ll end up with mashed potato salad!

    Step 2: Prepare the Dressing

    While the potatoes are cooking, grab a mixing bowl and combine the Miracle Whip, diced celery, diced onion, sweet pickle relish, mustard, salt, and black pepper. Stir until everything is well incorporated. This is your chance to adjust the seasoning to your liking. Tip: For an extra tangy kick, add a splash of vinegar to the dressing.

    Step 3: Combine Potatoes and Dressing

    Once the potatoes are done, drain them well and let them cool slightly. You want them warm enough to absorb the dressing but not so hot that they melt the Miracle Whip. Gently fold the potatoes into the dressing mixture until evenly coated. Tip: If you prefer a creamier texture, lightly mash some of the potatoes before mixing.

    Step 4: Add the Eggs

    Fold in the chopped hard-boiled eggs, reserving a few pieces for garnish if desired. This adds richness and protein, making the salad more filling.

    Step 5: Chill and Serve

    Cover the salad and refrigerate for at least an hour before serving. This allows the flavors to meld together beautifully. Serve chilled, garnished with the reserved egg pieces and a sprinkle of paprika for color.

    Tips and Tricks

    For those looking to elevate their potato salad game, consider these advanced tips. First, experiment with different types of potatoes; red potatoes hold their shape well and offer a buttery texture. Second, adding a bit of bacon crumbles can introduce a smoky flavor that contrasts nicely with the tanginess of the Miracle Whip. Lastly, for a lighter version, substitute half of the Miracle Whip with Greek yogurt. This not only reduces the calorie count but also adds a pleasant tang.

    Recipe Variations

    • Herb Lover’s Delight: Mix in fresh dill, parsley, and chives for a garden-fresh flavor.
    • Spicy Kick: Add diced jalapeños or a dash of hot sauce for those who like it hot.
    • Protein Packed: Incorporate diced ham or chicken to turn this side into a hearty main dish.
    • Veggie Loaded: Throw in some diced bell peppers, carrots, or peas for extra crunch and nutrition.

    Frequently Asked Questions

    Can I make this potato salad ahead of time? Absolutely! In fact, it tastes better after chilling for a few hours or overnight, as the flavors have more time to meld together. Just be sure to keep it refrigerated until you’re ready to serve.

    What’s the best way to store leftovers? Keep them in an airtight container in the refrigerator. They should last for up to 3 days. Note that the texture may change slightly, but it will still be delicious.

    Can I use mayonnaise instead of Miracle Whip? Yes, but keep in mind that Miracle Whip has a distinct tangy flavor that mayonnaise doesn’t. If you substitute, you might want to add a bit of vinegar or lemon juice to mimic that tanginess.

    Summary

    This Original Miracle Whip Potato Salad Recipe is a creamy, tangy, and utterly delicious twist on the classic. Perfect for picnics, potlucks, or any day you crave something comforting yet easy to make. With its versatile nature and crowd-pleasing flavor, it’s sure to become a staple in your recipe collection.
  • Red Potato Salad Recipe with Egg: A Creamy Dreamy Delight

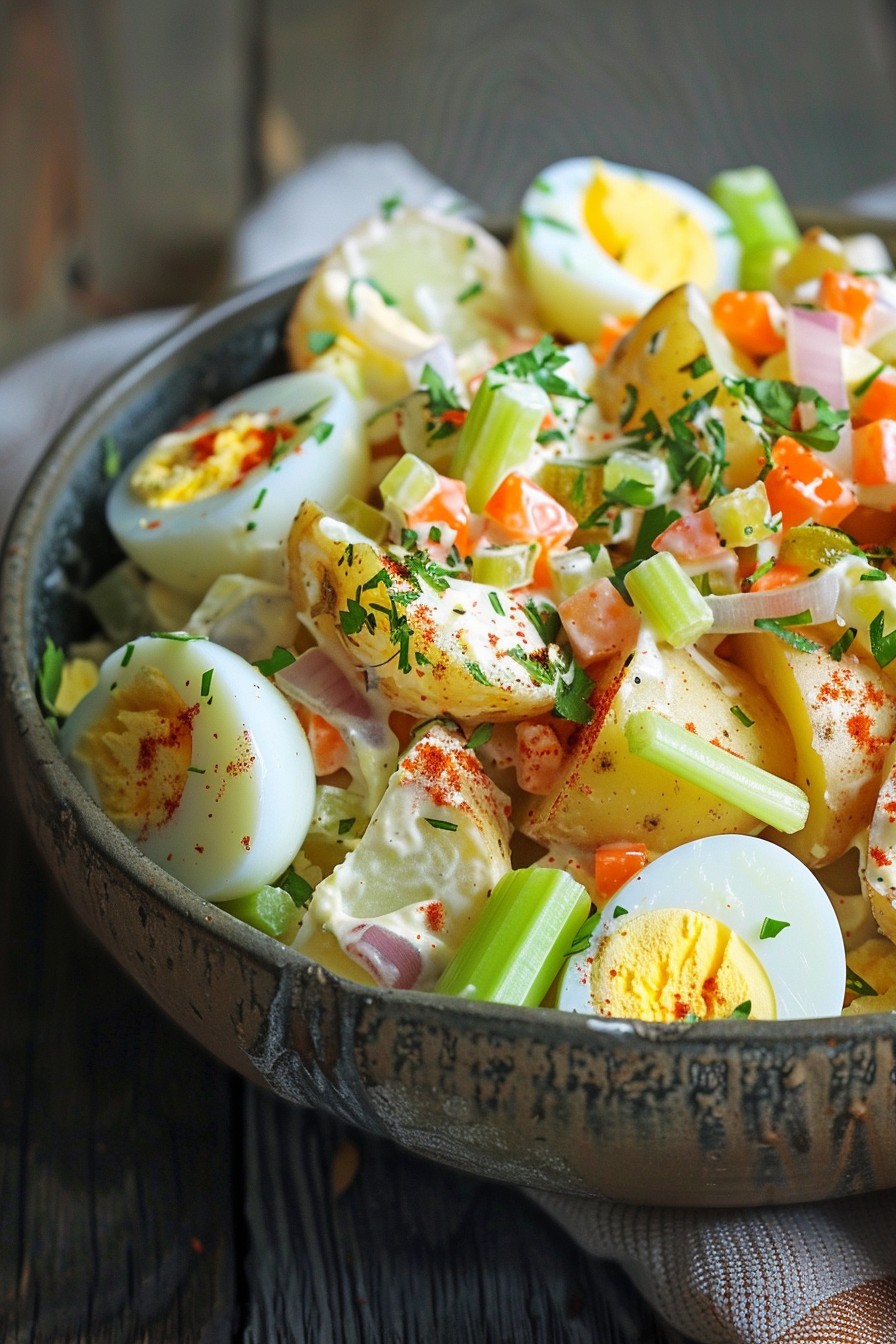
    Red Potato Salad Recipe with Egg: A Creamy Dreamy Delight

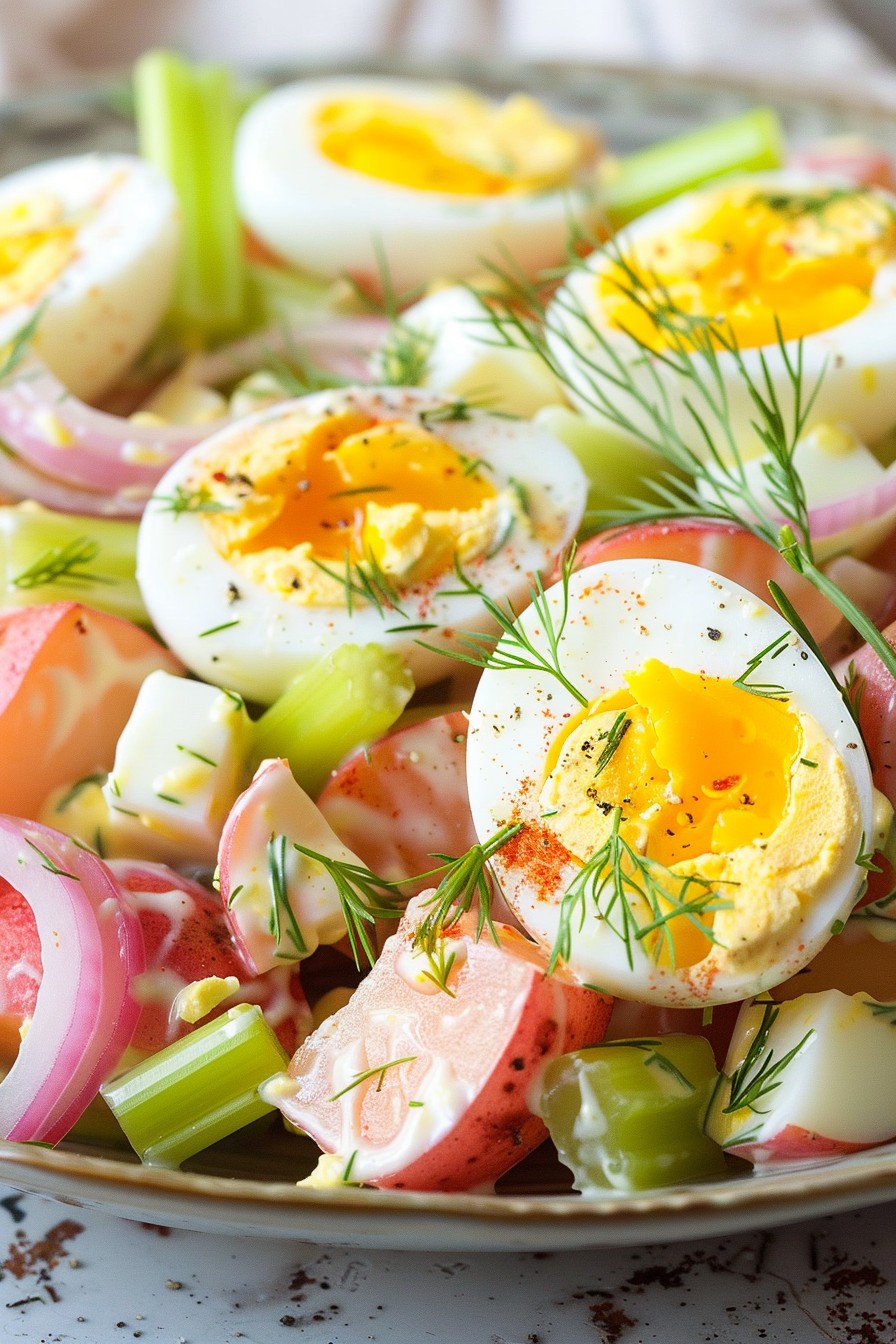
    Welcome to a dish that’s as vibrant in flavor as it is in color! This red potato salad with egg is the perfect blend of creamy, tangy, and just a tad bit crunchy. Whether you’re picnicking in the park or just need a side dish that steals the show, this recipe is your ticket to delicious town.

    Why This Recipe Works

    • The red potatoes hold their shape beautifully after boiling, giving the salad a satisfying bite.
    • Hard-boiled eggs add a rich, creamy texture and a protein boost, making the salad more filling.
    • A perfectly balanced dressing with mayonnaise, mustard, and a splash of vinegar brings all the flavors together without overpowering the potatoes.
    • Fresh herbs and crunchy celery add layers of flavor and texture, elevating the salad from good to great.
    • It’s a make-ahead wonder, tasting even better after the flavors have had time to mingle in the fridge.

    Ingredients

    • 2 pounds red potatoes, washed and cut into 1-inch chunks
    • 4 large eggs
    • 1/2 cup mayonnaise
    • 2 tablespoons Dijon mustard
    • 1 tablespoon apple cider vinegar
    • 1/2 cup diced celery
    • 1/4 cup finely chopped red onion
    • 2 tablespoons chopped fresh dill
    • Salt and pepper to taste

    Equipment Needed

    • Large pot
    • Mixing bowls
    • Knife and cutting board
    • Measuring cups and spoons
    • Whisk

    Instructions

    Red Potato Salad Recipe With Egg

    Step 1: Boil the Potatoes and Eggs

    Start by placing the red potato chunks in a large pot and covering them with cold water. Bring the water to a boil over high heat, then reduce to a simmer. Cook the potatoes for about 10-12 minutes, or until they’re just tender enough to pierce with a fork but not falling apart. In the last 10 minutes of cooking, gently add the eggs to the pot to hard-boil them. Once done, drain and let cool.

    Step 2: Prepare the Dressing

    In a large mixing bowl, whisk together the mayonnaise, Dijon mustard, and apple cider vinegar until smooth. Season with salt and pepper to taste. This creamy, tangy dressing is the secret weapon that brings the salad together, so don’t skimp on the flavor!

    Step 3: Combine the Ingredients

    Once the potatoes and eggs have cooled, peel the eggs and chop them into bite-sized pieces. Add the potatoes, eggs, diced celery, red onion, and fresh dill to the bowl with the dressing. Gently toss everything together until well coated. Be careful not to overmix, or the potatoes will break apart.

    Step 4: Chill and Serve

    Cover the bowl with plastic wrap and refrigerate the salad for at least an hour before serving. This chilling time allows the flavors to meld beautifully. Give it a quick stir before serving to redistribute the dressing, and enjoy your creamy, dreamy potato salad!

    Tips and Tricks

    For an extra flavor boost, try adding a teaspoon of garlic powder or a pinch of paprika to the dressing. If you’re short on time, you can skip the chilling step, but the salad will taste best if you can wait. For a lighter version, substitute half of the mayonnaise with Greek yogurt. Always taste and adjust the seasoning before serving, as potatoes can absorb a lot of salt. Lastly, for the best texture, make sure not to overcook the potatoes; they should be firm yet tender.

    Recipe Variations

    • Add crispy bacon bits for a smoky flavor and extra crunch.
    • Swap the dill for parsley or chives for a different herbal note.
    • Include a handful of pickles or capers for a briny twist.
    • For a spicy kick, mix in a diced jalapeño or a dash of hot sauce.
    • Try using sweet potatoes instead of red potatoes for a sweeter, nutrient-packed version.

    Frequently Asked Questions

    Can I make this potato salad ahead of time?

    Absolutely! In fact, making it a day ahead allows the flavors to develop more fully. Just keep it refrigerated until you’re ready to serve. If the salad seems a bit dry after chilling, you can stir in a little extra mayonnaise or a splash of vinegar to loosen it up.

    How long will this potato salad last in the fridge?

    Stored in an airtight container, your potato salad will stay fresh for up to 3 days. Beyond that, the texture of the potatoes may start to change, and the salad could become watery. Always give it a good stir before serving leftovers to refresh the flavors.

    Can I use a different type of potato?

    While red potatoes are ideal for their waxy texture and ability to hold shape, you can substitute with Yukon Gold or even fingerling potatoes. Avoid russet potatoes, as they tend to fall apart when boiled, resulting in a mushier salad.

    Summary

    This red potato salad with egg is a creamy, flavorful side dish that’s perfect for any occasion. With its balance of textures and tastes, it’s sure to be a hit. Plus, it’s easy to customize with your favorite add-ins. Give it a try and watch it disappear!

  • Warm Winter Fruit Salad Recipe: A Cozy Delight

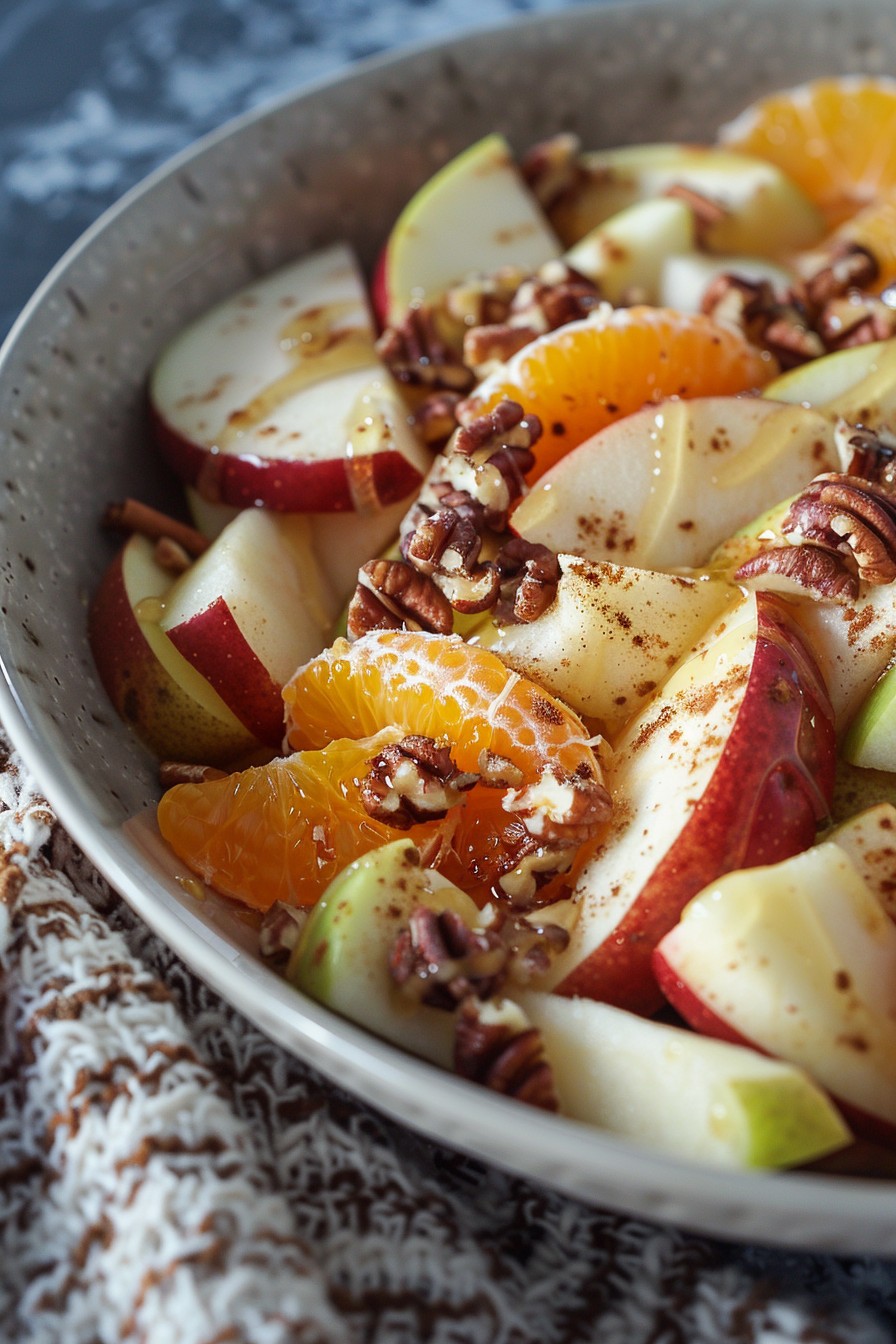
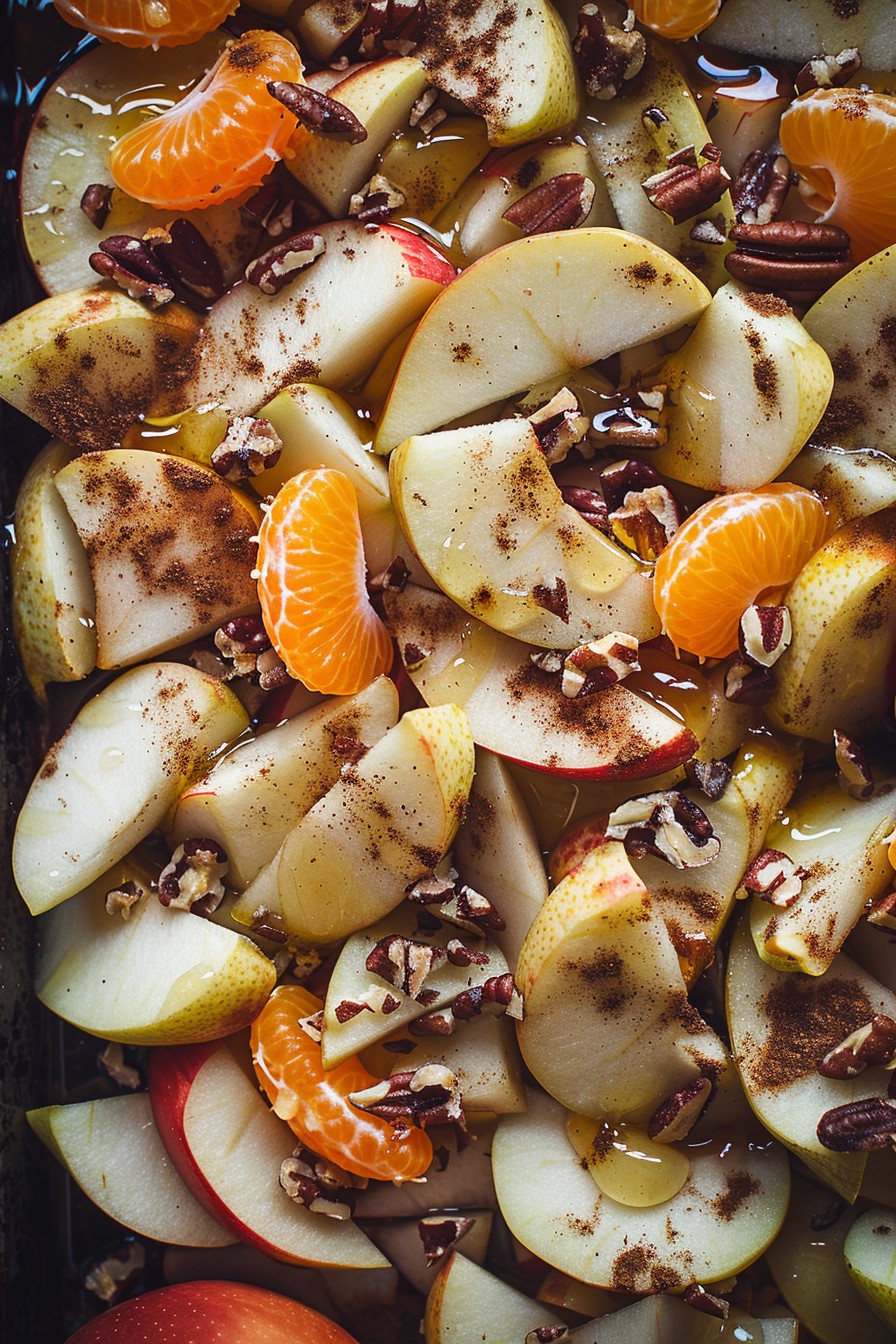
    Warm Winter Fruit Salad Recipe: A Cozy Delight

    Make your winter evenings extra cozy with this warm winter fruit salad. Perfect for those chilly nights when you crave something sweet, healthy, and comforting.

    Why This Recipe Works

    • Combines seasonal fruits for maximum flavor and nutrition.
    • Warming spices like cinnamon and nutmeg enhance the natural sweetness of the fruits.
    • Quick and easy to prepare, making it perfect for last-minute desserts or snacks.
    • Versatile recipe that can be customized based on what fruits you have on hand.
    • A healthier alternative to traditional winter desserts, packed with vitamins and fiber.

    Ingredients

    • 2 cups mixed winter fruits (apples, pears, oranges), peeled and chopped
    • 1 tbsp lemon juice
    • 2 tbsp honey
    • 1 tsp cinnamon
    • 1/2 tsp nutmeg
    • 1/4 cup chopped nuts (optional)

    Equipment Needed

    • Mixing bowl
    • Baking dish
    • Measuring spoons
    • Knife and cutting board

    Instructions

    Warm Winter Fruit Salad Recipe

    Prep Your Fruits

    Start by washing, peeling, and chopping your selected winter fruits into bite-sized pieces. Toss them in a mixing bowl with lemon juice to prevent browning. This step ensures your salad is not only tasty but also visually appealing.

    Mix in the Flavors

    Add honey, cinnamon, and nutmeg to the bowl with your fruits. Stir well to coat every piece evenly. The honey acts as a natural sweetener while the spices add that quintessential winter warmth.

    Bake to Perfection

    Transfer the mixture to a baking dish and bake at 350°F for 15-20 minutes, or until the fruits are tender but not mushy. Keep an eye on them to avoid overcooking.

    Add the Crunch

    Once baked, sprinkle chopped nuts over the top for an added crunch. This step is optional but highly recommended for texture contrast.

    Serve Warm

    Let the salad cool slightly before serving to allow the flavors to meld together. Serve warm for the best taste experience.

    Tips and Tricks

    For an extra flavor boost, consider adding a splash of vanilla extract or a pinch of ginger to the mix. If you’re serving this salad as a dessert, a dollop of whipped cream or a scoop of vanilla ice cream can elevate it to the next level. Always taste your fruits before adding honey, as some might be sweeter than others and require less sweetening.

    Recipe Variations

    • Swap honey for maple syrup for a different kind of sweetness.
    • Add dried fruits like raisins or cranberries for a chewy texture.
    • Include a tablespoon of rum or brandy for an adult version of this dish.
    • Use different spices like cardamom or allspice for a unique flavor profile.
    • Top with granola instead of nuts for a breakfast-friendly version.

    Frequently Asked Questions

    Can I make this salad ahead of time? Yes, you can prepare the fruits and mix the spices ahead of time, but bake it just before serving to ensure it’s warm and fresh.

    How can I store leftovers? Store any leftovers in an airtight container in the refrigerator for up to 2 days. Reheat gently before serving.

    Can I use frozen fruits? While fresh is best for texture, frozen fruits can be used in a pinch. Just make sure to thaw and drain them well before using.

    Summary

    This warm winter fruit salad is a simple, healthy, and delicious way to enjoy seasonal fruits. With its easy preparation and customizable options, it’s sure to become a winter favorite.

  • Dijon Salad Dressing Recipe: A Tangy Twist for Your Greens

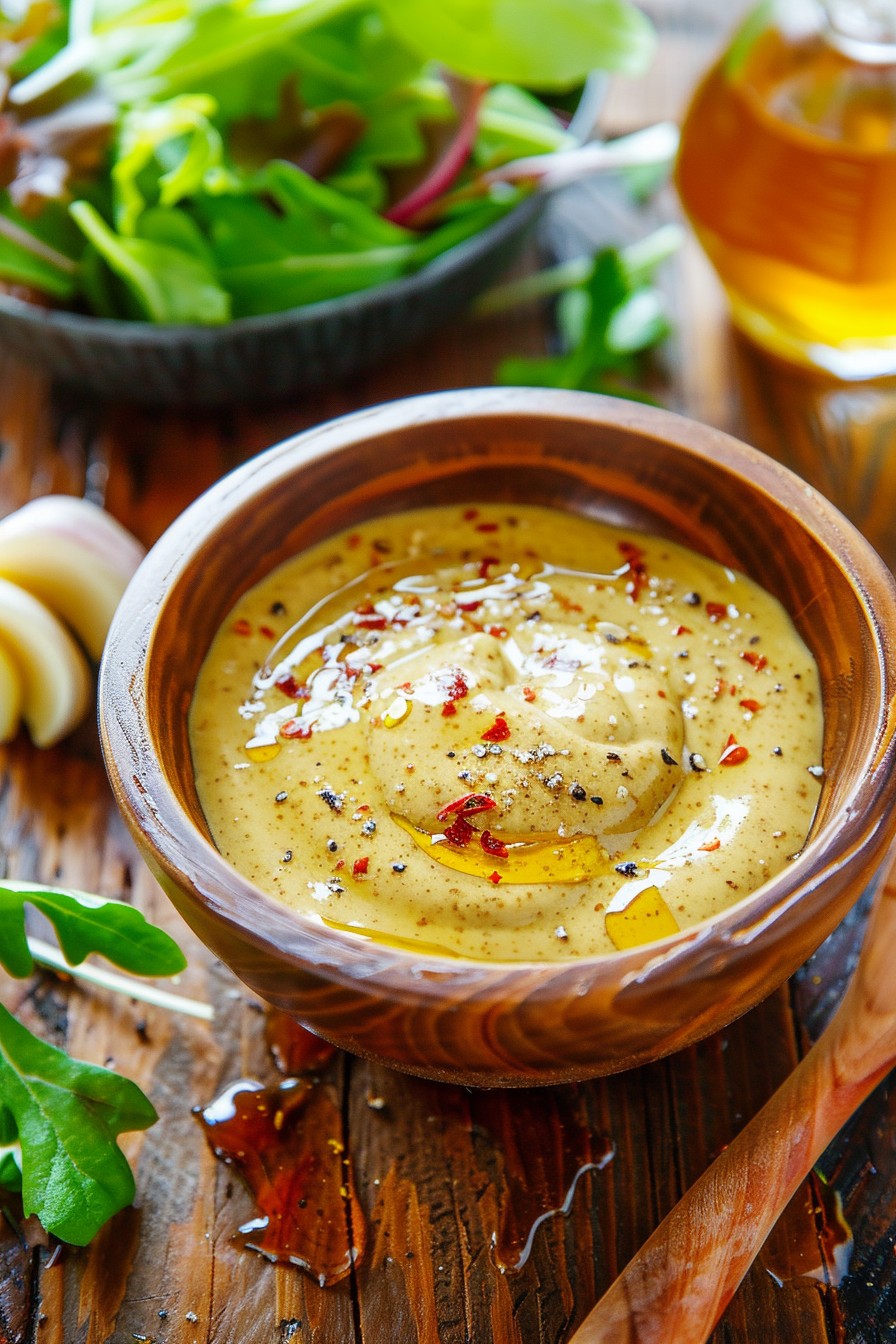
    Dijon Salad Dressing Recipe: A Tangy Twist for Your Greens

    Howdy, salad lovers! Today, we’re diving into the world of homemade dressings with a Dijon mustard-based delight that’ll make your greens sing. This recipe is not just easy; it’s a game-changer for your salad game.

    Why This Recipe Works

    • The perfect balance of tangy and sweet, thanks to the Dijon mustard and honey combo.
    • Uses simple, pantry-staple ingredients for a quick whip-up.
    • Versatile enough to dress any salad, from a simple green to a hearty grain bowl.
    • No preservatives or weird additives, just pure, delicious flavor.
    • Can be made in bulk and stored for future salad emergencies.

    Ingredients

    • 1/4 cup Dijon mustard
    • 1/4 cup honey
    • 1/2 cup olive oil
    • 2 tbsp apple cider vinegar
    • 1 clove garlic, minced
    • Salt and pepper to taste

    Equipment Needed

    • Mixing bowl
    • Whisk
    • Measuring cups and spoons
    • Airtight container for storage

    Instructions

    Dijon Salad Dressing Recipe

    Step 1: Combine the Base Ingredients

    In your mixing bowl, whisk together the Dijon mustard and honey until smooth. This creates the perfect sweet and tangy base for your dressing. Tip: If your honey is too thick, warm it slightly for easier mixing.

    Step 2: Slowly Incorporate the Olive Oil

    Gradually add the olive oil to the mustard and honey mixture, whisking continuously to emulsify the dressing. This ensures a smooth, cohesive texture. Aim for a steady stream to avoid separation.

    Step 3: Add the Vinegar and Seasonings

    Stir in the apple cider vinegar, minced garlic, and a pinch of salt and pepper. The vinegar adds a bright acidity that balances the richness of the oil. Tip: Taste as you go to adjust the seasoning to your preference.

    Step 4: Whisk Until Smooth

    Continue whisking until all ingredients are fully incorporated and the dressing has a uniform consistency. If it’s too thick, a tablespoon of water can thin it out without losing flavor.

    Step 5: Store or Serve Immediately

    Transfer the dressing to an airtight container if not using right away. It can be stored in the fridge for up to a week. Shake well before each use to recombine the ingredients.

    Tips and Tricks

    For an extra flavor boost, consider toasting the garlic before mincing it. This mellows the sharpness and adds a subtle sweetness. If you’re out of apple cider vinegar, white wine vinegar makes a great substitute. For a creamier texture, blend in a tablespoon of Greek yogurt. Always use high-quality olive oil for the best taste. And remember, dressing your salad just before serving keeps the greens crisp and fresh.

    Recipe Variations

    • Spicy Kick: Add a pinch of cayenne pepper or a dash of hot sauce for heat.
    • Herbaceous Twist: Mix in fresh herbs like thyme, basil, or dill for a fragrant note.
    • Citrus Zing: Substitute lemon juice for vinegar and add a bit of zest for brightness.
    • Creamy Version: Blend in avocado or mayonnaise for a richer texture.
    • Nutty Flavor: A teaspoon of tahini or almond butter adds depth and creaminess.

    Frequently Asked Questions

    Can I use a different type of mustard?

    Absolutely! While Dijon is recommended for its smooth texture and mild heat, yellow mustard or whole grain mustard can also work, though they’ll alter the flavor profile slightly.

    How long does this dressing last in the fridge?

    Stored in an airtight container, your Dijon dressing will stay fresh for up to a week. Just give it a good shake or stir before using to recombine any separated ingredients.

    Can I make this dressing vegan?

    Yes! Simply substitute the honey with maple syrup or agave nectar to keep it plant-based. The rest of the ingredients are naturally vegan.

    Summary

    This Dijon salad dressing is a versatile, flavorful addition to any salad. With its perfect balance of tangy and sweet, it’s sure to become a staple in your kitchen. Easy to make and customizable, it’s a must-try for dressing enthusiasts.

  • Barilla Bowtie Pasta Salad Recipe: A Fun Twist on a Classic

    Barilla Bowtie Pasta Salad Recipe: A Fun Twist on a Classic

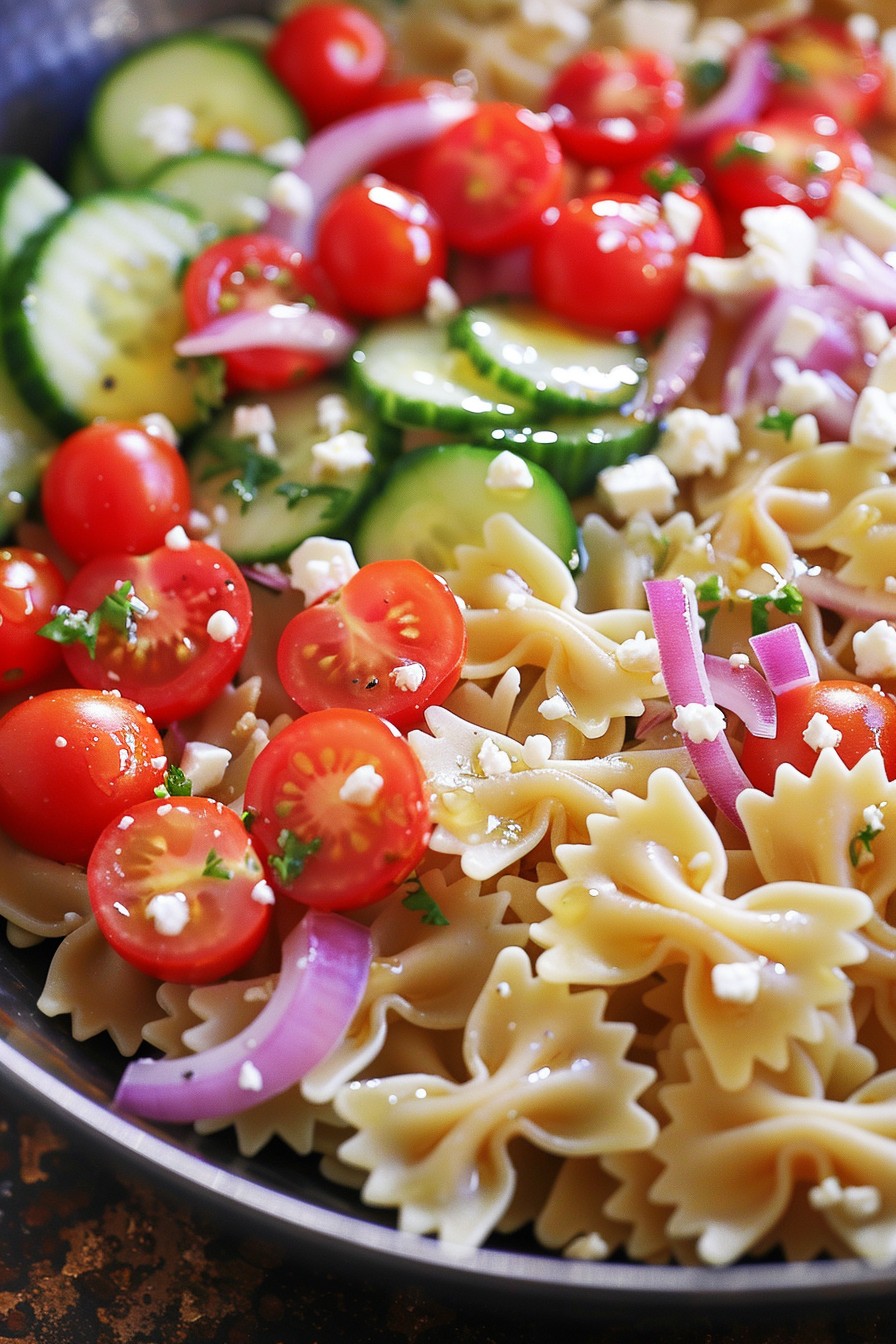
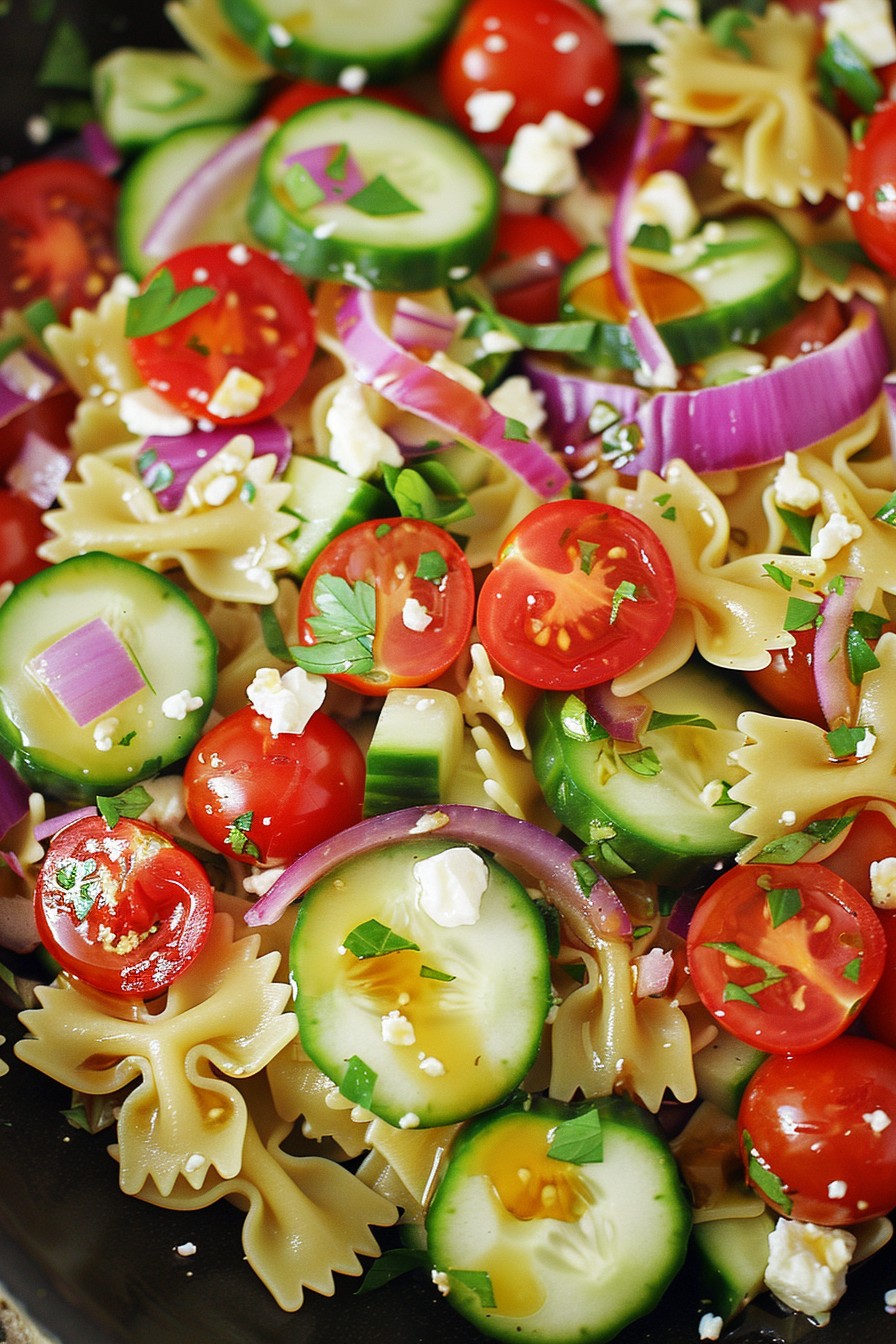
    Howdy, pasta lovers! Today, we’re diving into a dish that’s as fun to make as it is to eat. This Barilla Bowtie Pasta Salad is a vibrant, flavorful twist on the classic pasta salad, perfect for picnics, potlucks, or just because you deserve something delicious.

    Why This Recipe Works

    • The bowtie pasta holds onto the dressing and mix-ins beautifully, ensuring every bite is packed with flavor.
    • It’s incredibly versatile; swap out veggies or proteins based on what you have on hand.
    • The dressing is a simple yet irresistible combination of tangy and sweet, making the salad a crowd-pleaser.
    • Prep is a breeze, and the salad can be made ahead, freeing up your time for more important things, like deciding which bowl to serve it in.

    Ingredients

    • 1 box (16 oz) Barilla Bowtie Pasta
    • 1 cup cherry tomatoes, halved
    • 1 cucumber, diced
    • 1/2 red onion, thinly sliced
    • 1 cup feta cheese, crumbled
    • 1/4 cup olive oil
    • 2 tbsp red wine vinegar
    • 1 tbsp honey
    • 1 tsp dried oregano
    • Salt and pepper to taste

    Equipment Needed

    • Large pot
    • Colander
    • Large mixing bowl
    • Whisk
    • Measuring cups and spoons

    Instructions

    Barilla Bowtie Pasta Salad Recipe

    Step 1: Cook the Pasta to Perfection

    Bring a large pot of salted water to a rolling boil. Add the Barilla Bowtie Pasta and cook according to the package instructions, usually about 11 minutes, until al dente. Drain in a colander and rinse under cold water to stop the cooking process. Tip: Salting the water well is the first step to flavorful pasta.

    Step 2: Whisk Together the Dressing

    In a large mixing bowl, whisk together the olive oil, red wine vinegar, honey, dried oregano, salt, and pepper until well combined. This dressing is the secret weapon of this salad, so take a moment to taste and adjust the seasoning as needed.

    Step 3: Combine the Ingredients

    Add the cooled pasta, cherry tomatoes, cucumber, red onion, and feta cheese to the bowl with the dressing. Gently toss everything together until well coated. Tip: Letting the salad sit for 10 minutes before serving allows the flavors to meld beautifully.

    Step 4: Serve and Enjoy

    Transfer the pasta salad to a serving dish or keep it in the bowl. Either way, it’s ready to be devoured. Serve chilled or at room temperature for the best experience.

    Tips and Tricks

    For an extra crunch, add some toasted pine nuts or walnuts. If you’re making this ahead, hold off on adding the feta until just before serving to keep it from getting too soft. For a creamier version, mix in a tablespoon of mayonnaise or Greek yogurt into the dressing. Always taste as you go; adjusting the seasoning can make a world of difference.

    Recipe Variations

    • Protein Power: Add grilled chicken, shrimp, or chickpeas for a protein boost.
    • Veggie Delight: Swap in or add bell peppers, olives, or artichoke hearts for more veggie variety.
    • Cheese Please: Try goat cheese or mozzarella pearls instead of feta for a different cheese experience.
    • Dressing Swap: Use balsamic vinegar or lemon juice in place of red wine vinegar for a different tang.

    Frequently Asked Questions

    Can I make this pasta salad ahead of time? Absolutely! This salad actually tastes better after the flavors have had time to meld. Just keep it refrigerated and add any delicate ingredients like fresh herbs or cheese right before serving.

    How long will this pasta salad last in the fridge? Stored in an airtight container, it should stay fresh for up to 3 days. Just give it a quick stir before serving again.

    Can I use a different type of pasta? Sure, but bowtie pasta is ideal for this recipe because its shape holds the dressing and ingredients well. If you substitute, choose a pasta with similar qualities.

    Summary

    This Barilla Bowtie Pasta Salad is a delightful mix of flavors and textures, perfect for any occasion. Easy to make and even easier to love, it’s sure to become a go-to recipe in your collection.