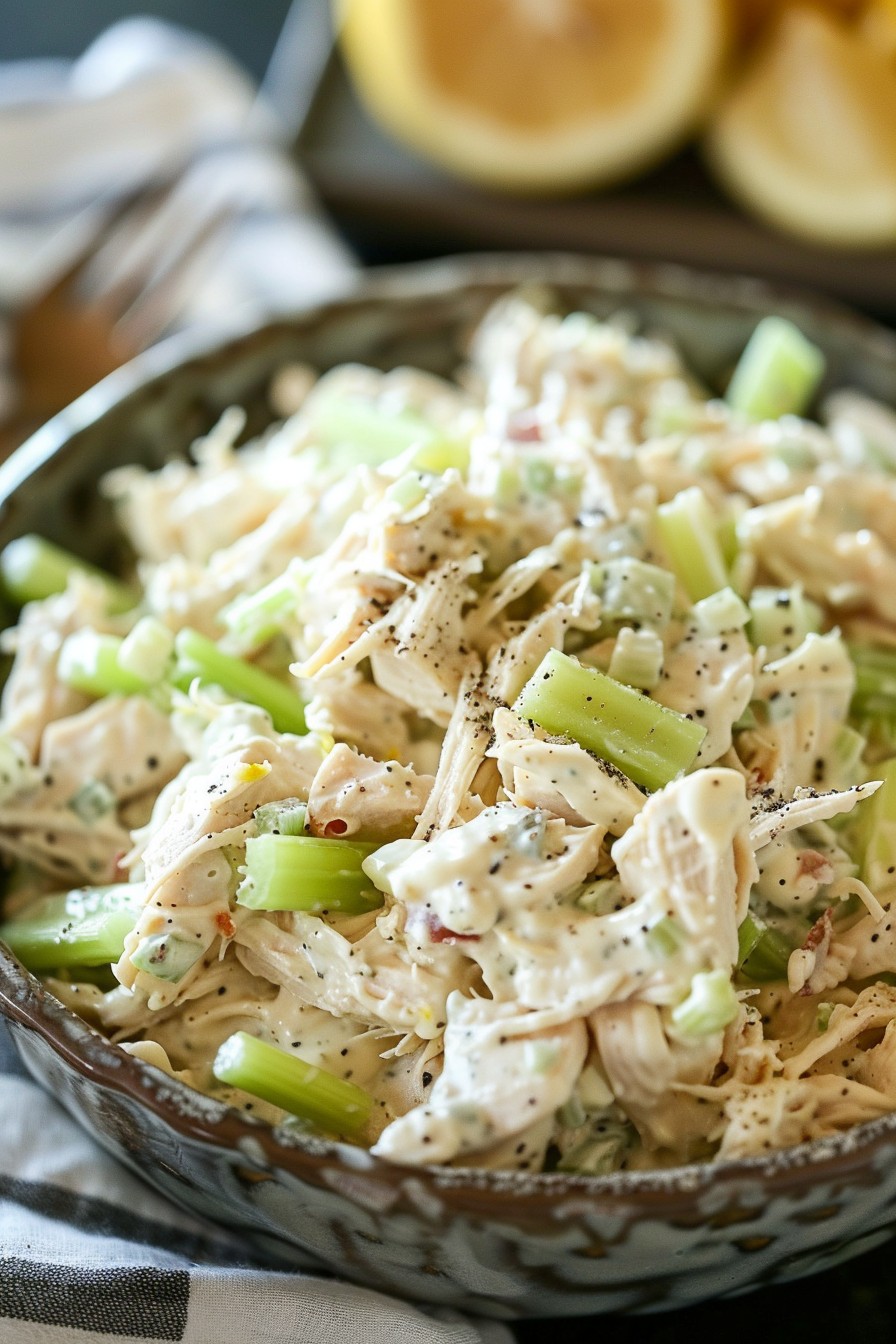
How about we dive into a recipe that’s not only a breeze to whip up but also packs a punch in the nutrition department? This bean and tuna salad is your go-to for a quick lunch, a hearty side, or even a light dinner. It’s versatile, delicious, and, most importantly, ridiculously easy to make.
Why This Recipe Works
- It’s a protein powerhouse, thanks to the tuna and beans, keeping you full and energized.
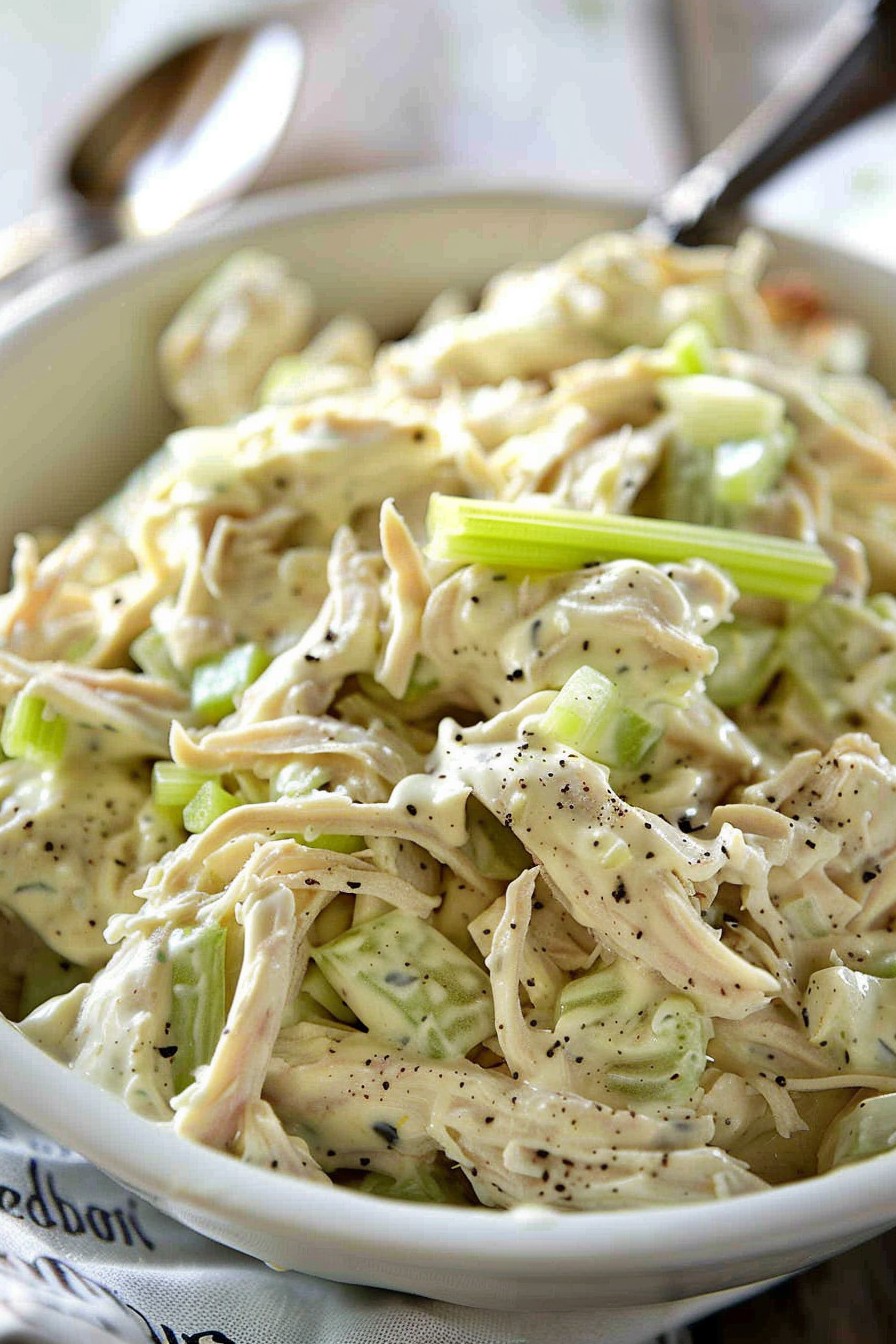
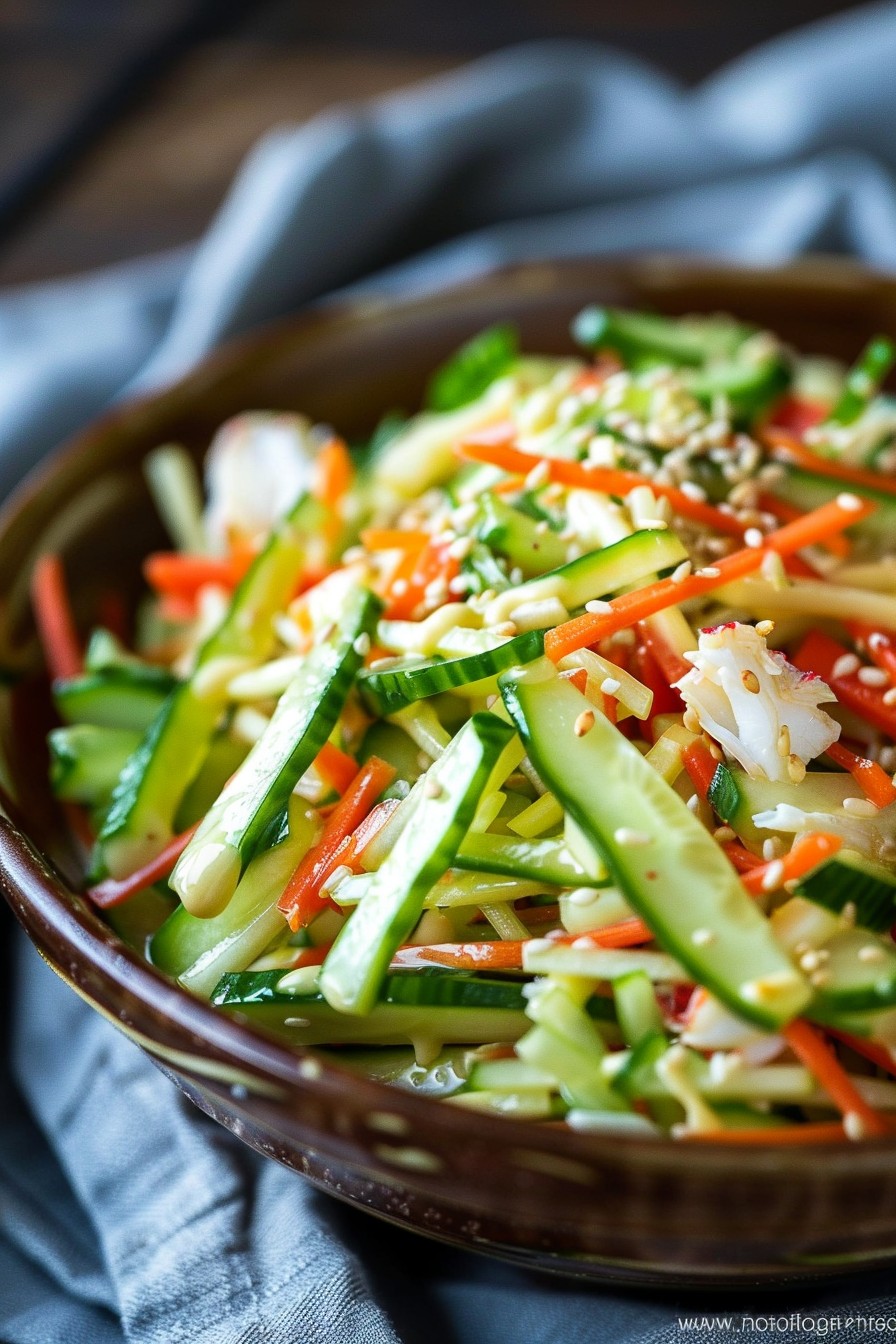
- The combination of textures from the creamy beans, flaky tuna, and crisp veggies makes every bite interesting.
- It’s incredibly versatile; serve it on its own, over greens, or as a sandwich filler.
- Prep is a snap, making it perfect for meal prep or last-minute meals.
- The flavors meld beautifully as it sits, so it’s even better the next day.
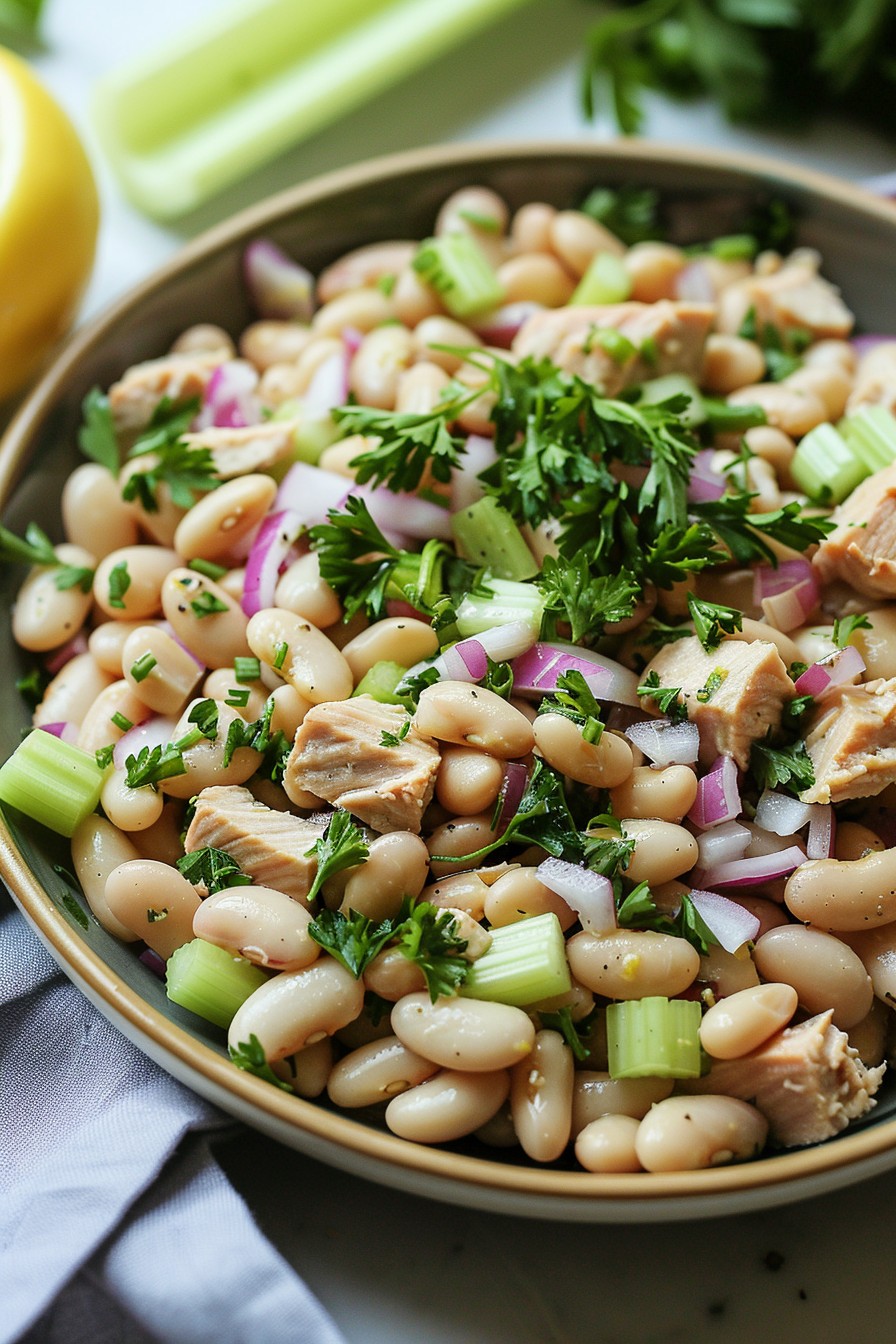
Ingredients
- 1 can (15 oz) white beans, drained and rinsed
- 1 can (5 oz) tuna in water, drained
- 1/2 cup red onion, finely diced
- 1/2 cup celery, finely diced
- 1/4 cup olive oil
- 2 tbsp lemon juice
- 1 tsp Dijon mustard
- Salt and pepper to taste
- 1/4 cup fresh parsley, chopped
Equipment Needed
- Mixing bowl
- Whisk
- Measuring cups and spoons
- Can opener
- Knife and cutting board
Instructions
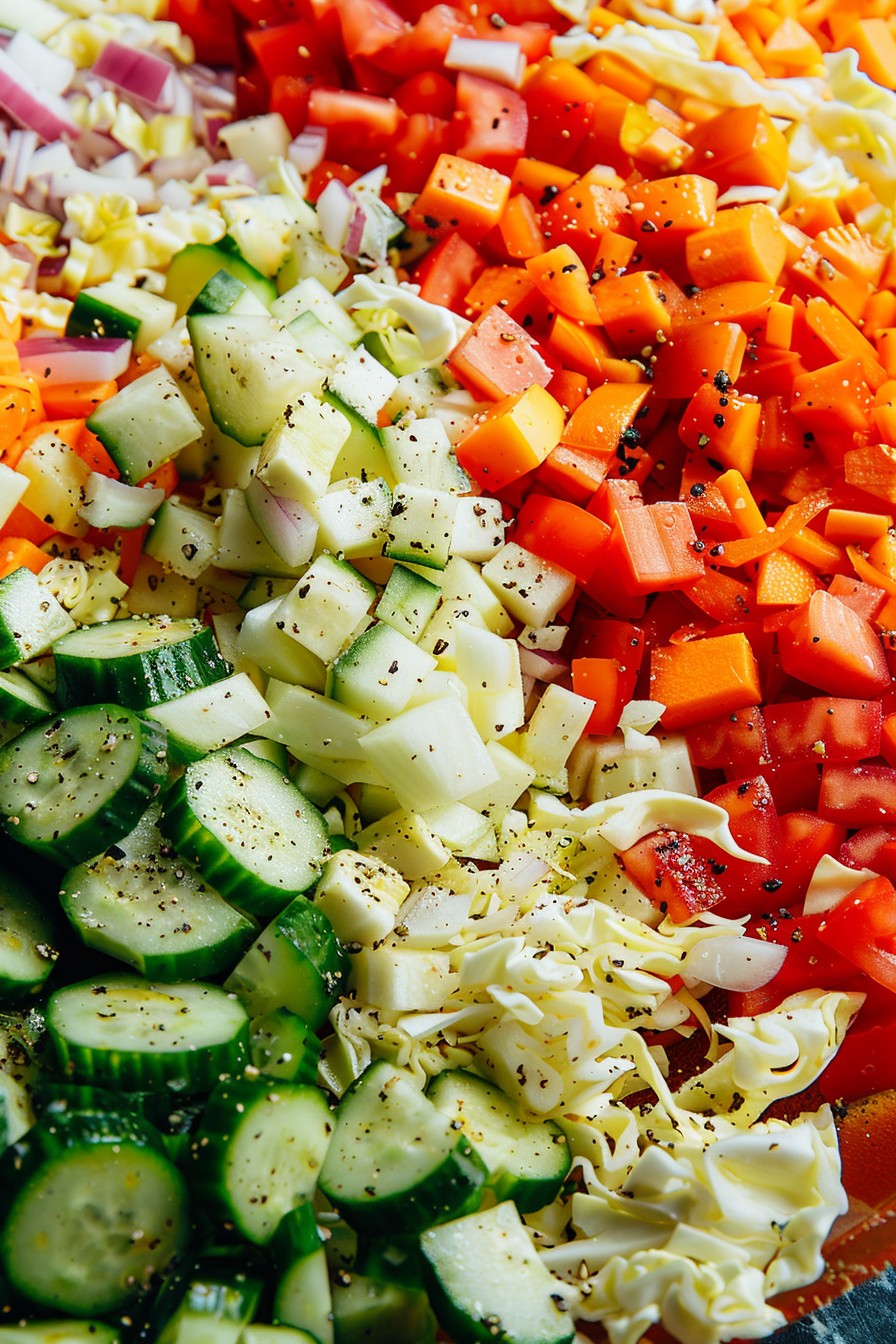
Step 1: Prep Your Ingredients
Start by draining and rinsing your white beans to remove any excess sodium and to give them a fresh taste. Drain the tuna well to avoid a watery salad. Finely dice the red onion and celery to ensure every bite has a bit of crunch and flavor. Chop the parsley for a fresh, herby finish.
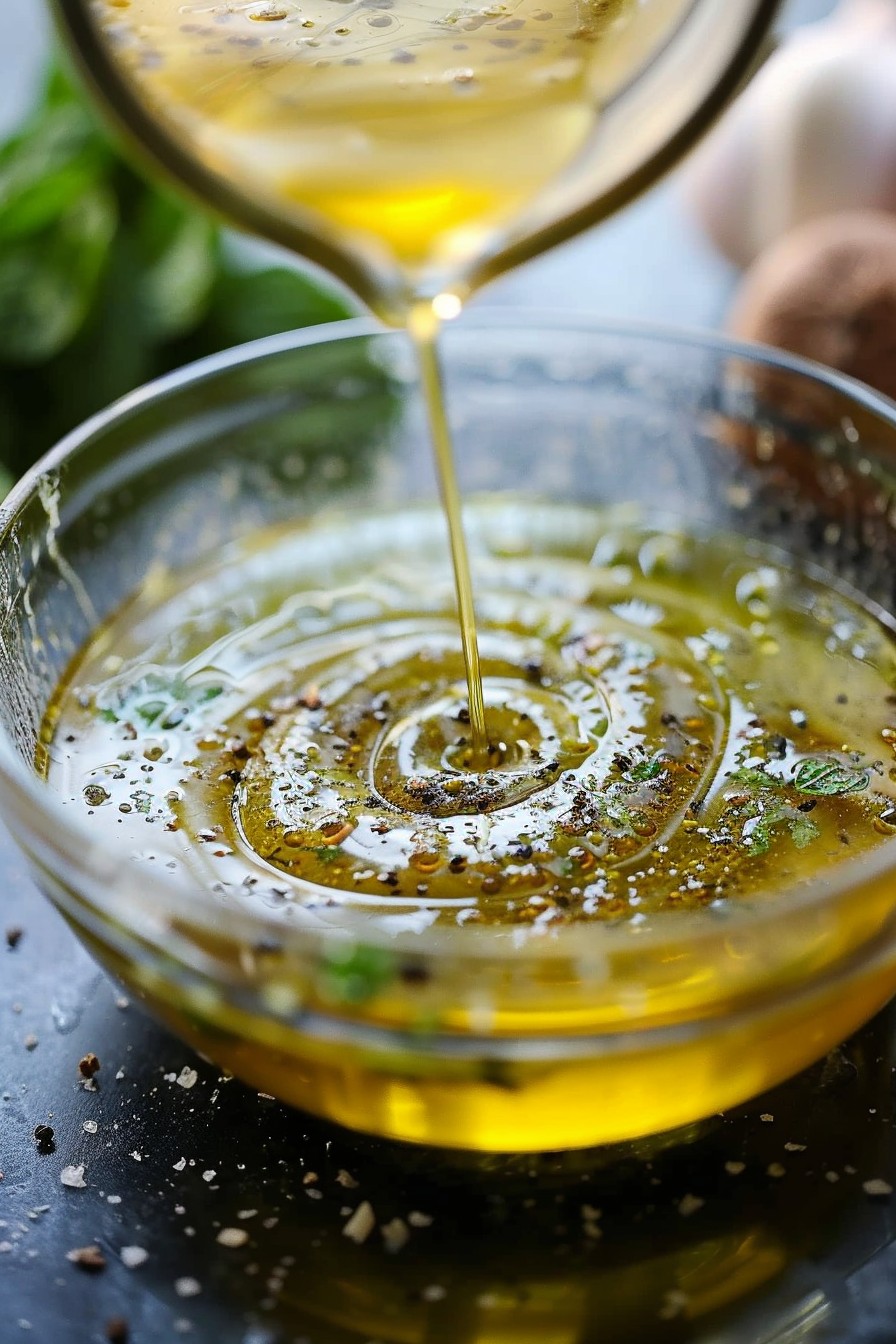
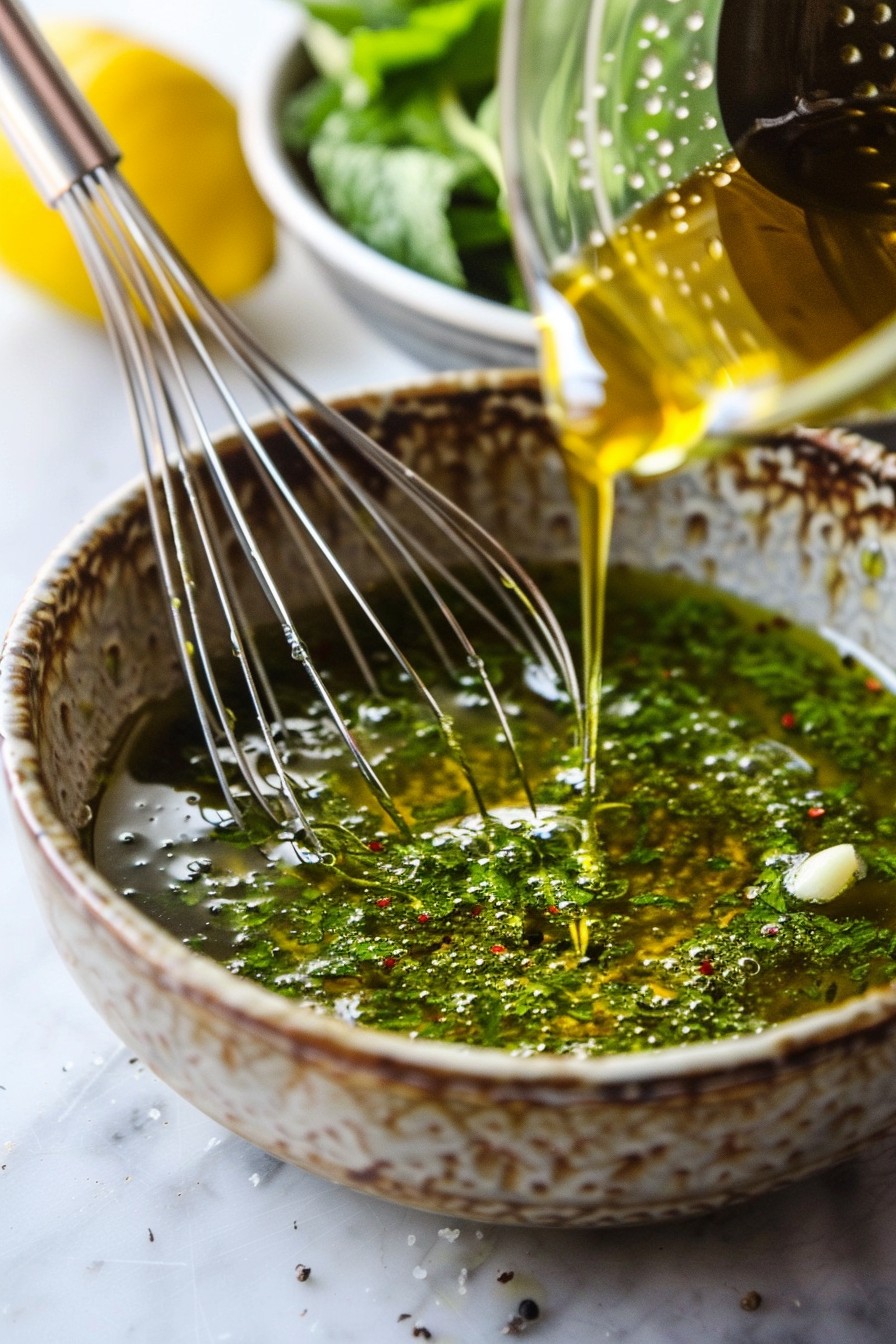
Step 2: Make the Dressing
In a small bowl, whisk together the olive oil, lemon juice, and Dijon mustard until well combined. This simple dressing brings a tangy brightness to the salad, enhancing the flavors of the tuna and beans. Season with salt and pepper to taste, remembering that the tuna might already be salty.
Step 3: Combine the Salad
In a large mixing bowl, gently toss the beans, tuna, red onion, celery, and parsley together. Be careful not to mash the beans or break up the tuna too much; you want to maintain some texture. Pour the dressing over the salad and toss lightly to coat everything evenly.
Step 4: Let It Marinate
Cover the bowl and let the salad sit in the refrigerator for at least 30 minutes. This resting time allows the flavors to meld together beautifully. If you’re in a hurry, you can serve it immediately, but the taste improves with a bit of patience.
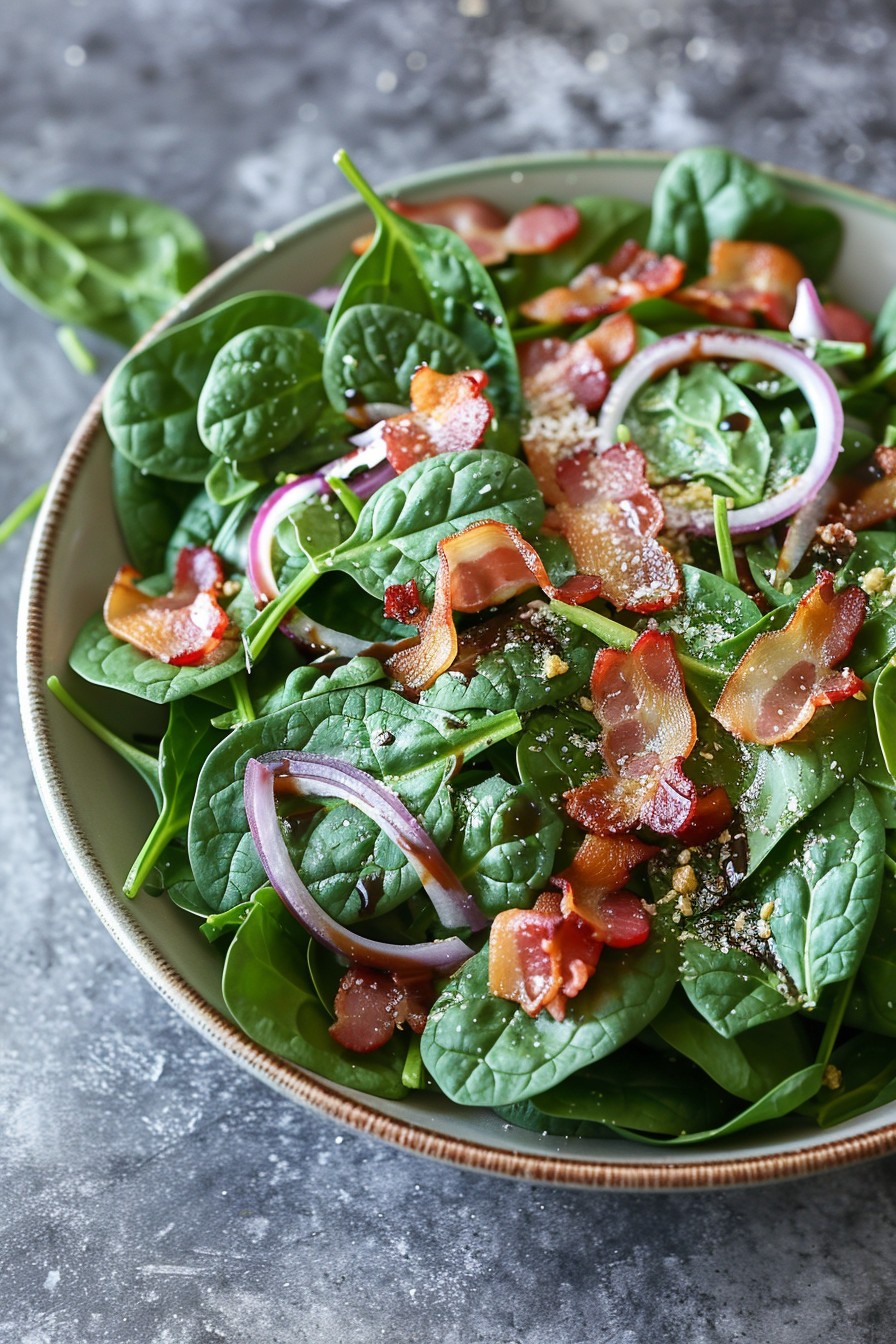
Step 5: Serve and Enjoy
Give the salad a final toss before serving to redistribute the dressing. Serve it on a bed of greens, with crackers, or as is for a simple, satisfying meal. Garnish with extra parsley if you’re feeling fancy.
Tips and Tricks
For an extra flavor boost, try adding a pinch of red pepper flakes or a dash of smoked paprika to the dressing. If you’re not a fan of raw onion, soak the diced onion in cold water for 10 minutes before adding it to the salad to mellow its bite. For a creamier texture, mash a quarter of the beans before mixing them in. Always taste and adjust the seasoning after the salad has marinated, as flavors can change as they sit.
Recipe Variations
- Swap white beans for chickpeas or kidney beans for a different texture and flavor profile.
- Add diced avocado for creaminess and healthy fats.
- Include chopped hard-boiled eggs for extra protein.
- Mix in some capers or olives for a briny, salty kick.
- Use a different protein, like cooked chicken or salmon, instead of tuna.
Frequently Asked Questions
Can I make this salad ahead of time? Absolutely! This salad actually tastes better after it’s had time to sit and the flavors have melded. Just keep it covered in the fridge for up to 3 days.
Is there a substitute for tuna? Yes, you can use cooked chicken, salmon, or even chickpeas for a vegetarian version. The key is to maintain the protein content for a filling meal.
Can I use a different type of bean? Of course! While white beans are classic, feel free to experiment with chickpeas, black beans, or kidney beans based on your preference or what you have on hand.
Summary
This bean and tuna salad is a quick, nutritious, and versatile dish that’s perfect for any meal. With simple ingredients and easy prep, it’s a no-fuss recipe that delivers on flavor and satisfaction.